Tag Archives: Hobby Project

First weekend off in a month! Update time!

Man this last month has been a right pain. Sickness, travel, other crap… No time to paint at all.

Well Saturday was free and I was finally able to finish some stuff I started!

Terrain Tile

With some help from the Corvus Belli forums, I was able to figure out what to do with these blasted tiles. I have additional changes in mind for them but I’ll need to have all of them done before I can work that out.

Office Main Floor

This monster took forever. It’s basically a 2-3 buildings combined. Took days to finish. And I have 4 more to do…

I added a few shots with one of my universal buildings on top and with a Naga for scale.

Scatter Terrain

Made one of the large boxes from my order. These will make for some nice scatter terrain.

Cerberus terrain tiles

With my order from LosBlock picked up a bunch of the city tiles. These things are so damn cool! But there’s a problem…

These things have a lot of detail on them and they cause some of the obsessive elements of my personality to rear up. Remember when I mentioned my desire to pump ‘visual interest’ (excessive detail) into what I’m working on? Yeah… Trigger’d

I’m trying pretty hard to restrain myself. I don’t want to go over the top and uber-paint these tiles. I’m trying to keep them clean. Here are the first 2 I started working on:

With this scheme I think a black/white or grey layout would look good. The white tile is the one that is really triggering my OCD. All those little check marks around the boxes demand to be painted! With some of these tiles that equates to 400 check marks each. Ugh!

The black tile is way easier to do, but is low in detail. I’m afraid I’m not taking advantage of all the cool bits etched into the sheet. Needs moar visual interest!!!!

In the end I think I’m going to go with the black design. I like the red glowing lights and its minimal look. Here’s it finished with some terrain on top. I’ll have a better impression when I’ve finished 4+.

More to come as I progress.
Shawn G. (SoI)

New Table Time!

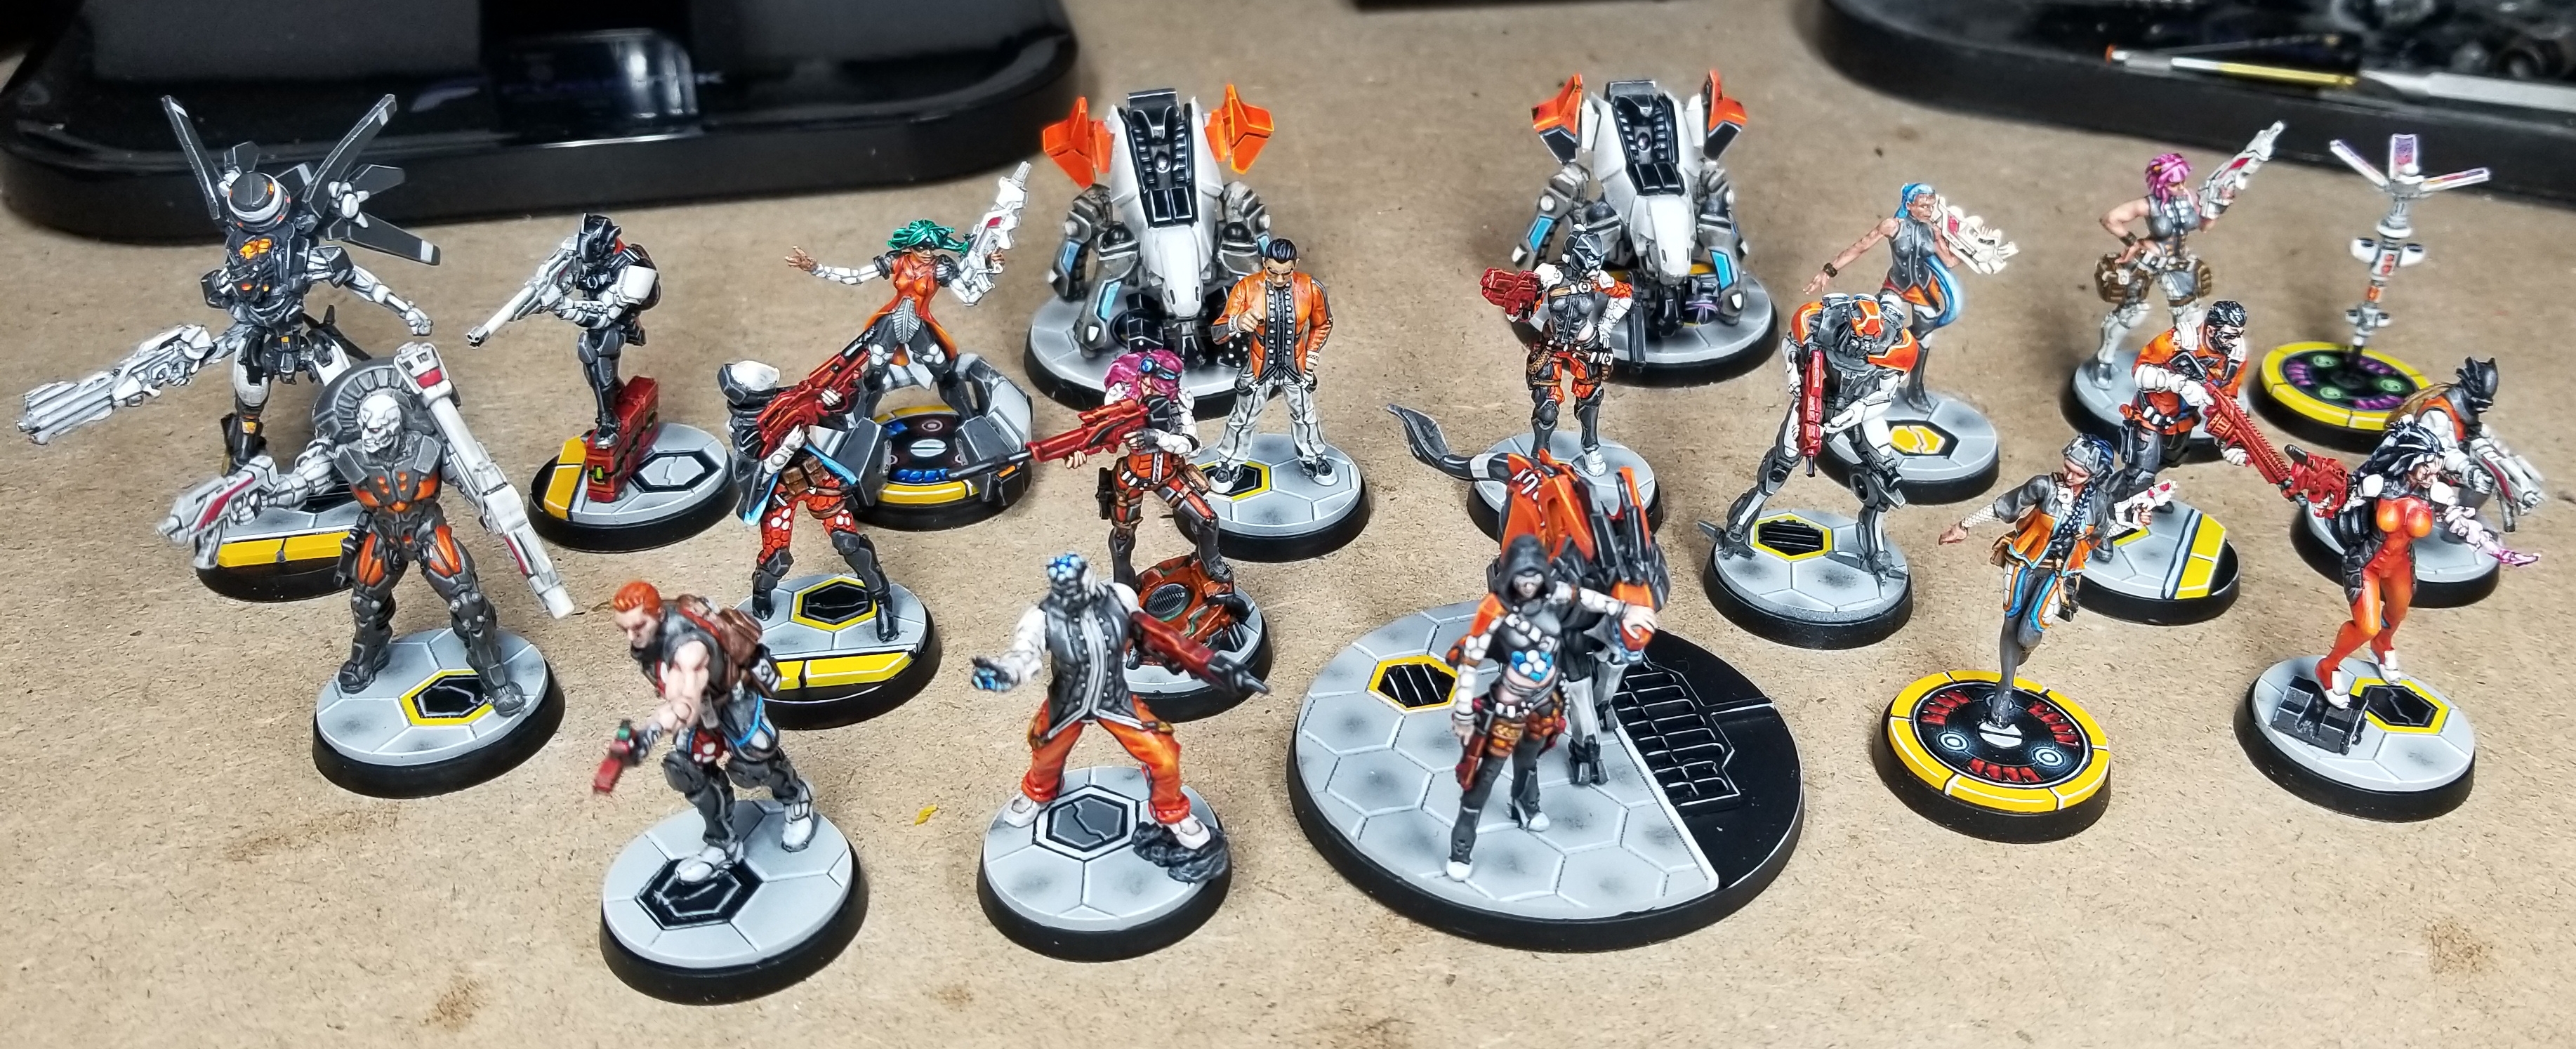
So, I took a long break from painting. I found myself exiled to Wraeclast and just found my way back home. Now I’m back and I have a painting itch to scratch. I will be returning to m OSS force here after a while, but for now I’m going to focus on terrain.

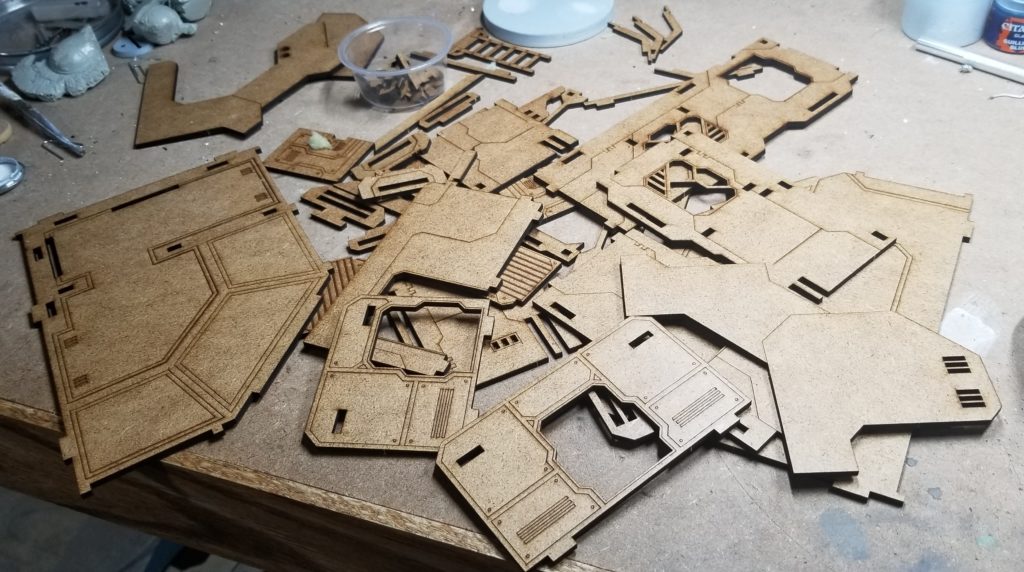
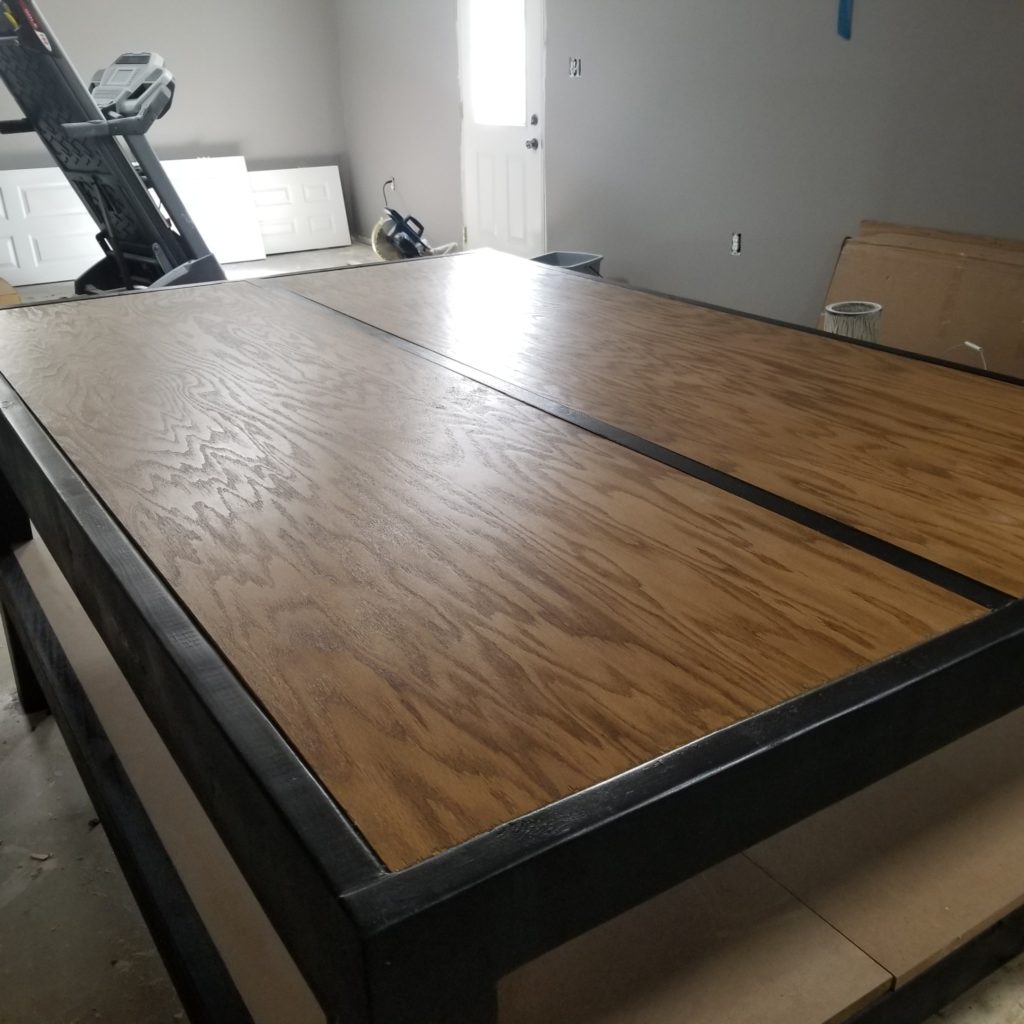
Back in August of last year I bought a table from one of the hottest Infinity terrain manufactures on the market, LosBlock. I picked up the City 3000 Armotek Corporate Unit bundle along with some other bits. The spark to paint it hit me on Monday and I’ve decided to get cranking.

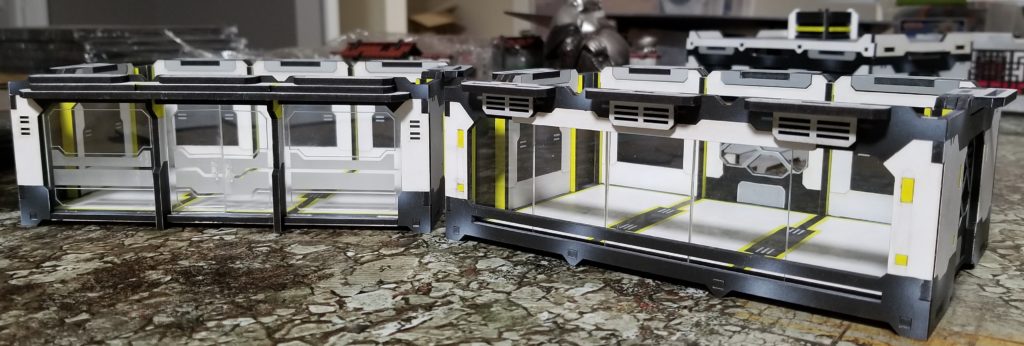
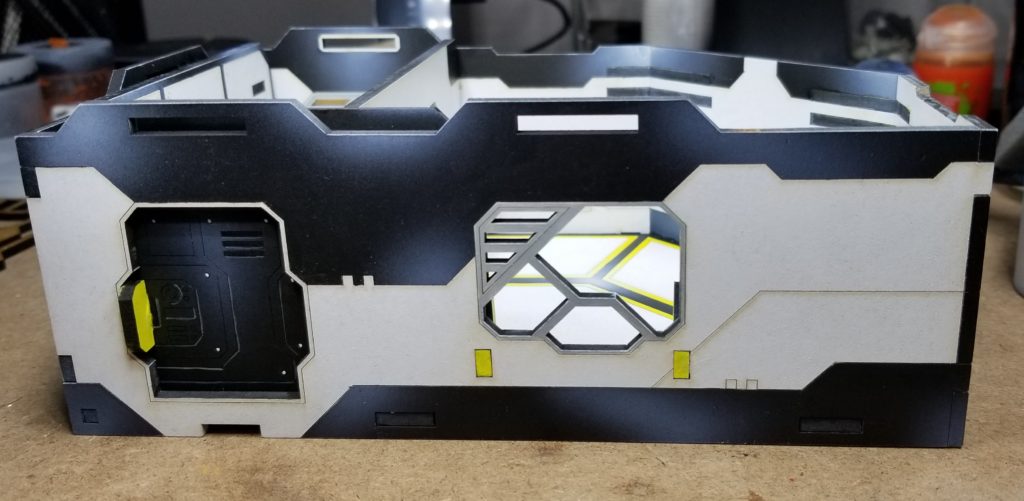
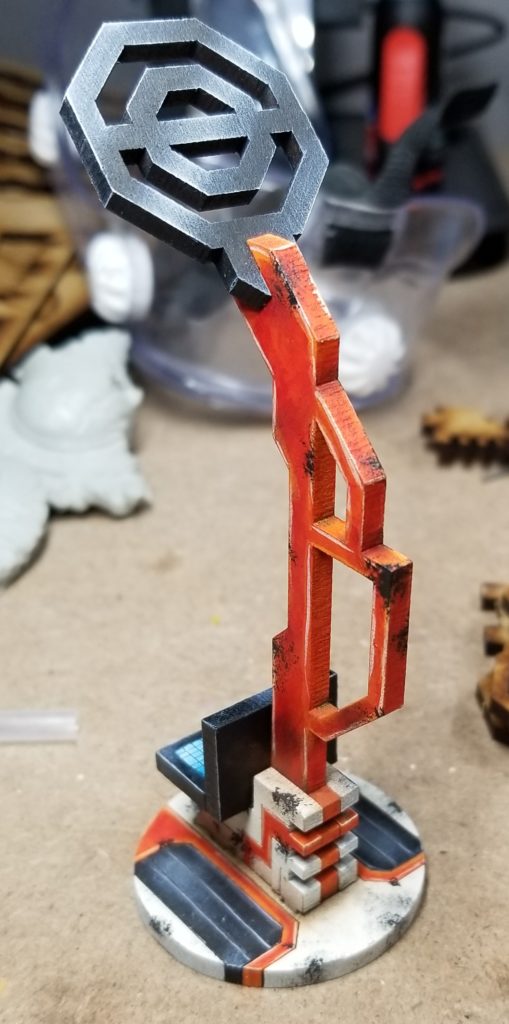
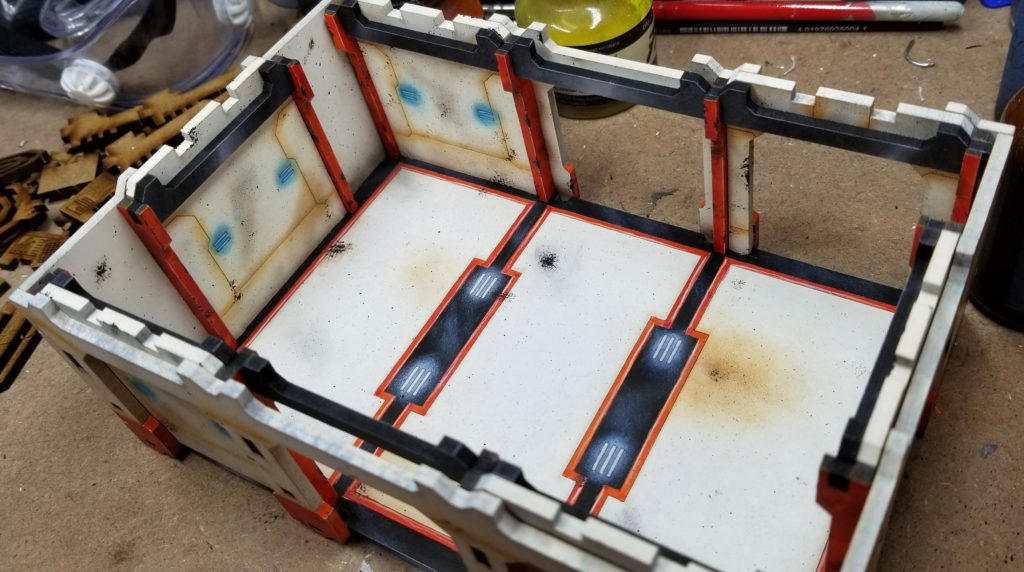
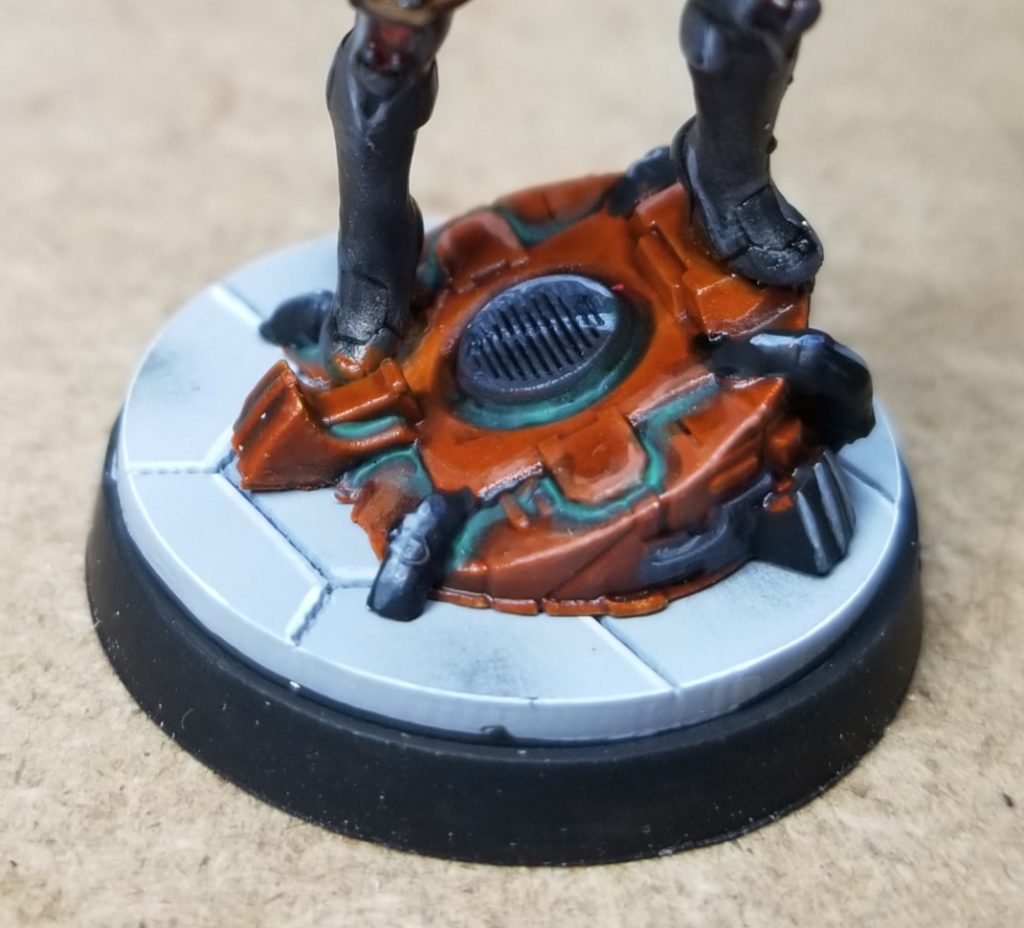
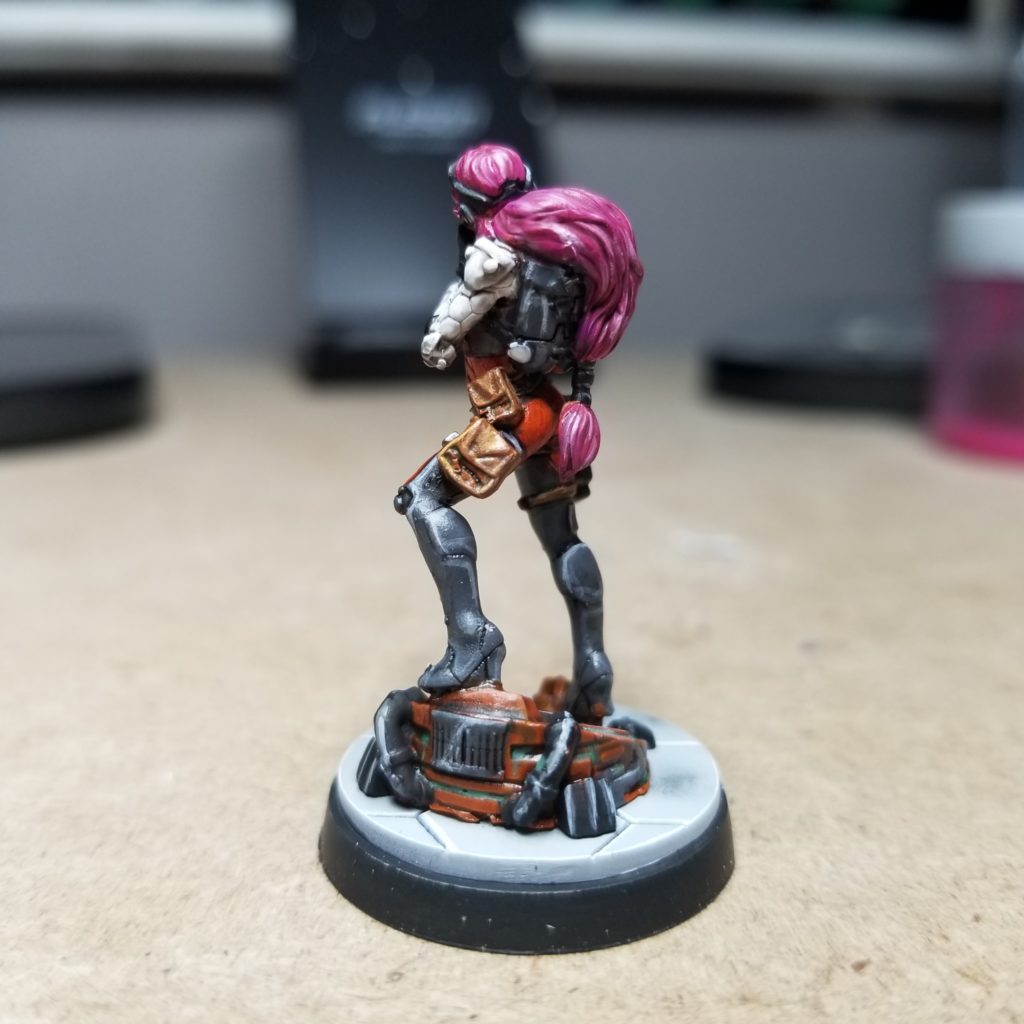
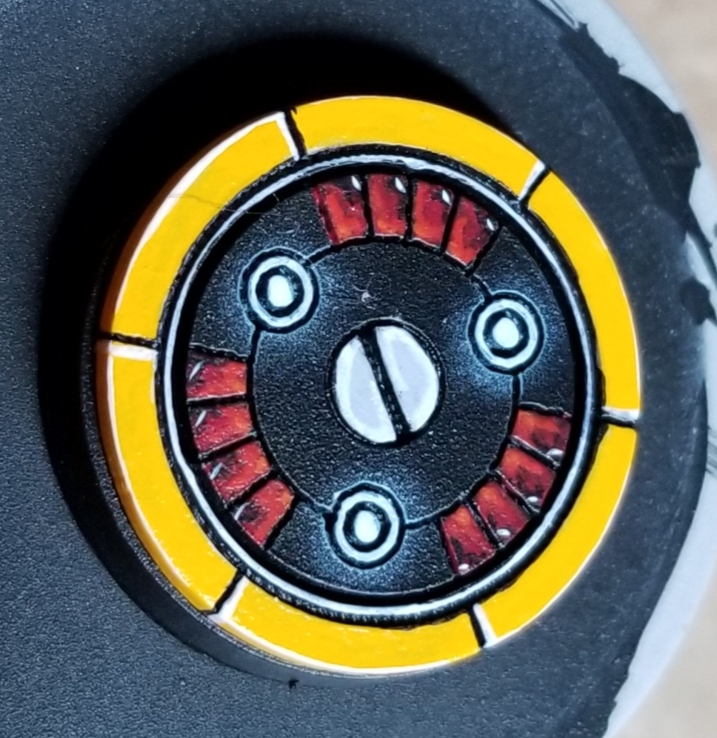
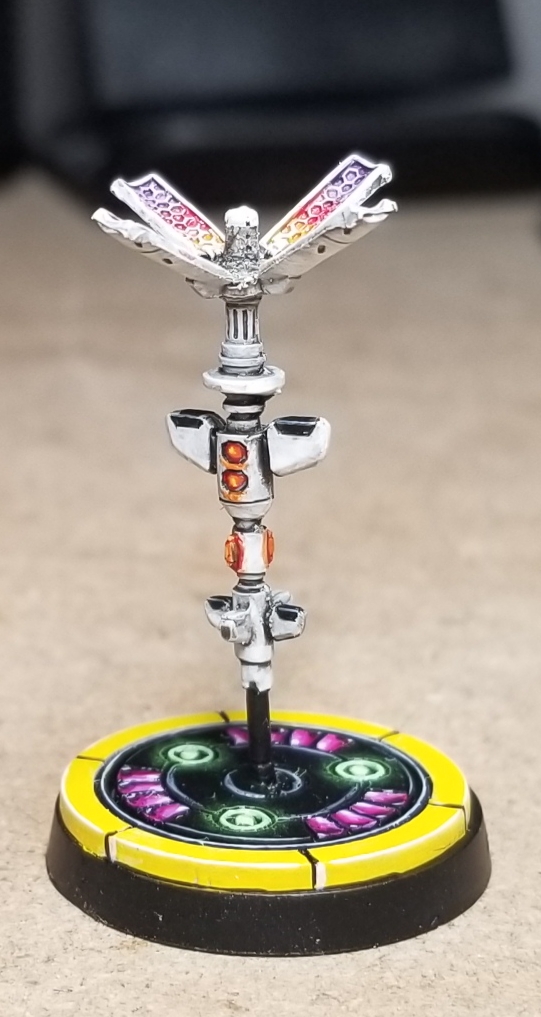
Trying to find a scheme to do this terrain justice was a real bother. Here’s my first attempt:

I stole this scheme from the Warsenal (another badass manufacturer) Cosmica line. I tried the scheme out on an objective piece I got from Wild Land and expanded into one of my Universal Module buildings from the LosBlock set.

My good friend Robert reminded me that I initially purchased this bundle to be my Aleph table and I was going down the damaged weathered look again. I already have a table that looks beat to hell with my Yu Jing compound, and I should go in a different direction. I needed to paint ‘clean’.

Let me tell you something, that “painting clean” concept was/is a real struggle to understand for me. I have this infatuation with applying ‘visual interest’ to everything I paint. This infatuation can get WAY out of hand and I can end up going too far like I did with the Yu Jing Compound. Don’t get it twisted, I love that table, but looking back at my work I can see I went overboard with the colors and weathering. The hunt for ‘Visual Interest’ consumed the whole project. I found myself slipping back into that with this scheme.

Robert reminded me that the LosBlock terrain does not need help to look good. I needed to restrain my desire to pump detail into this project and let the architecture speak for itself. Don’t ‘Gild the Lilly’ if you will. No weathering. No layered highlights. No dark shading. No excessive detail. So, I went back to the drawing board…

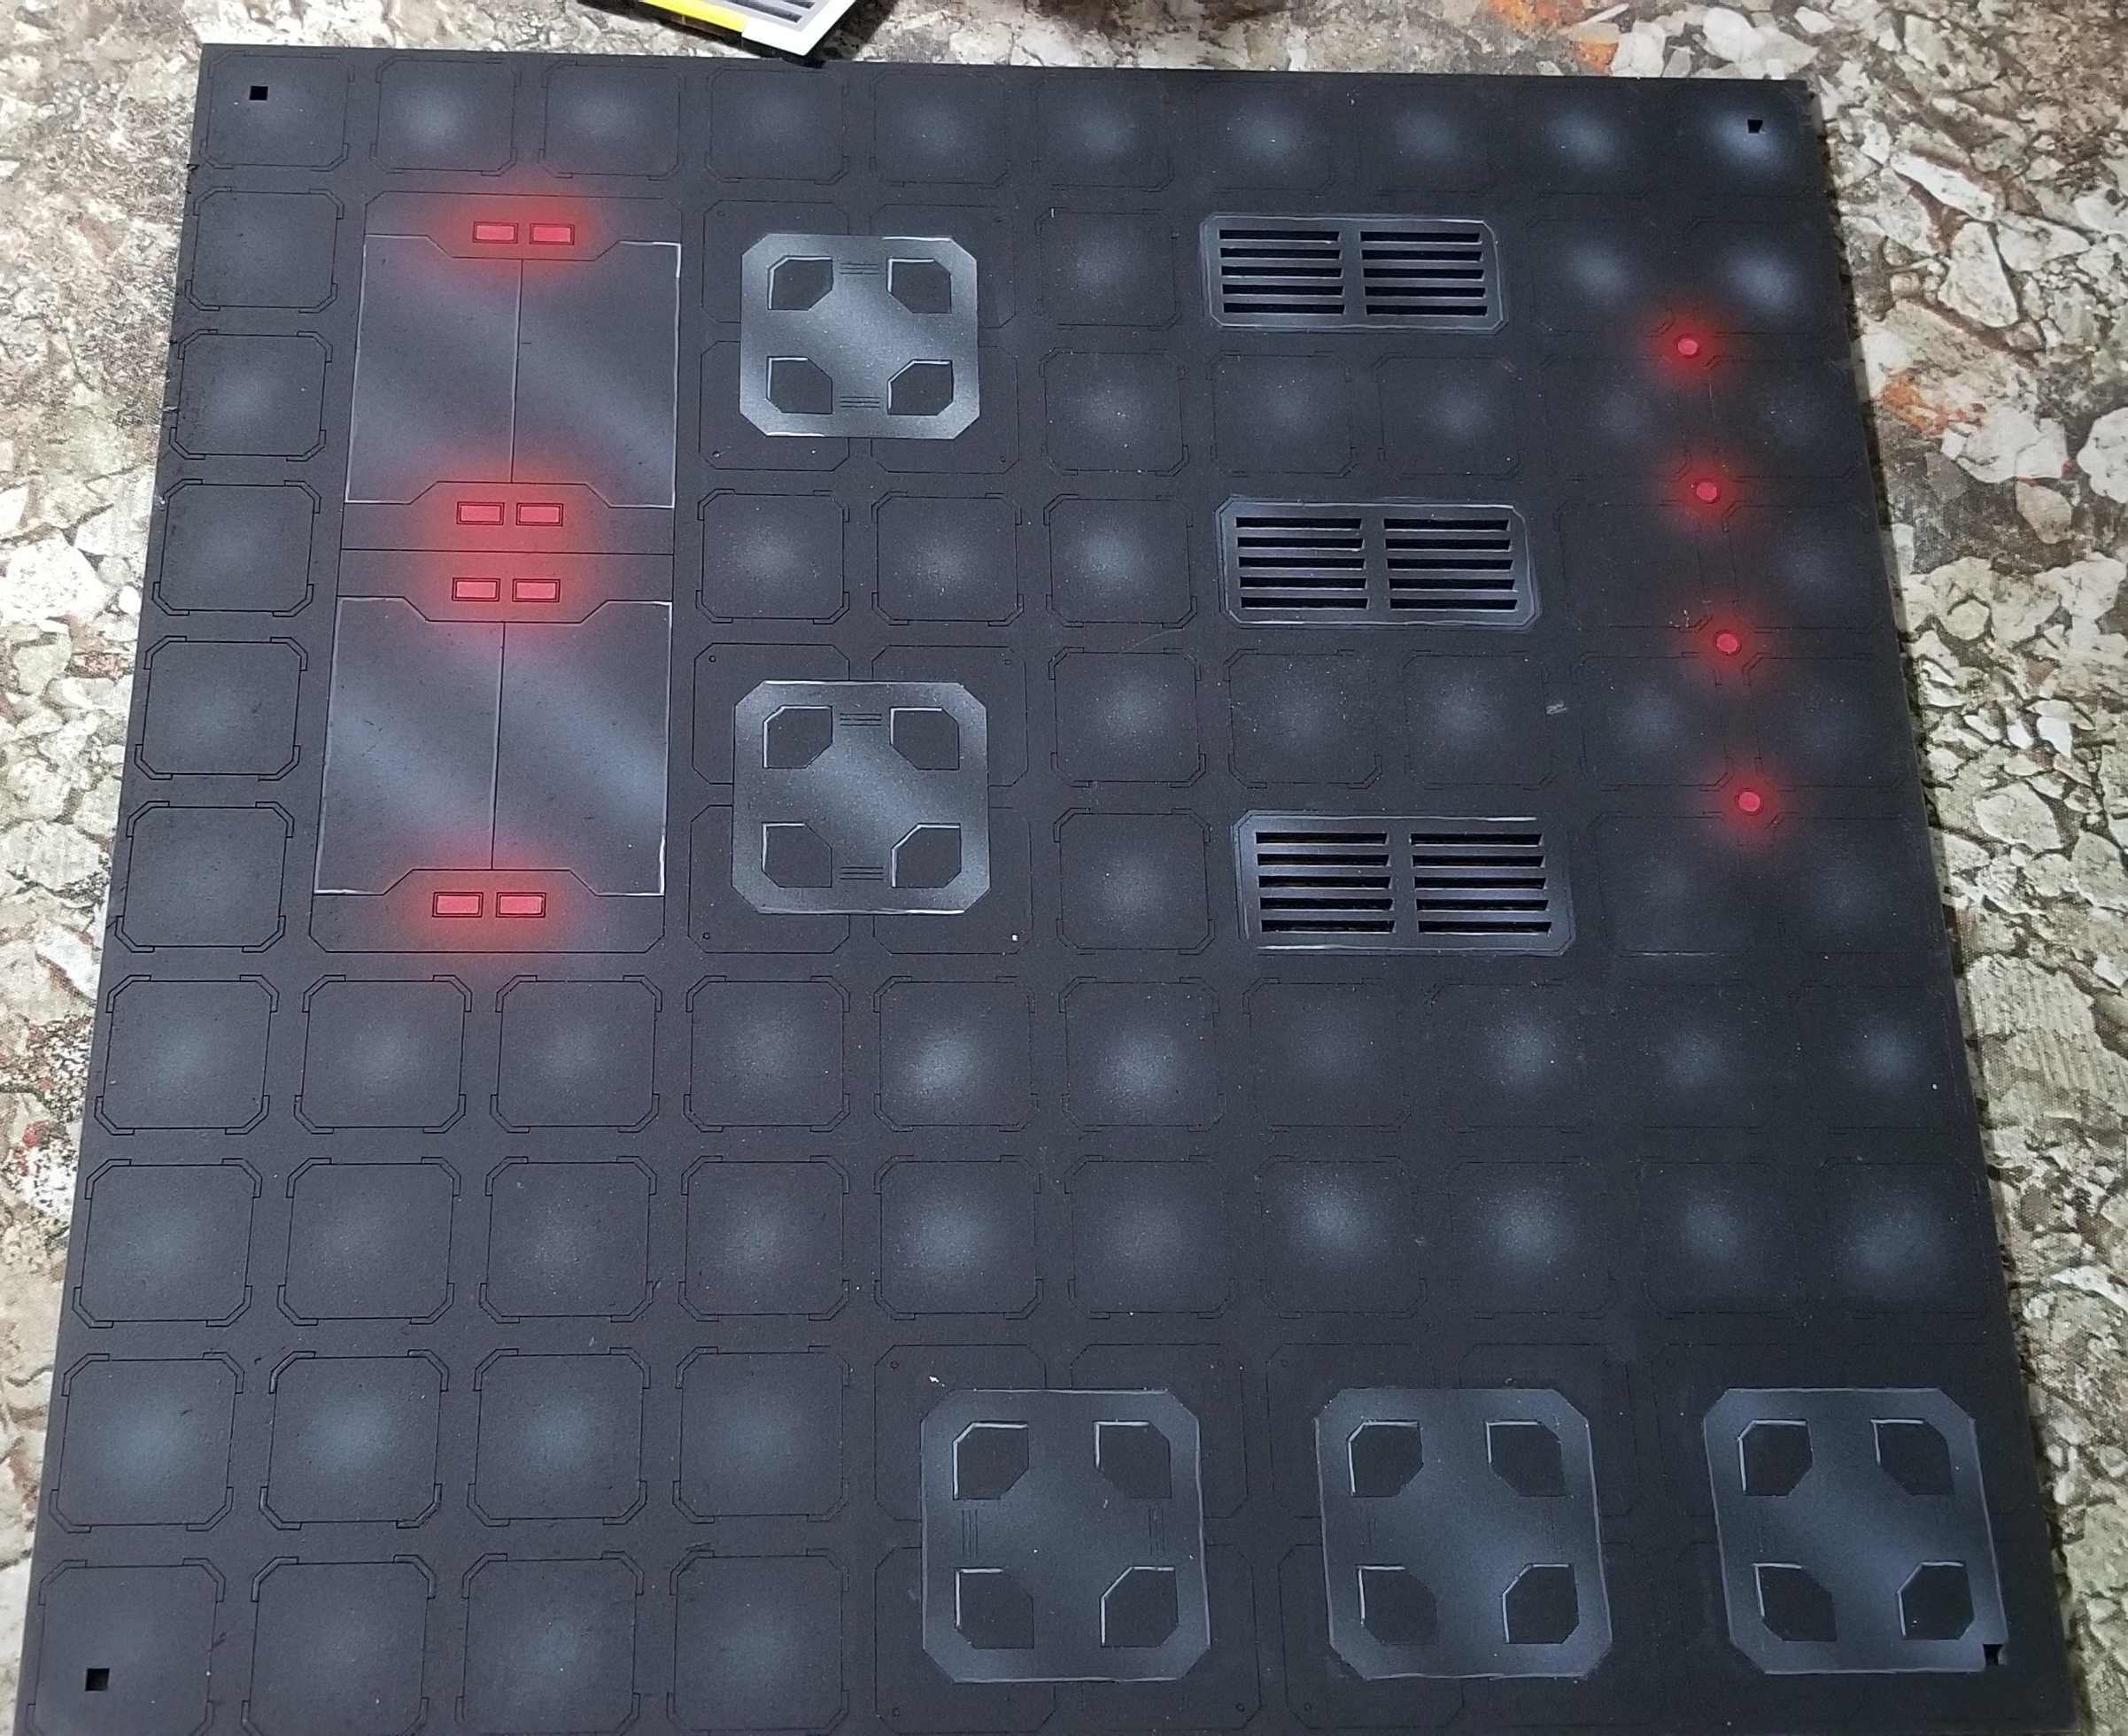
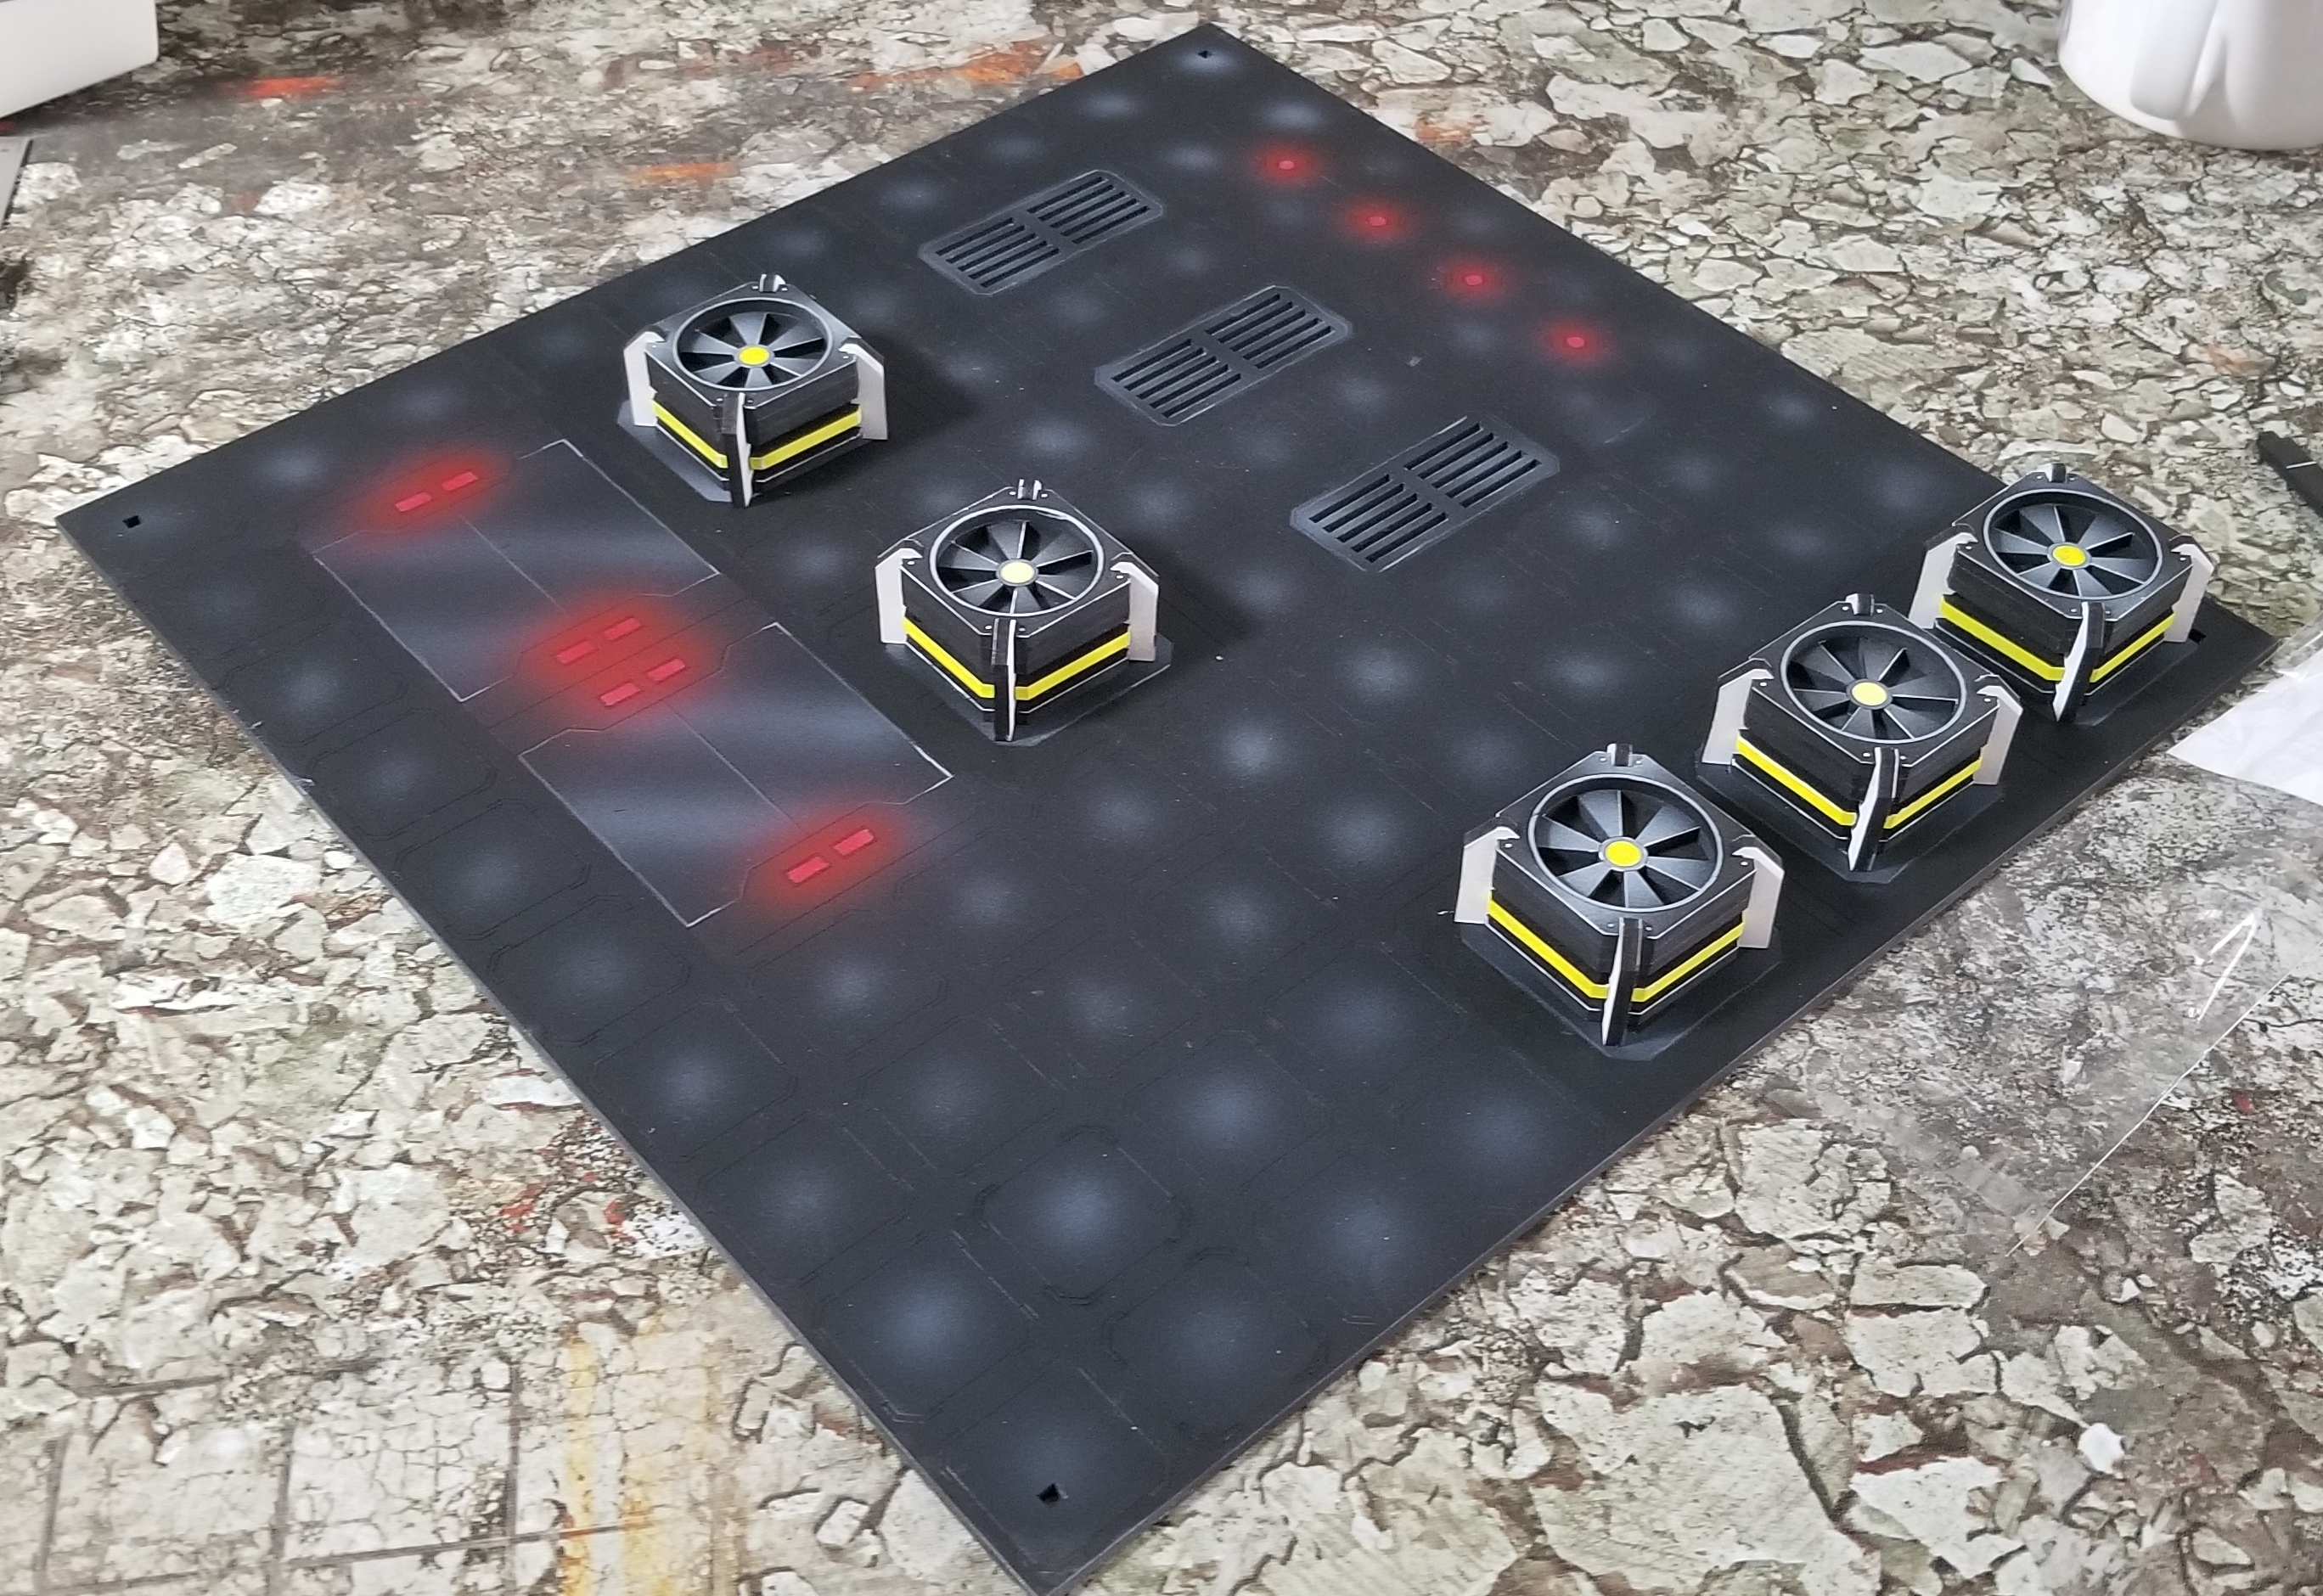
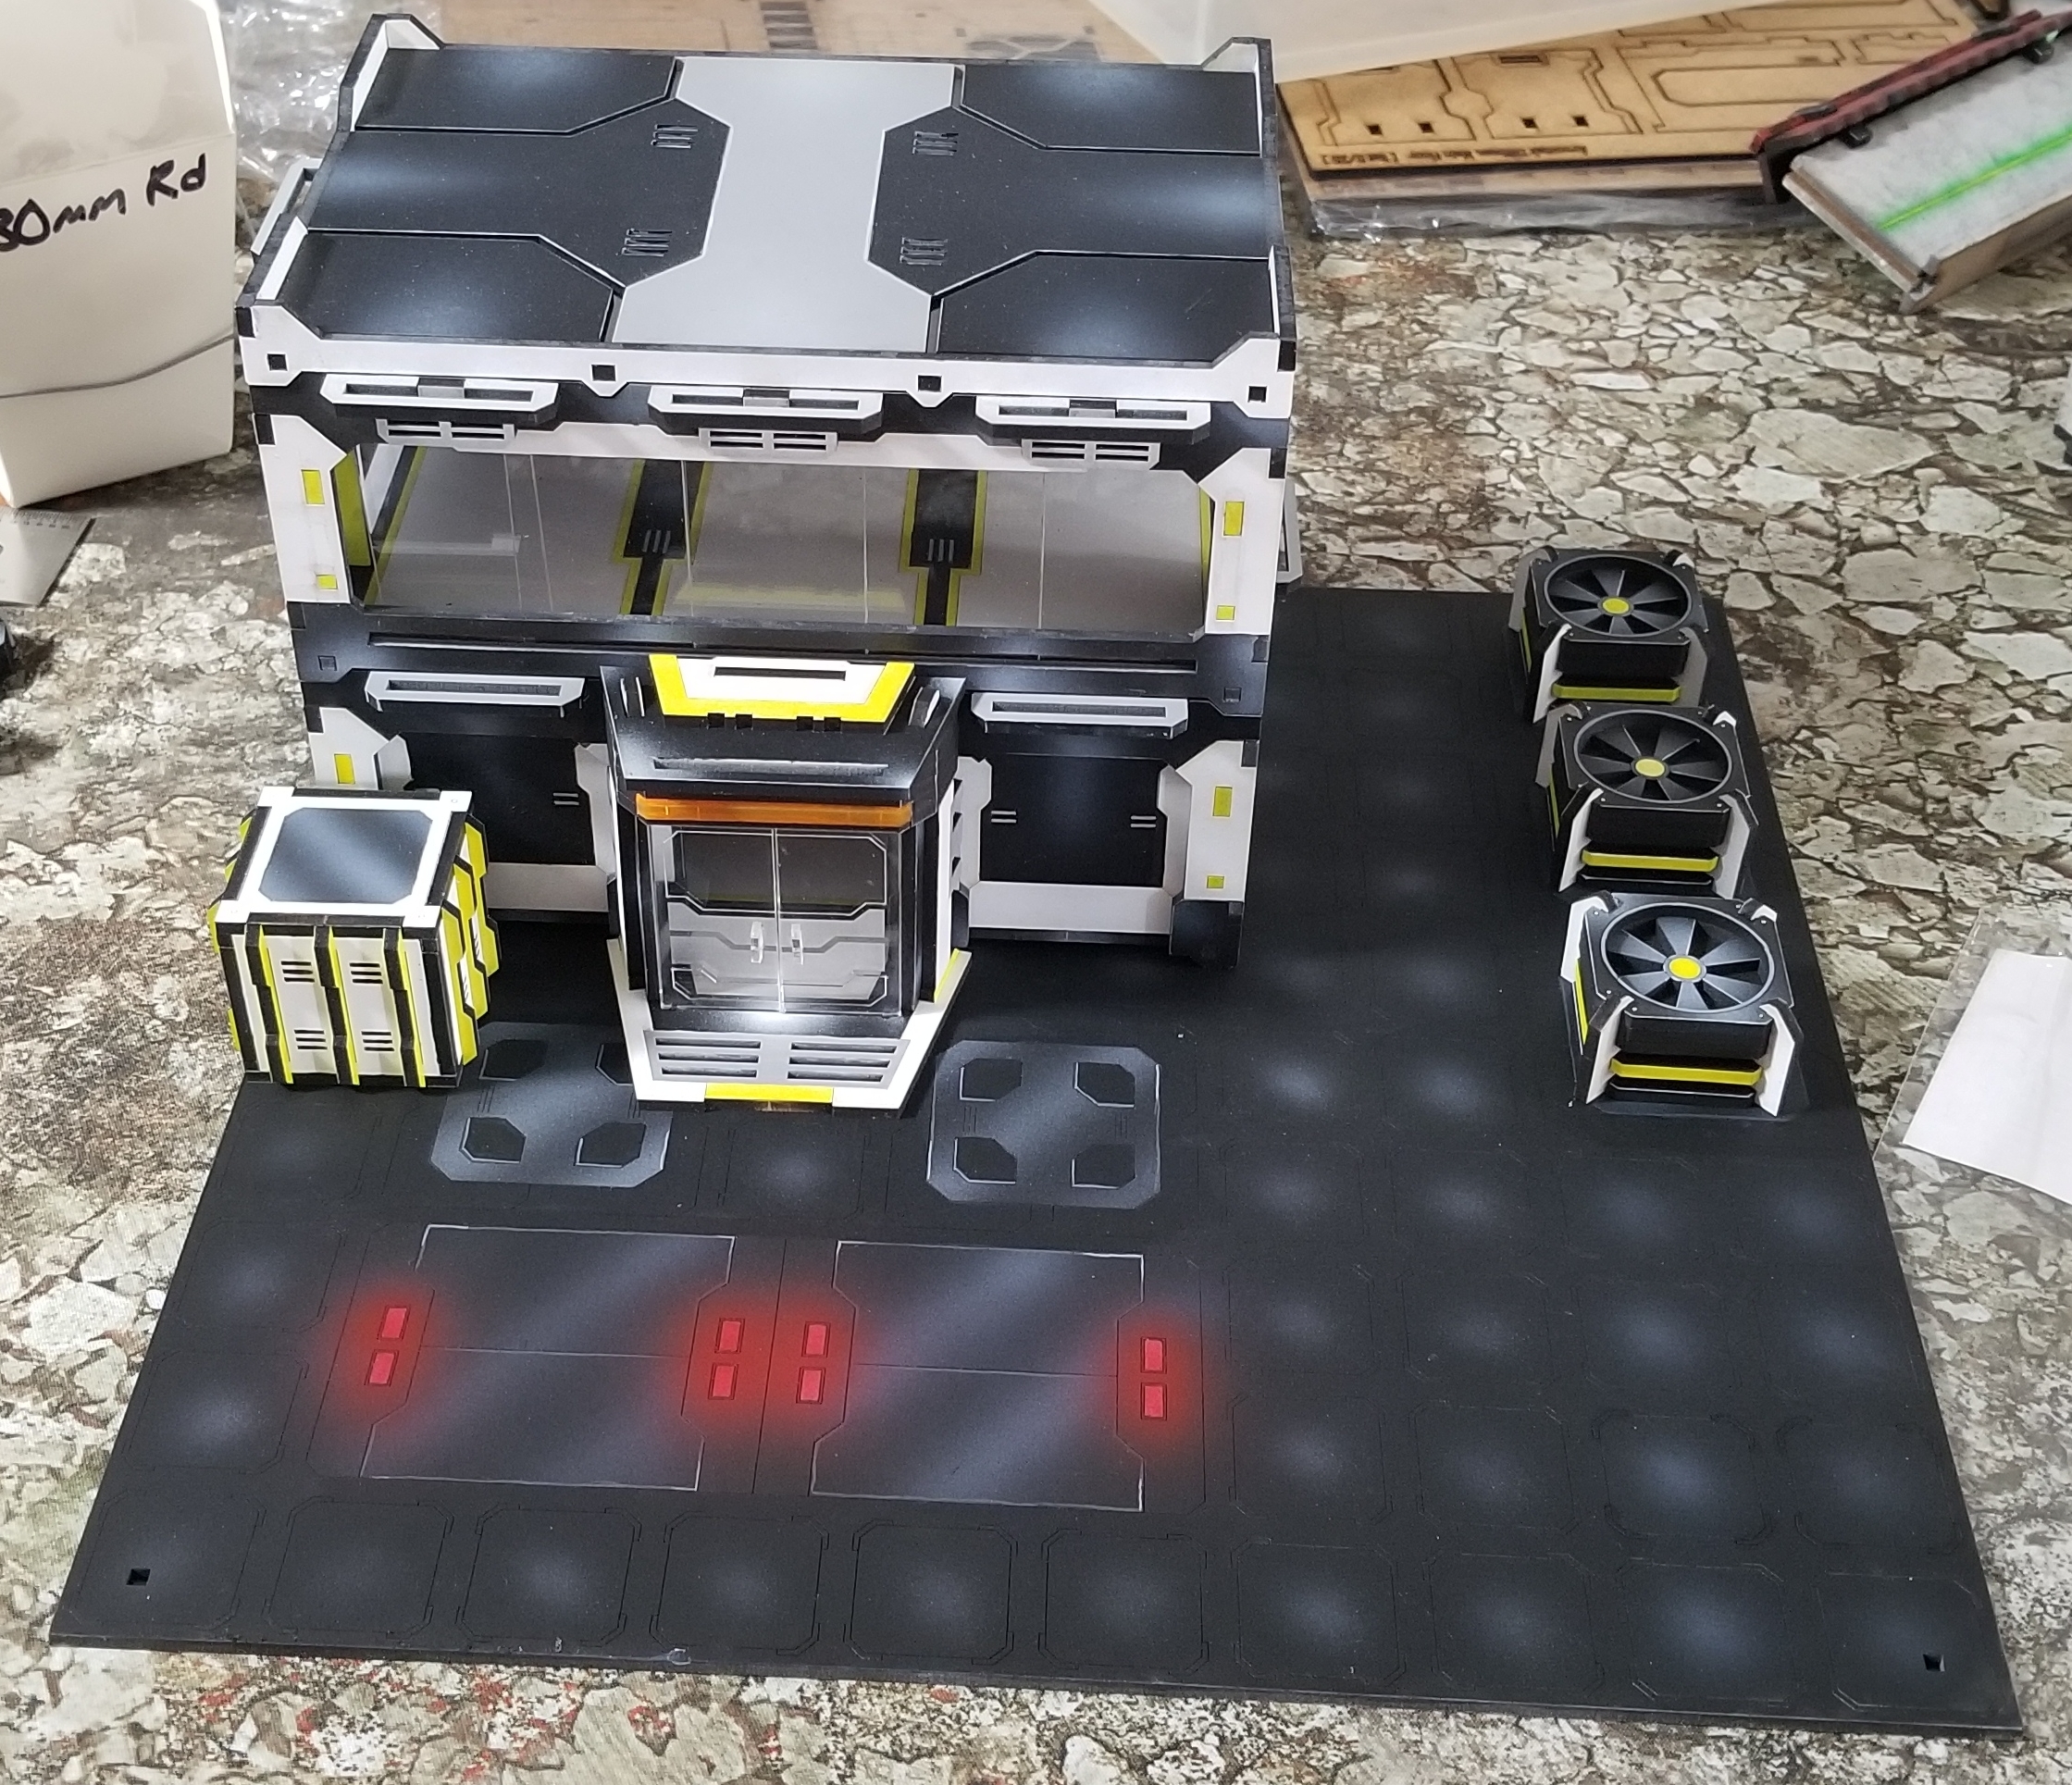
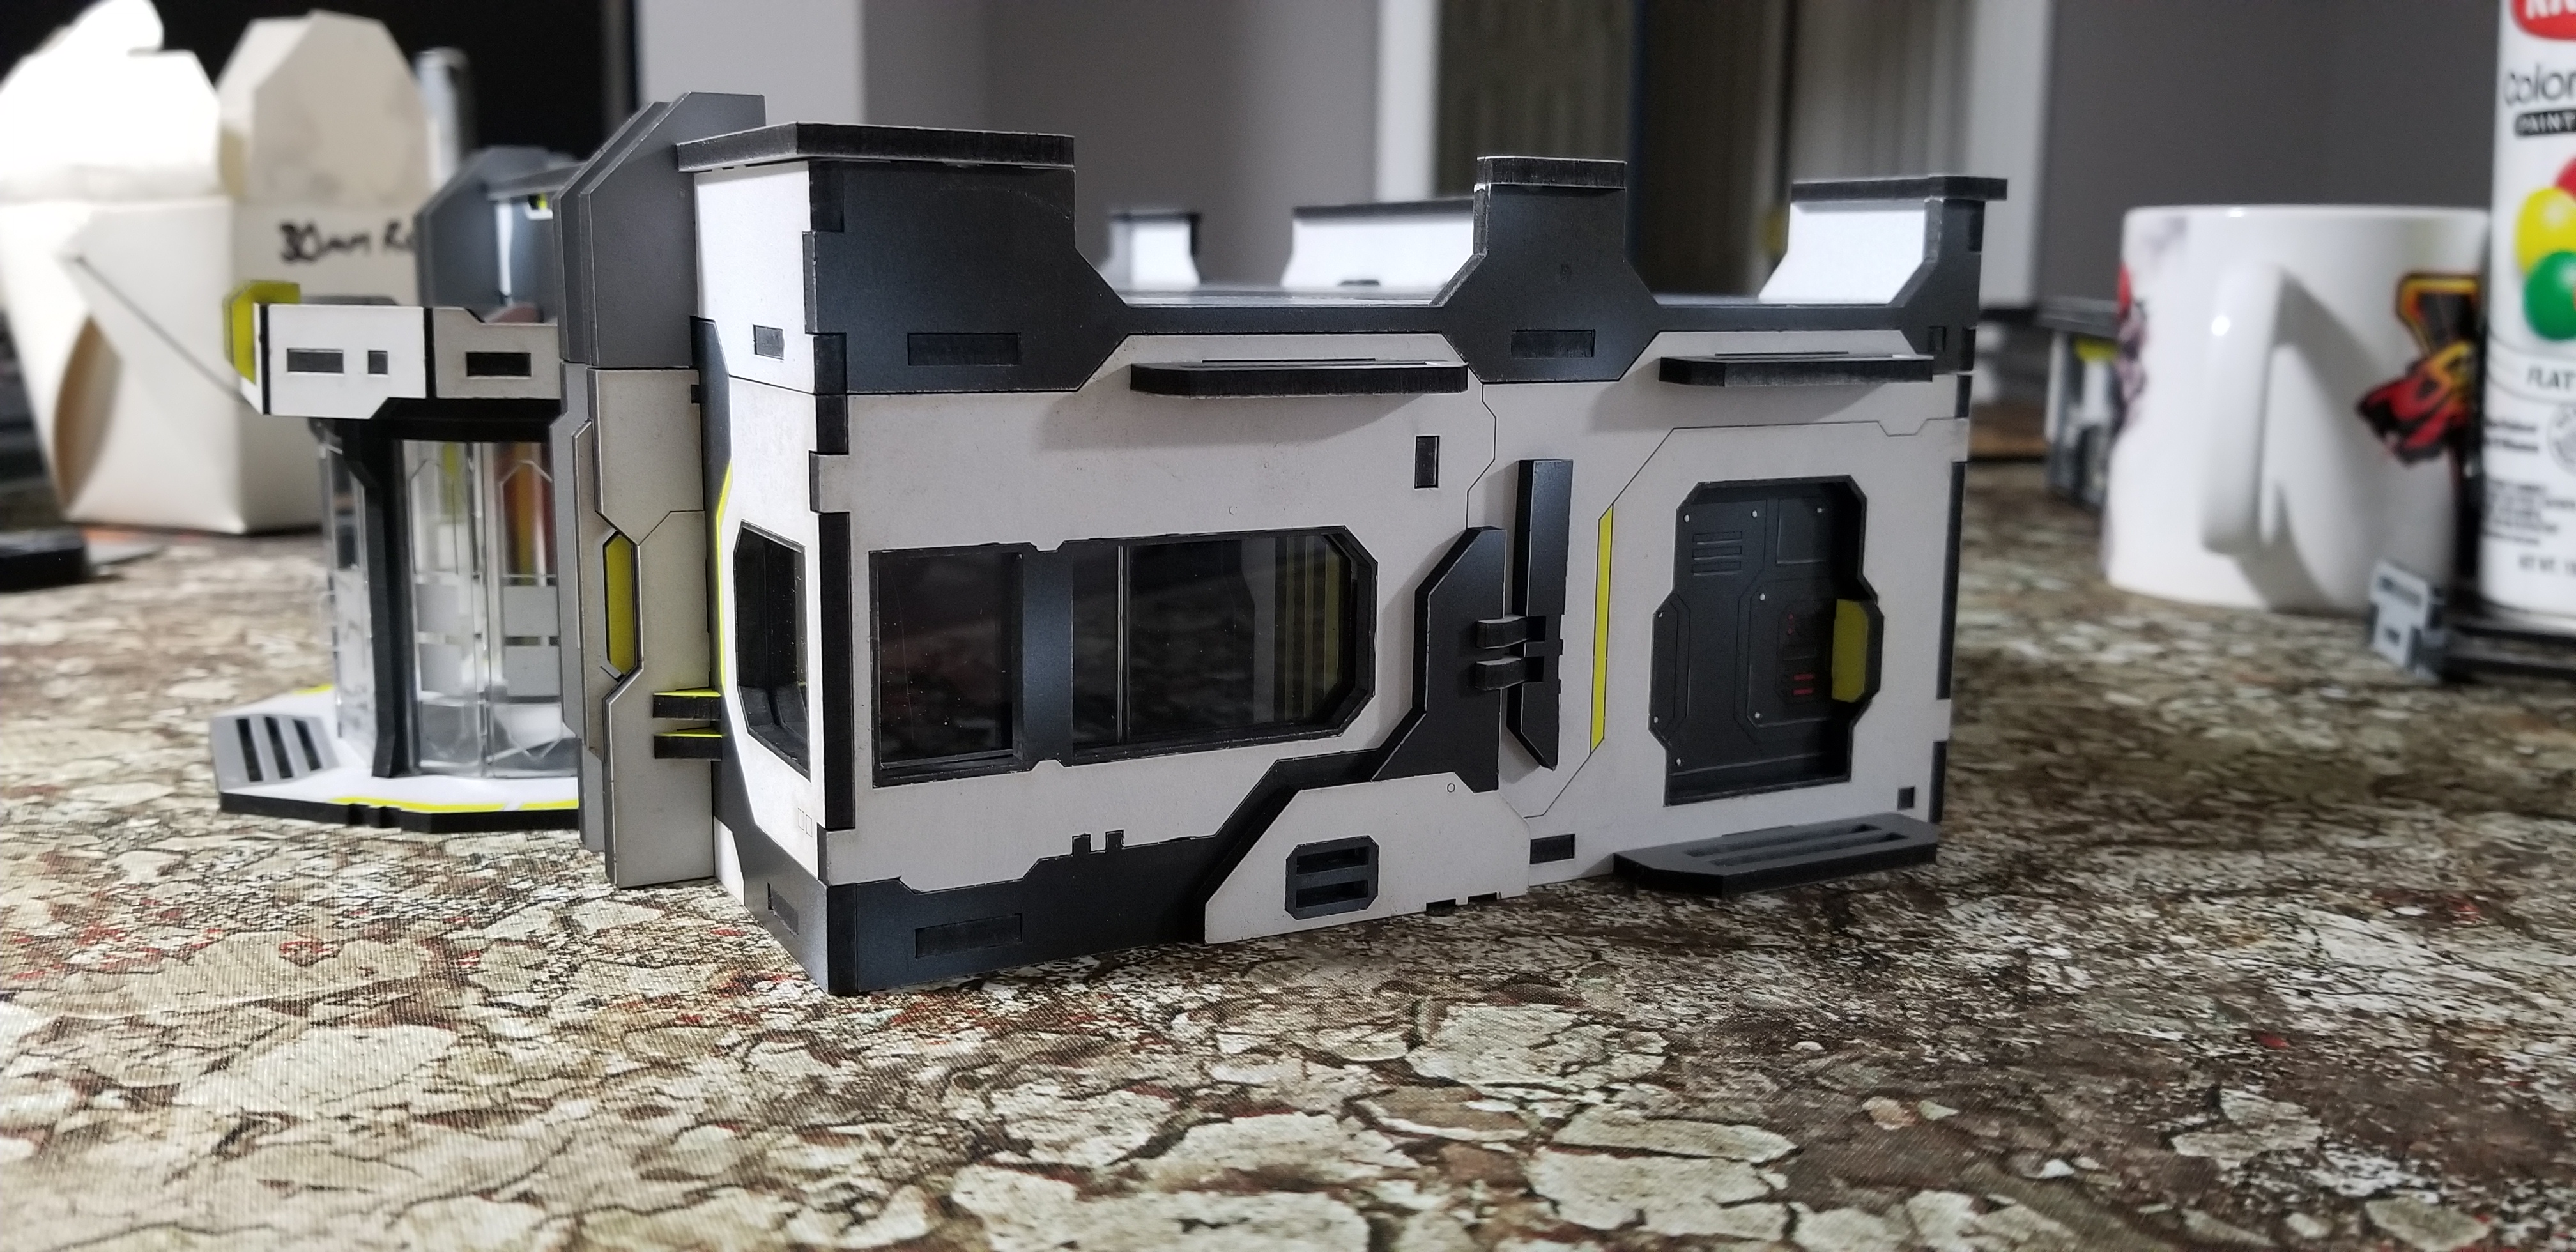
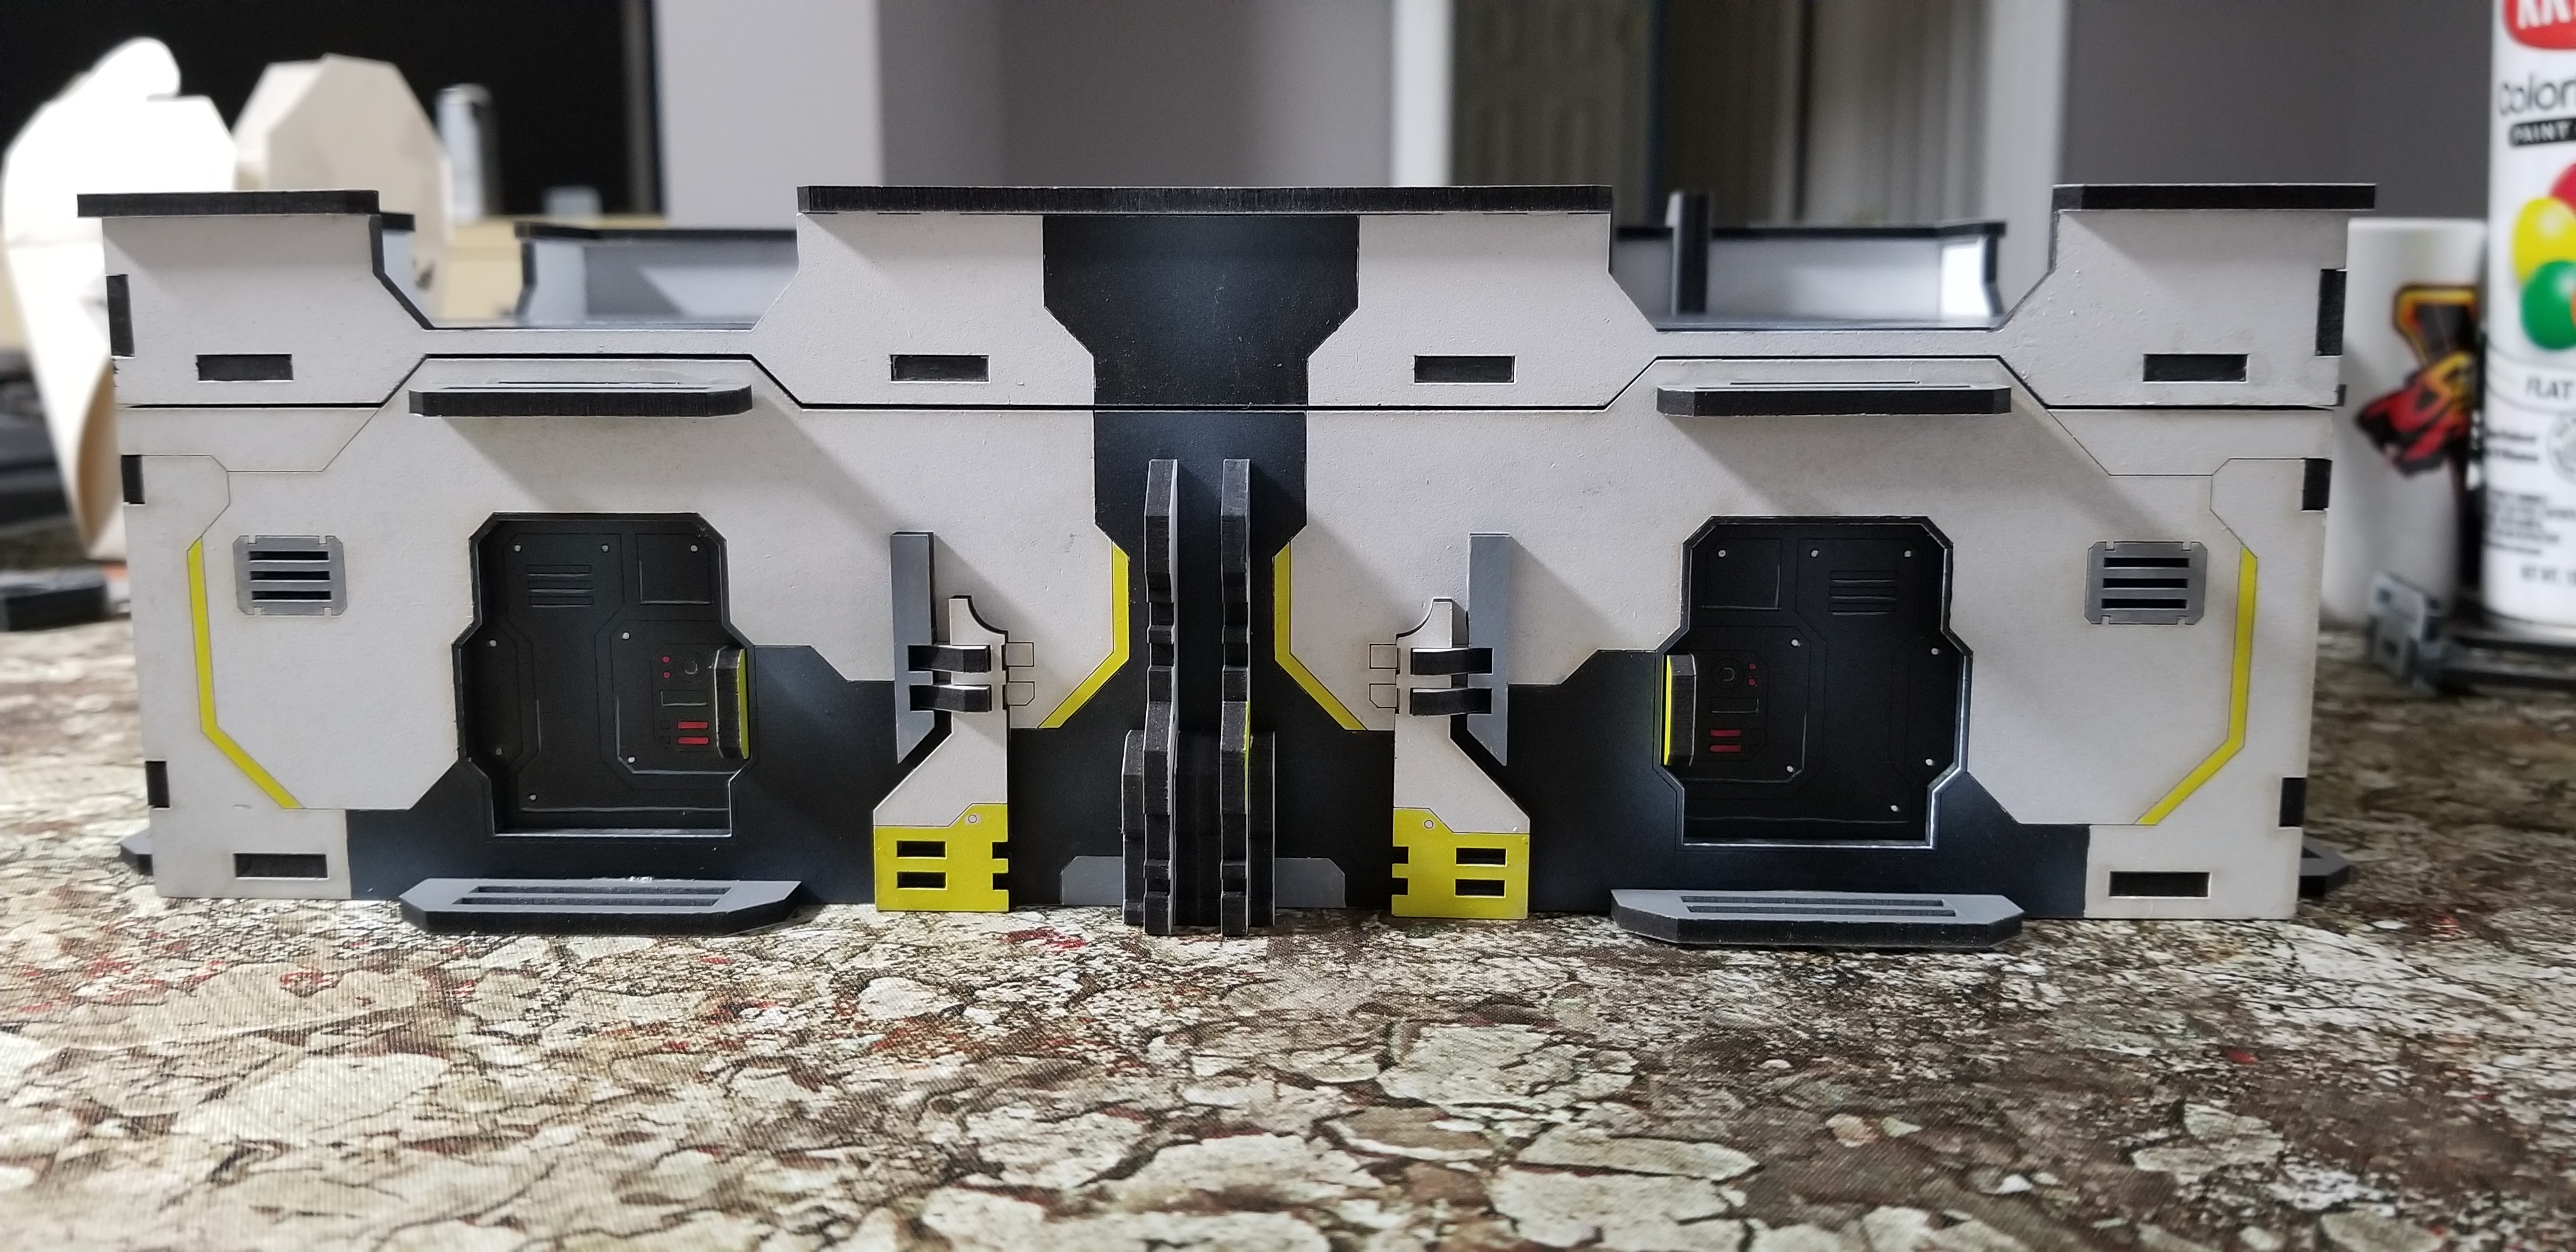
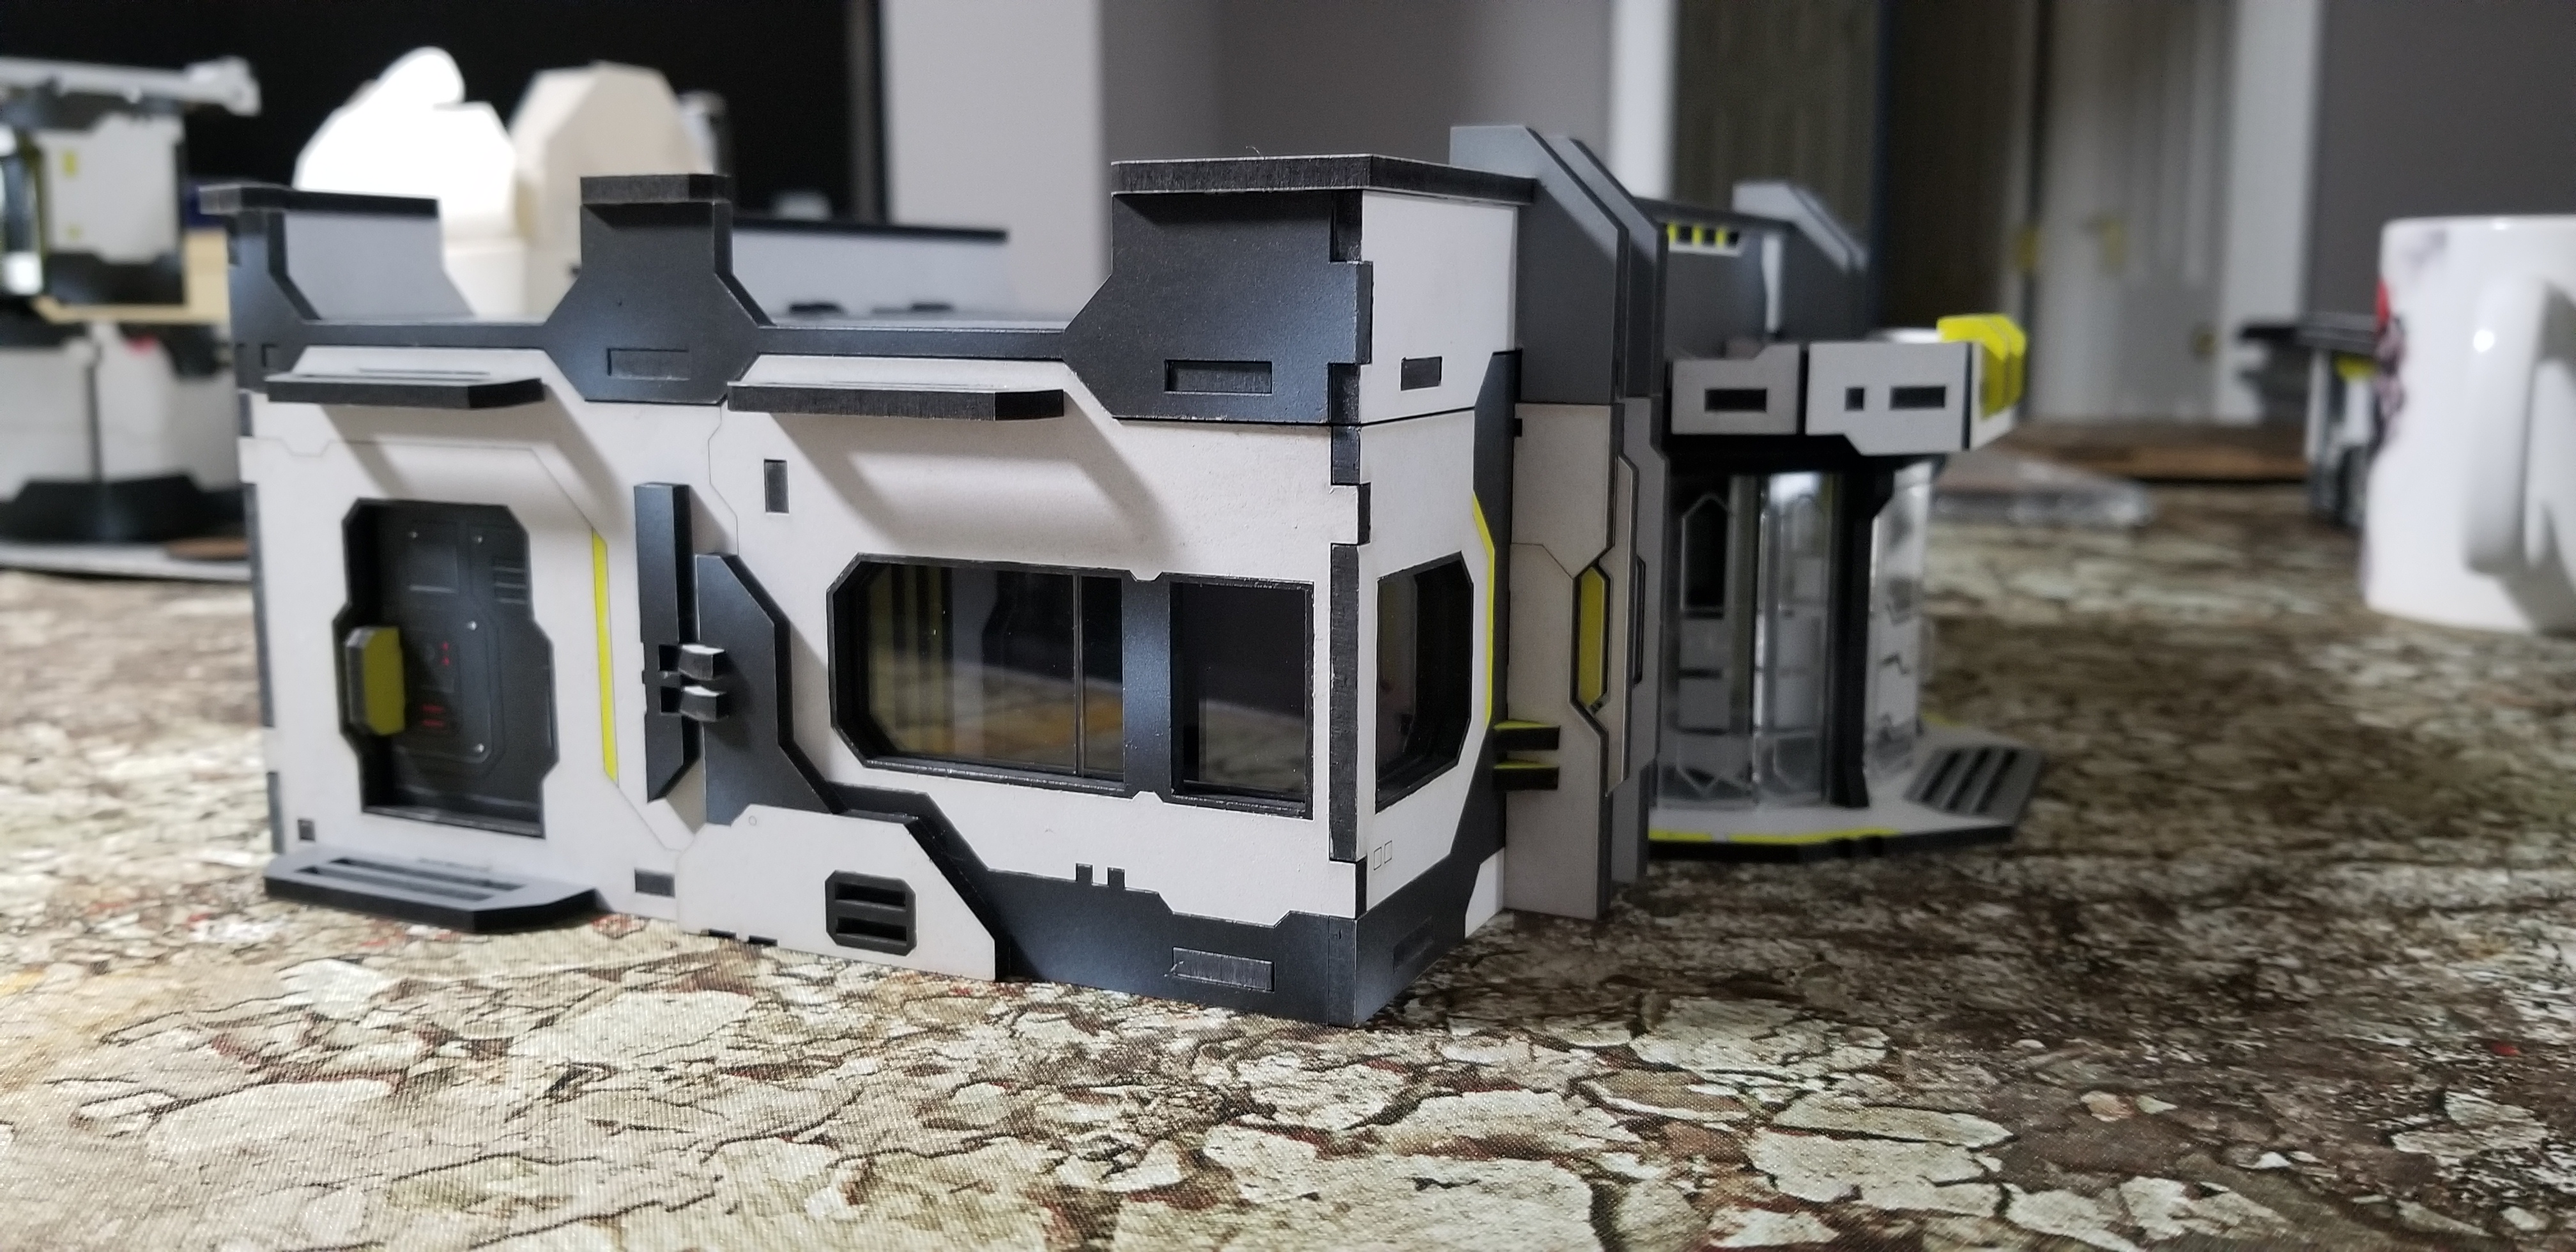
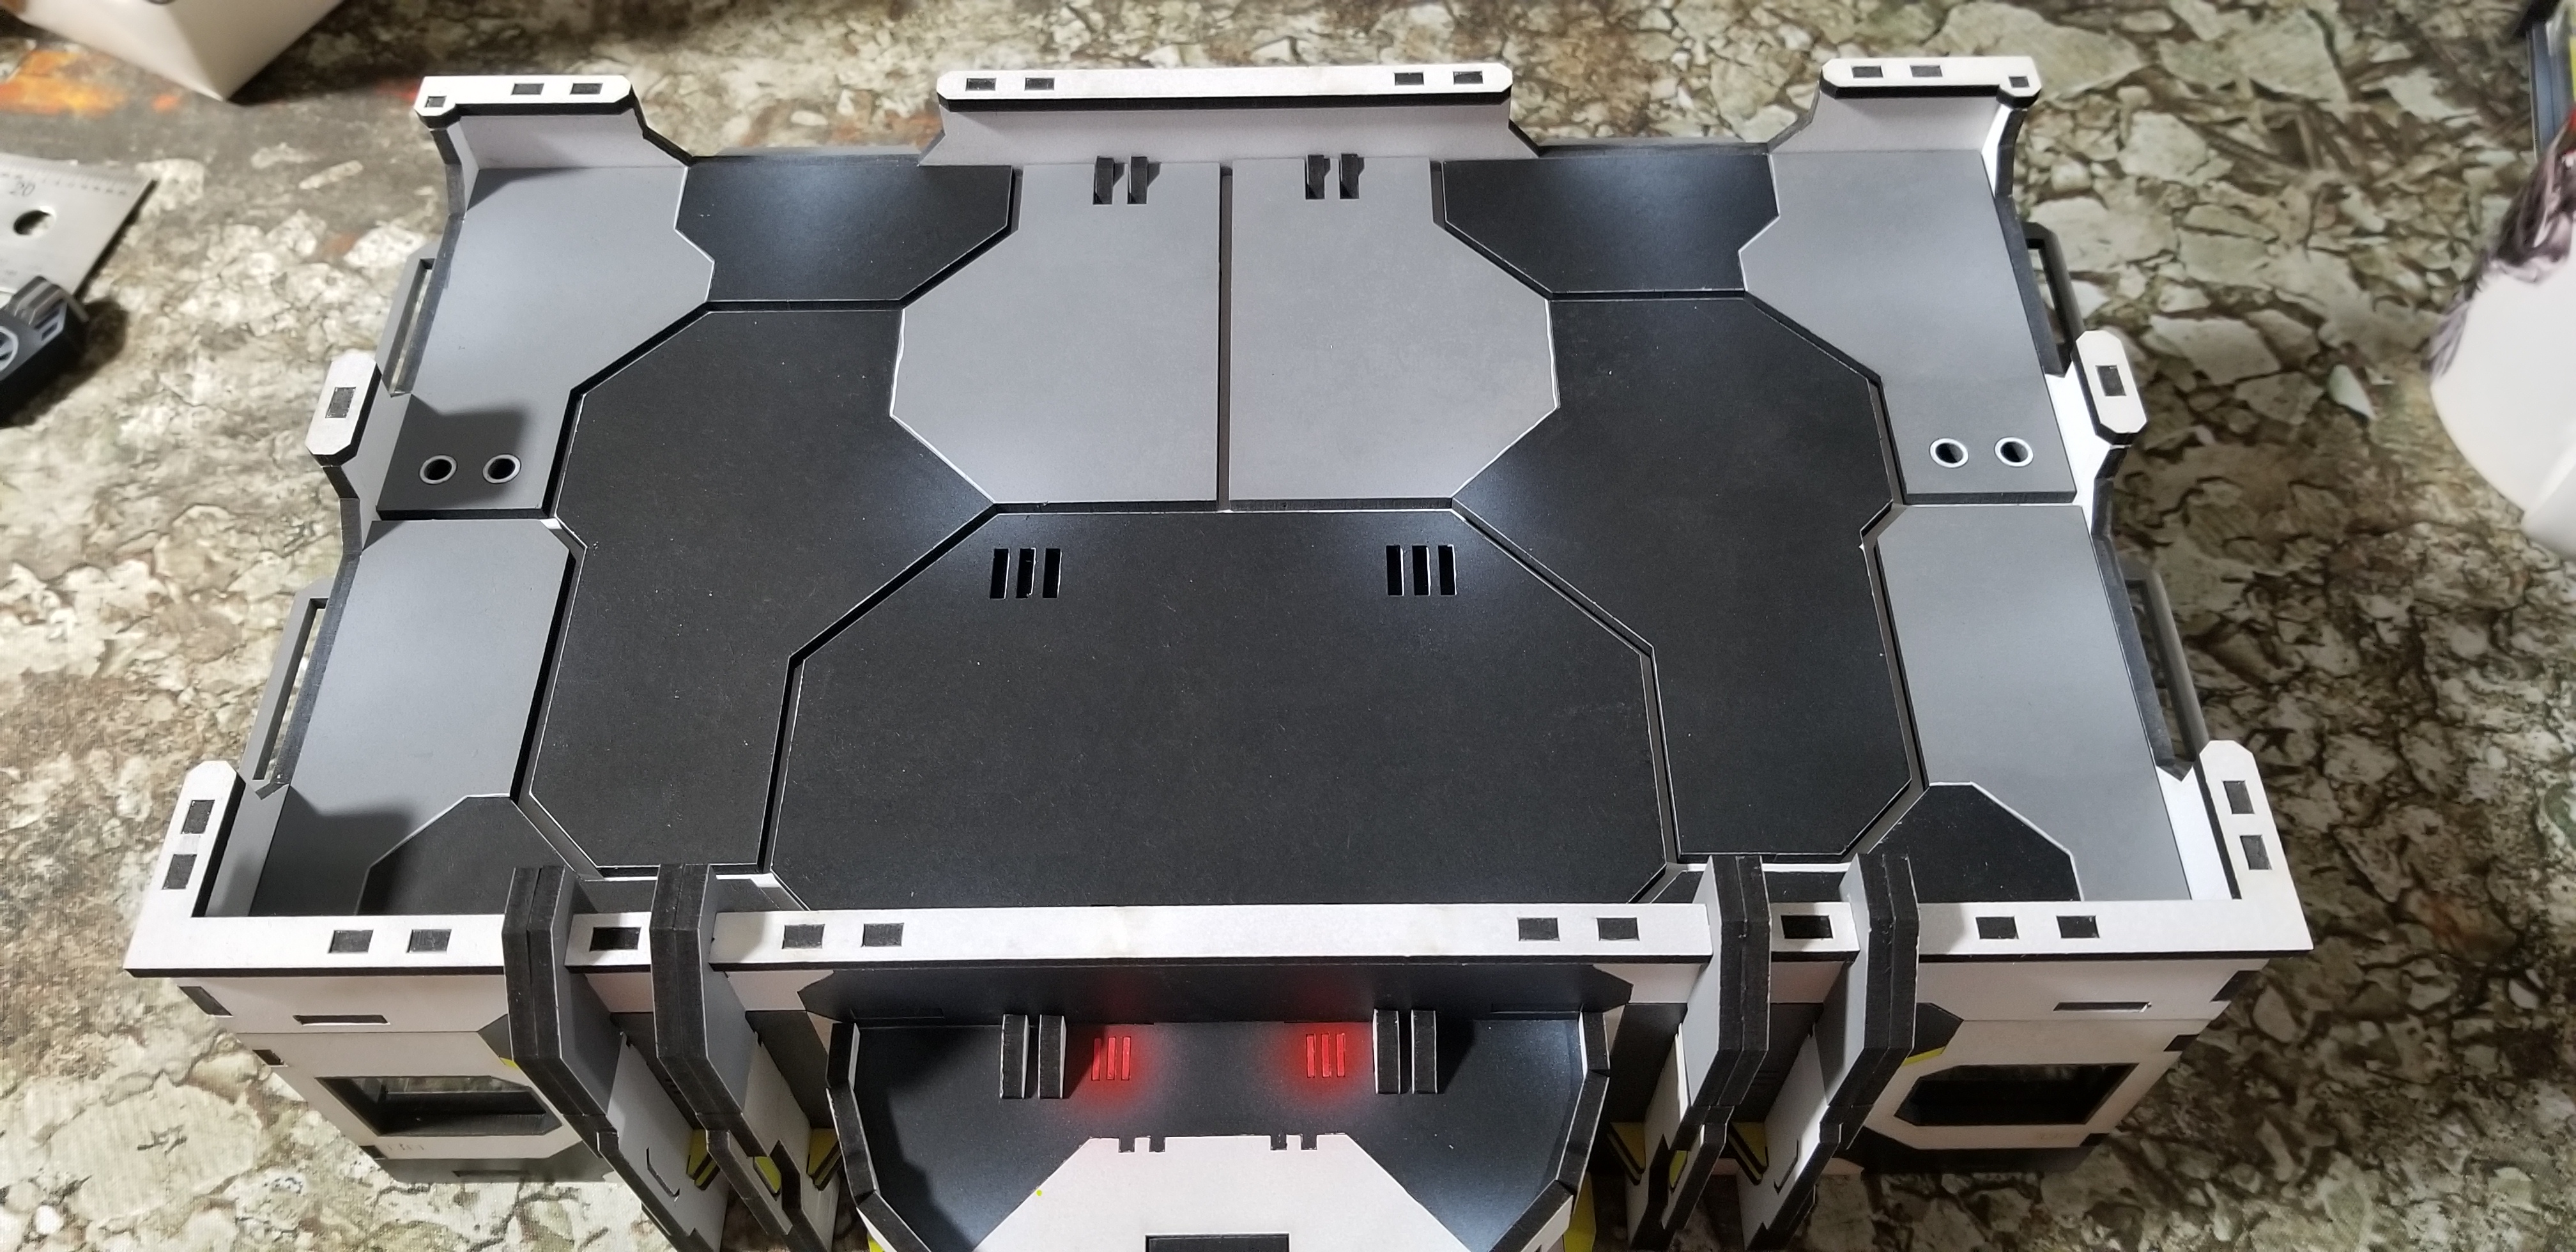
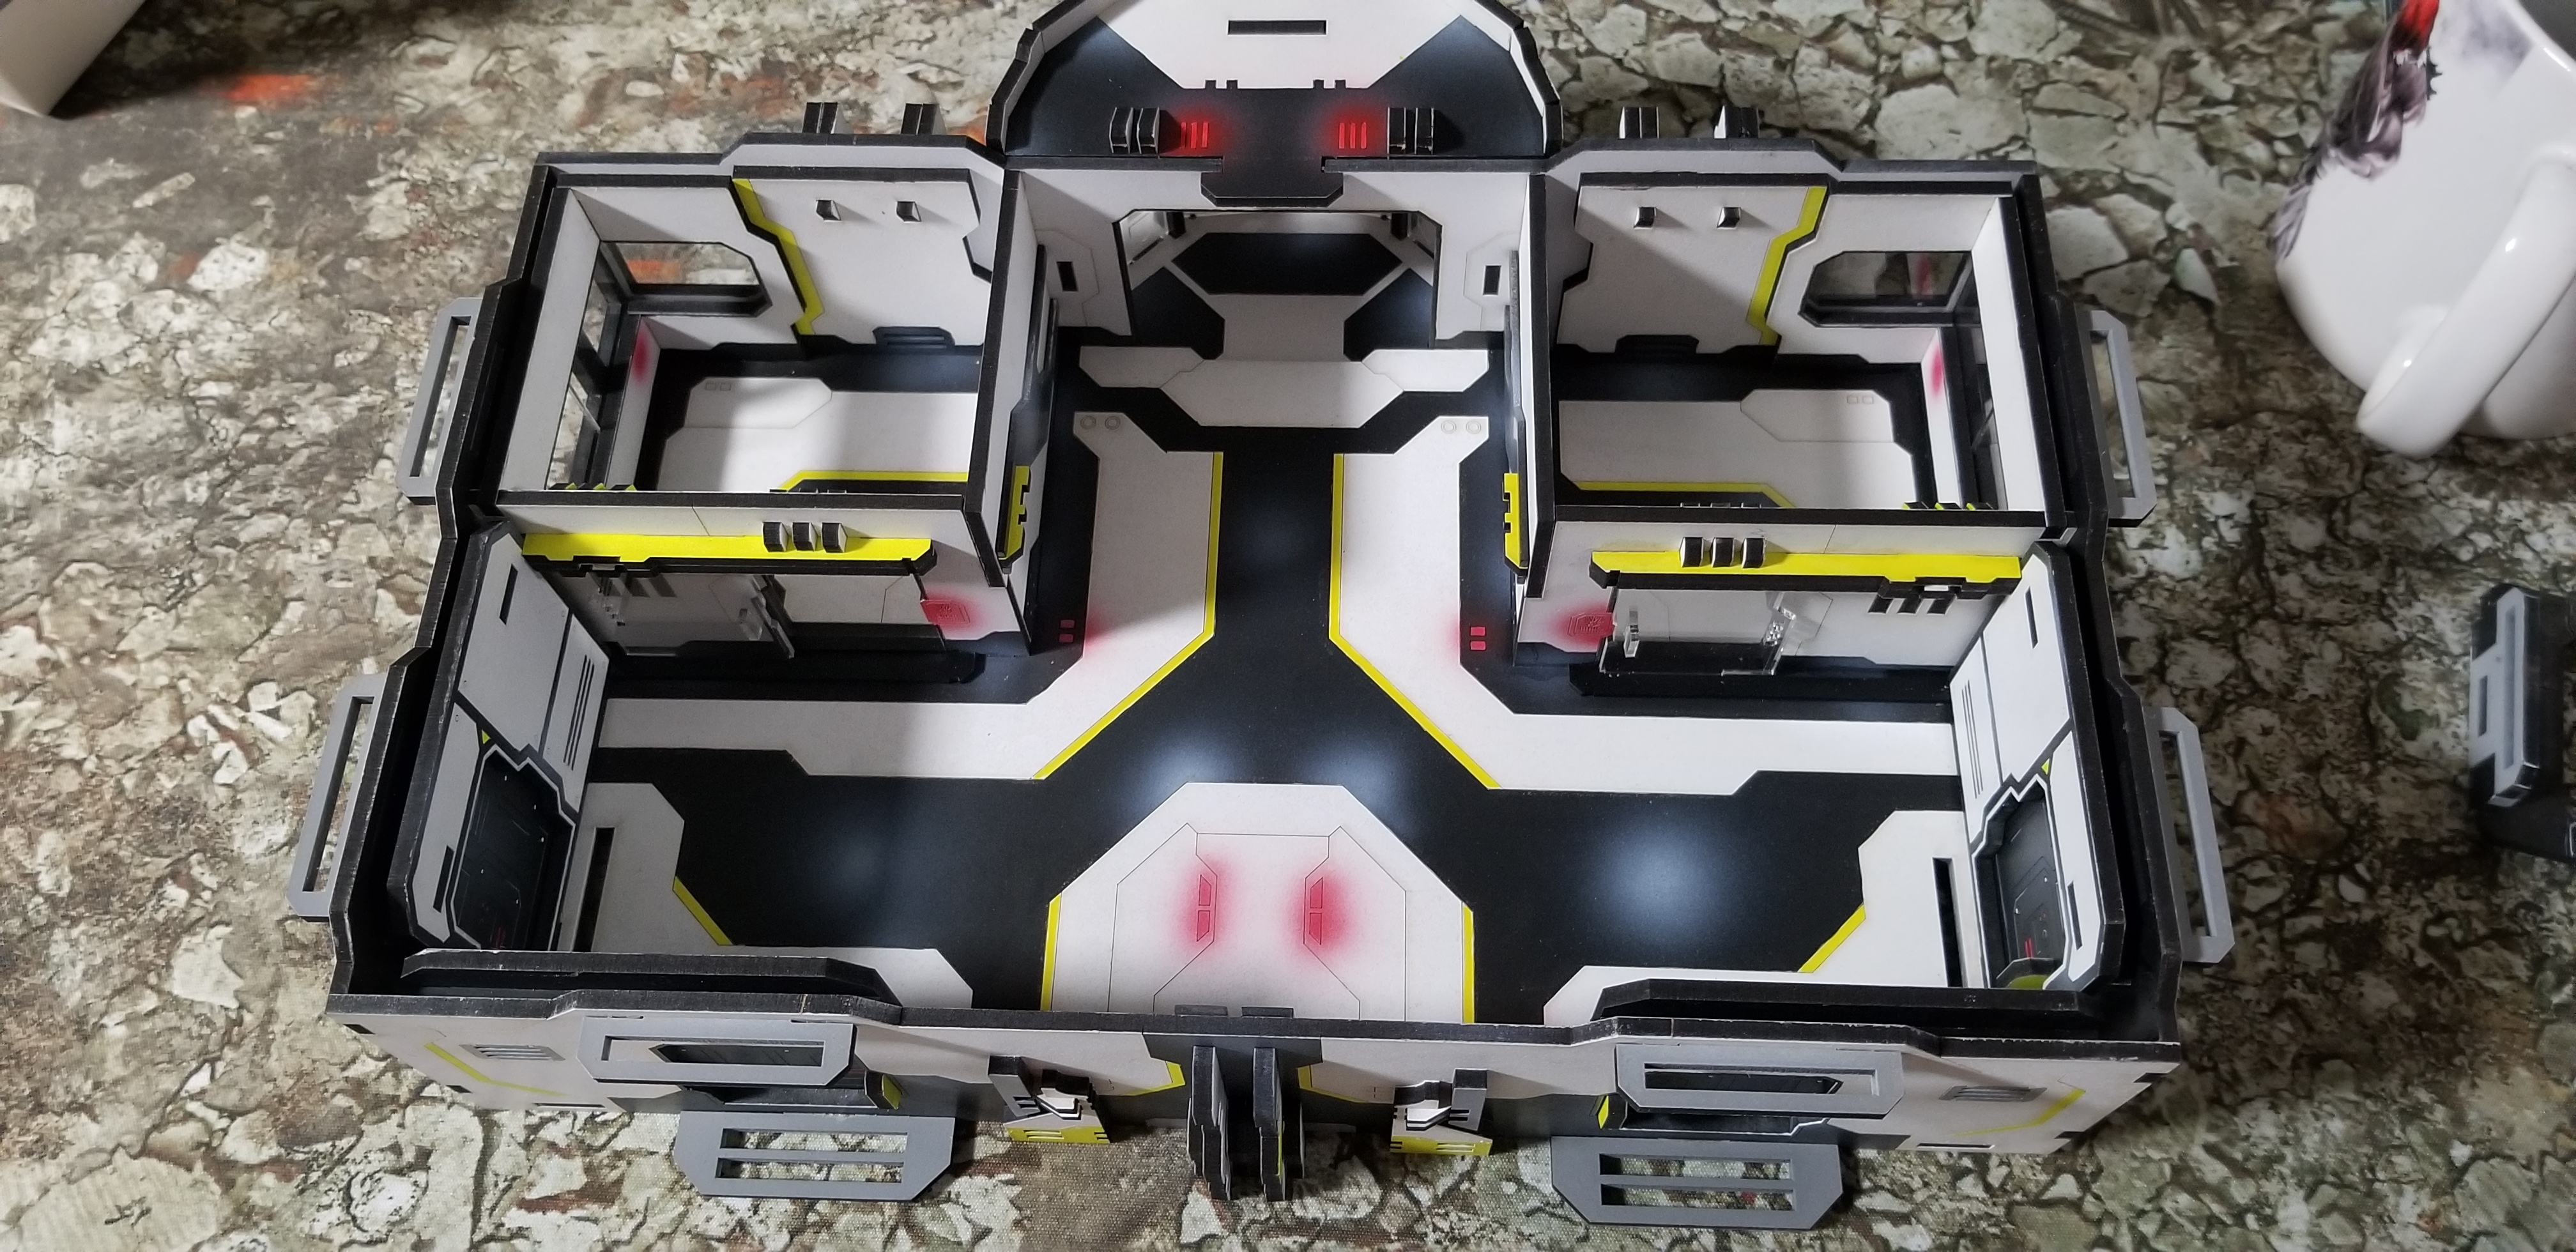
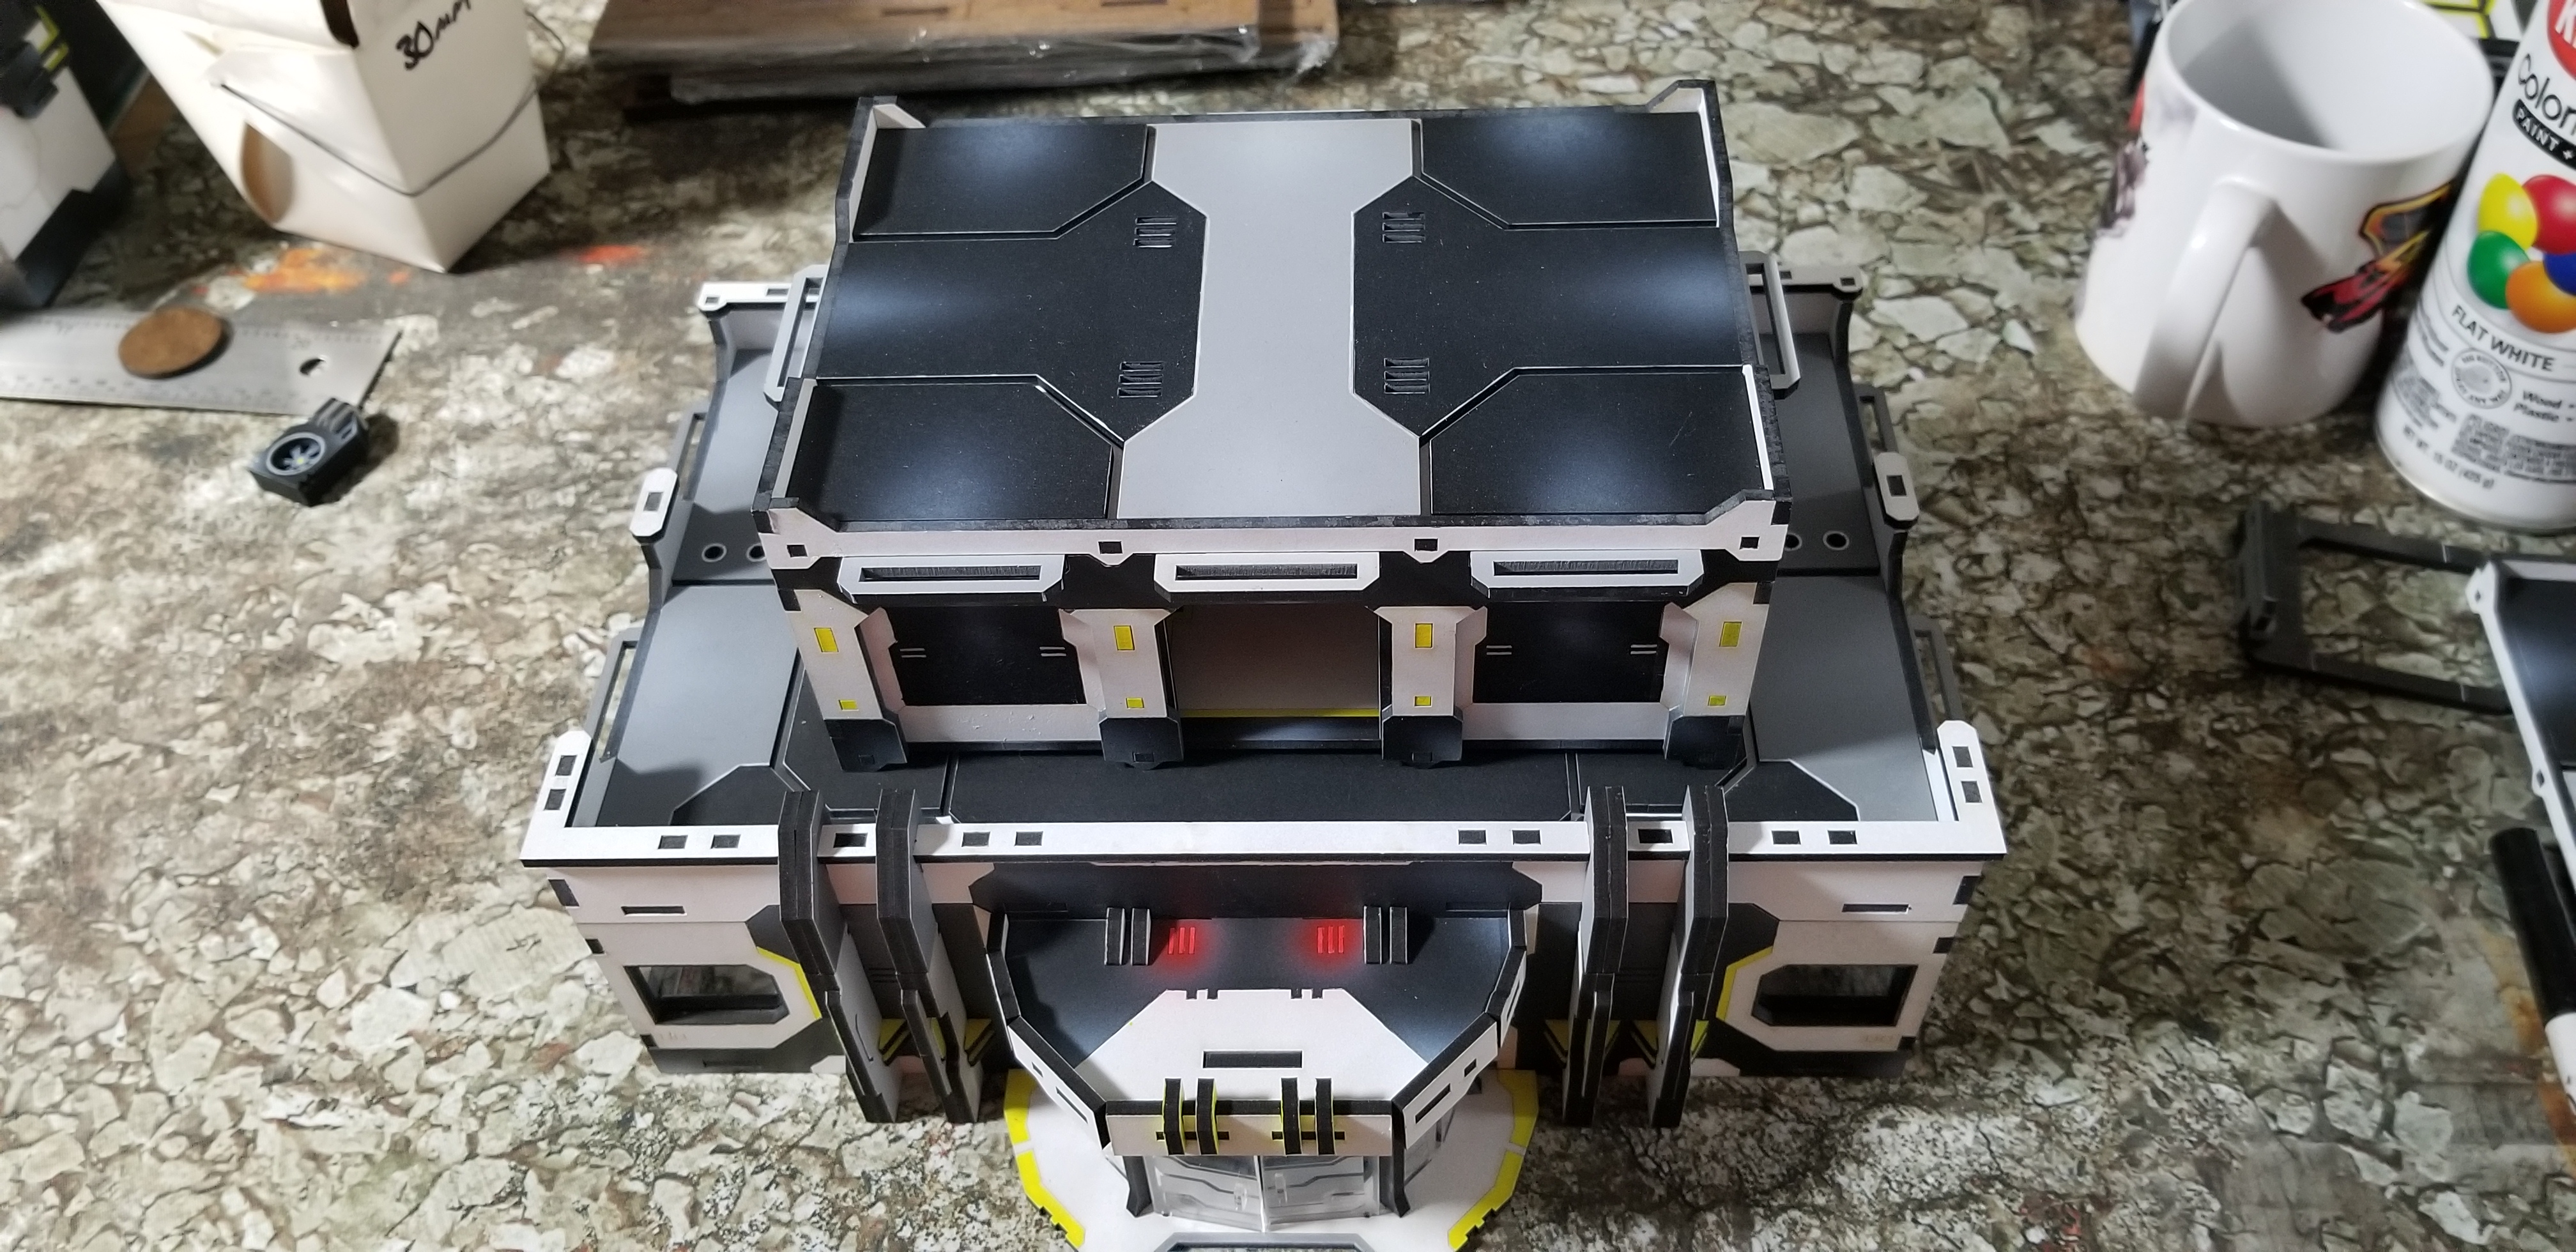
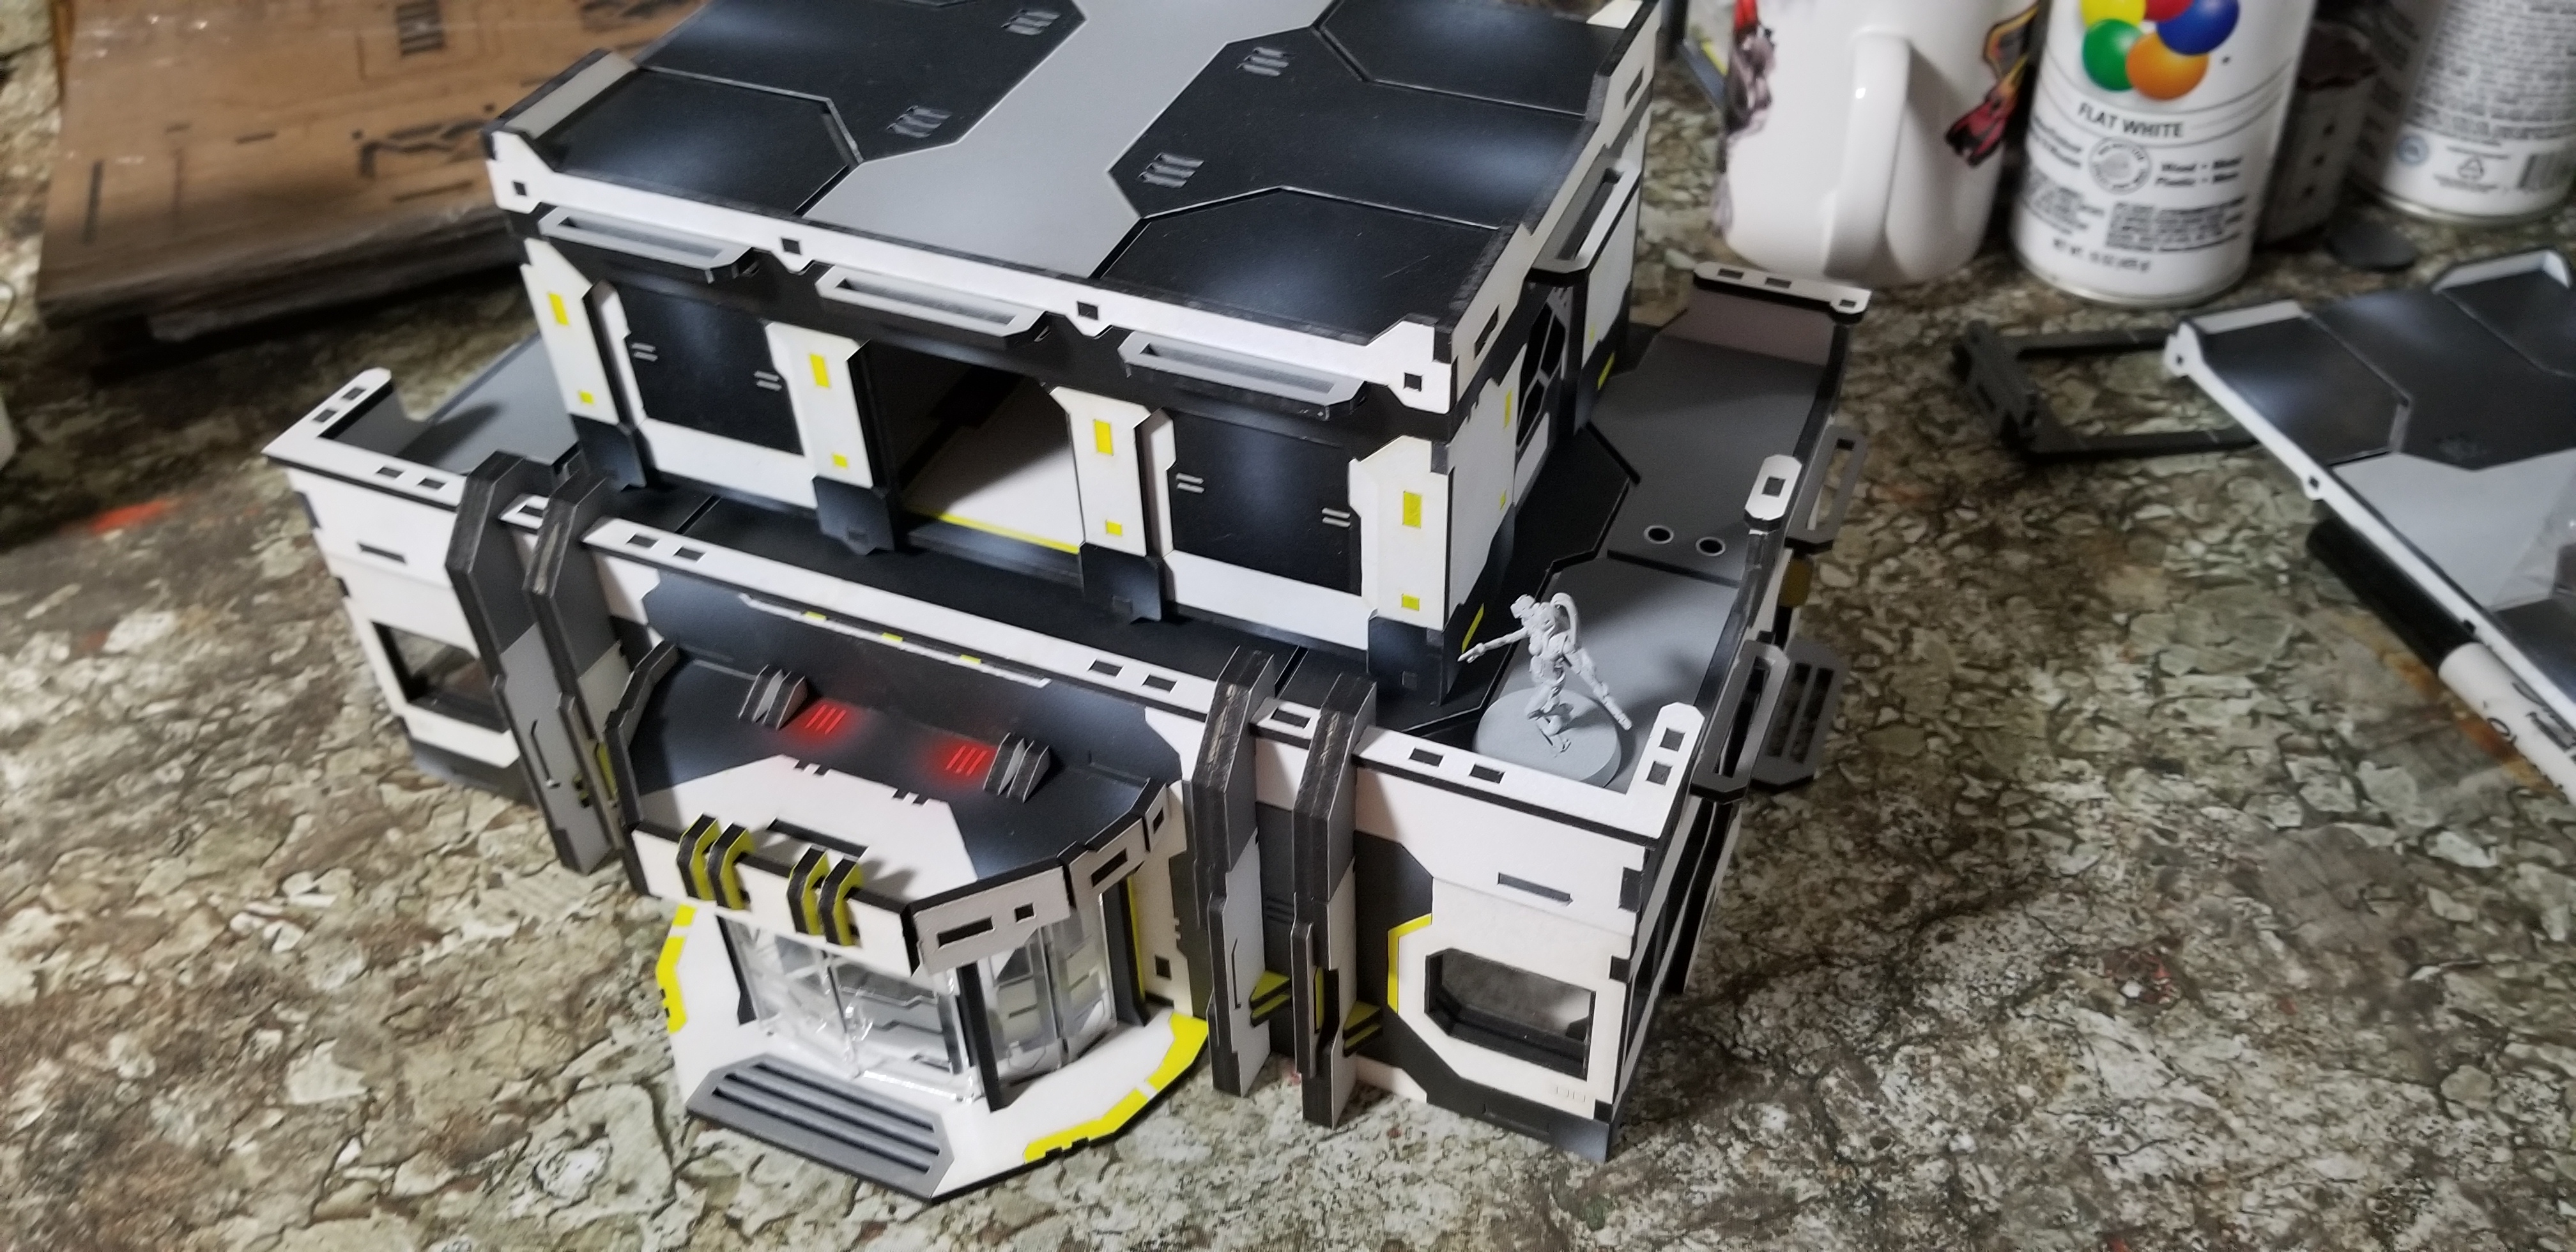
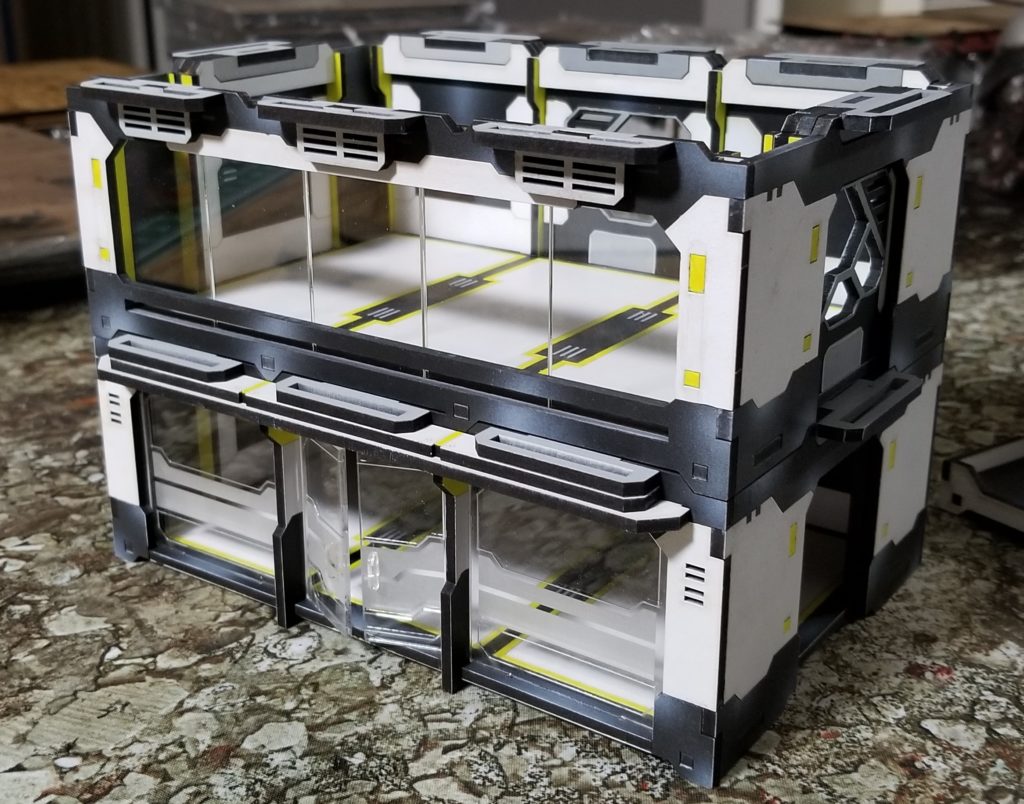
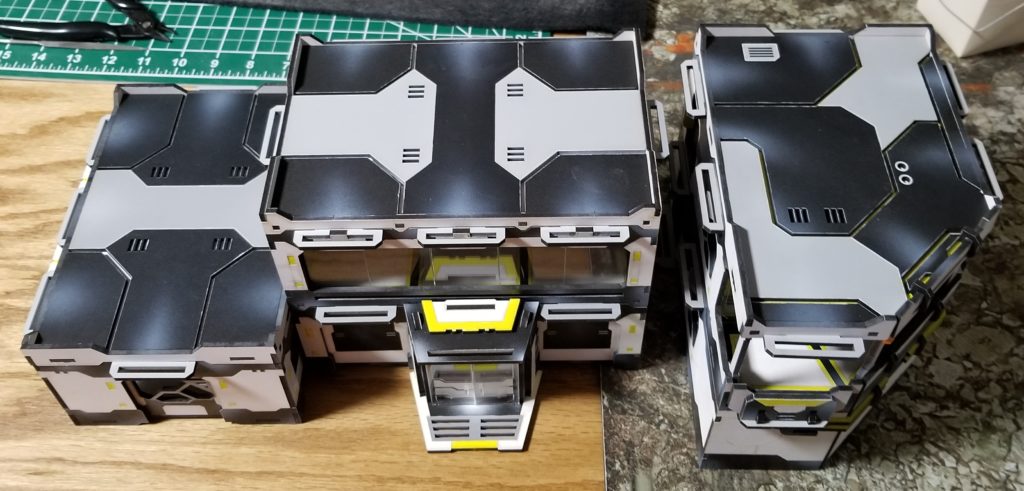
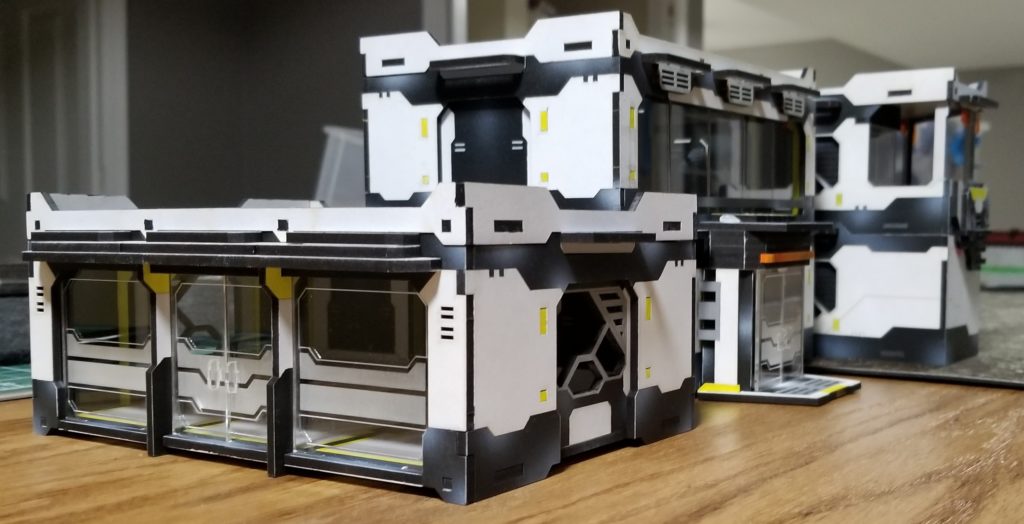
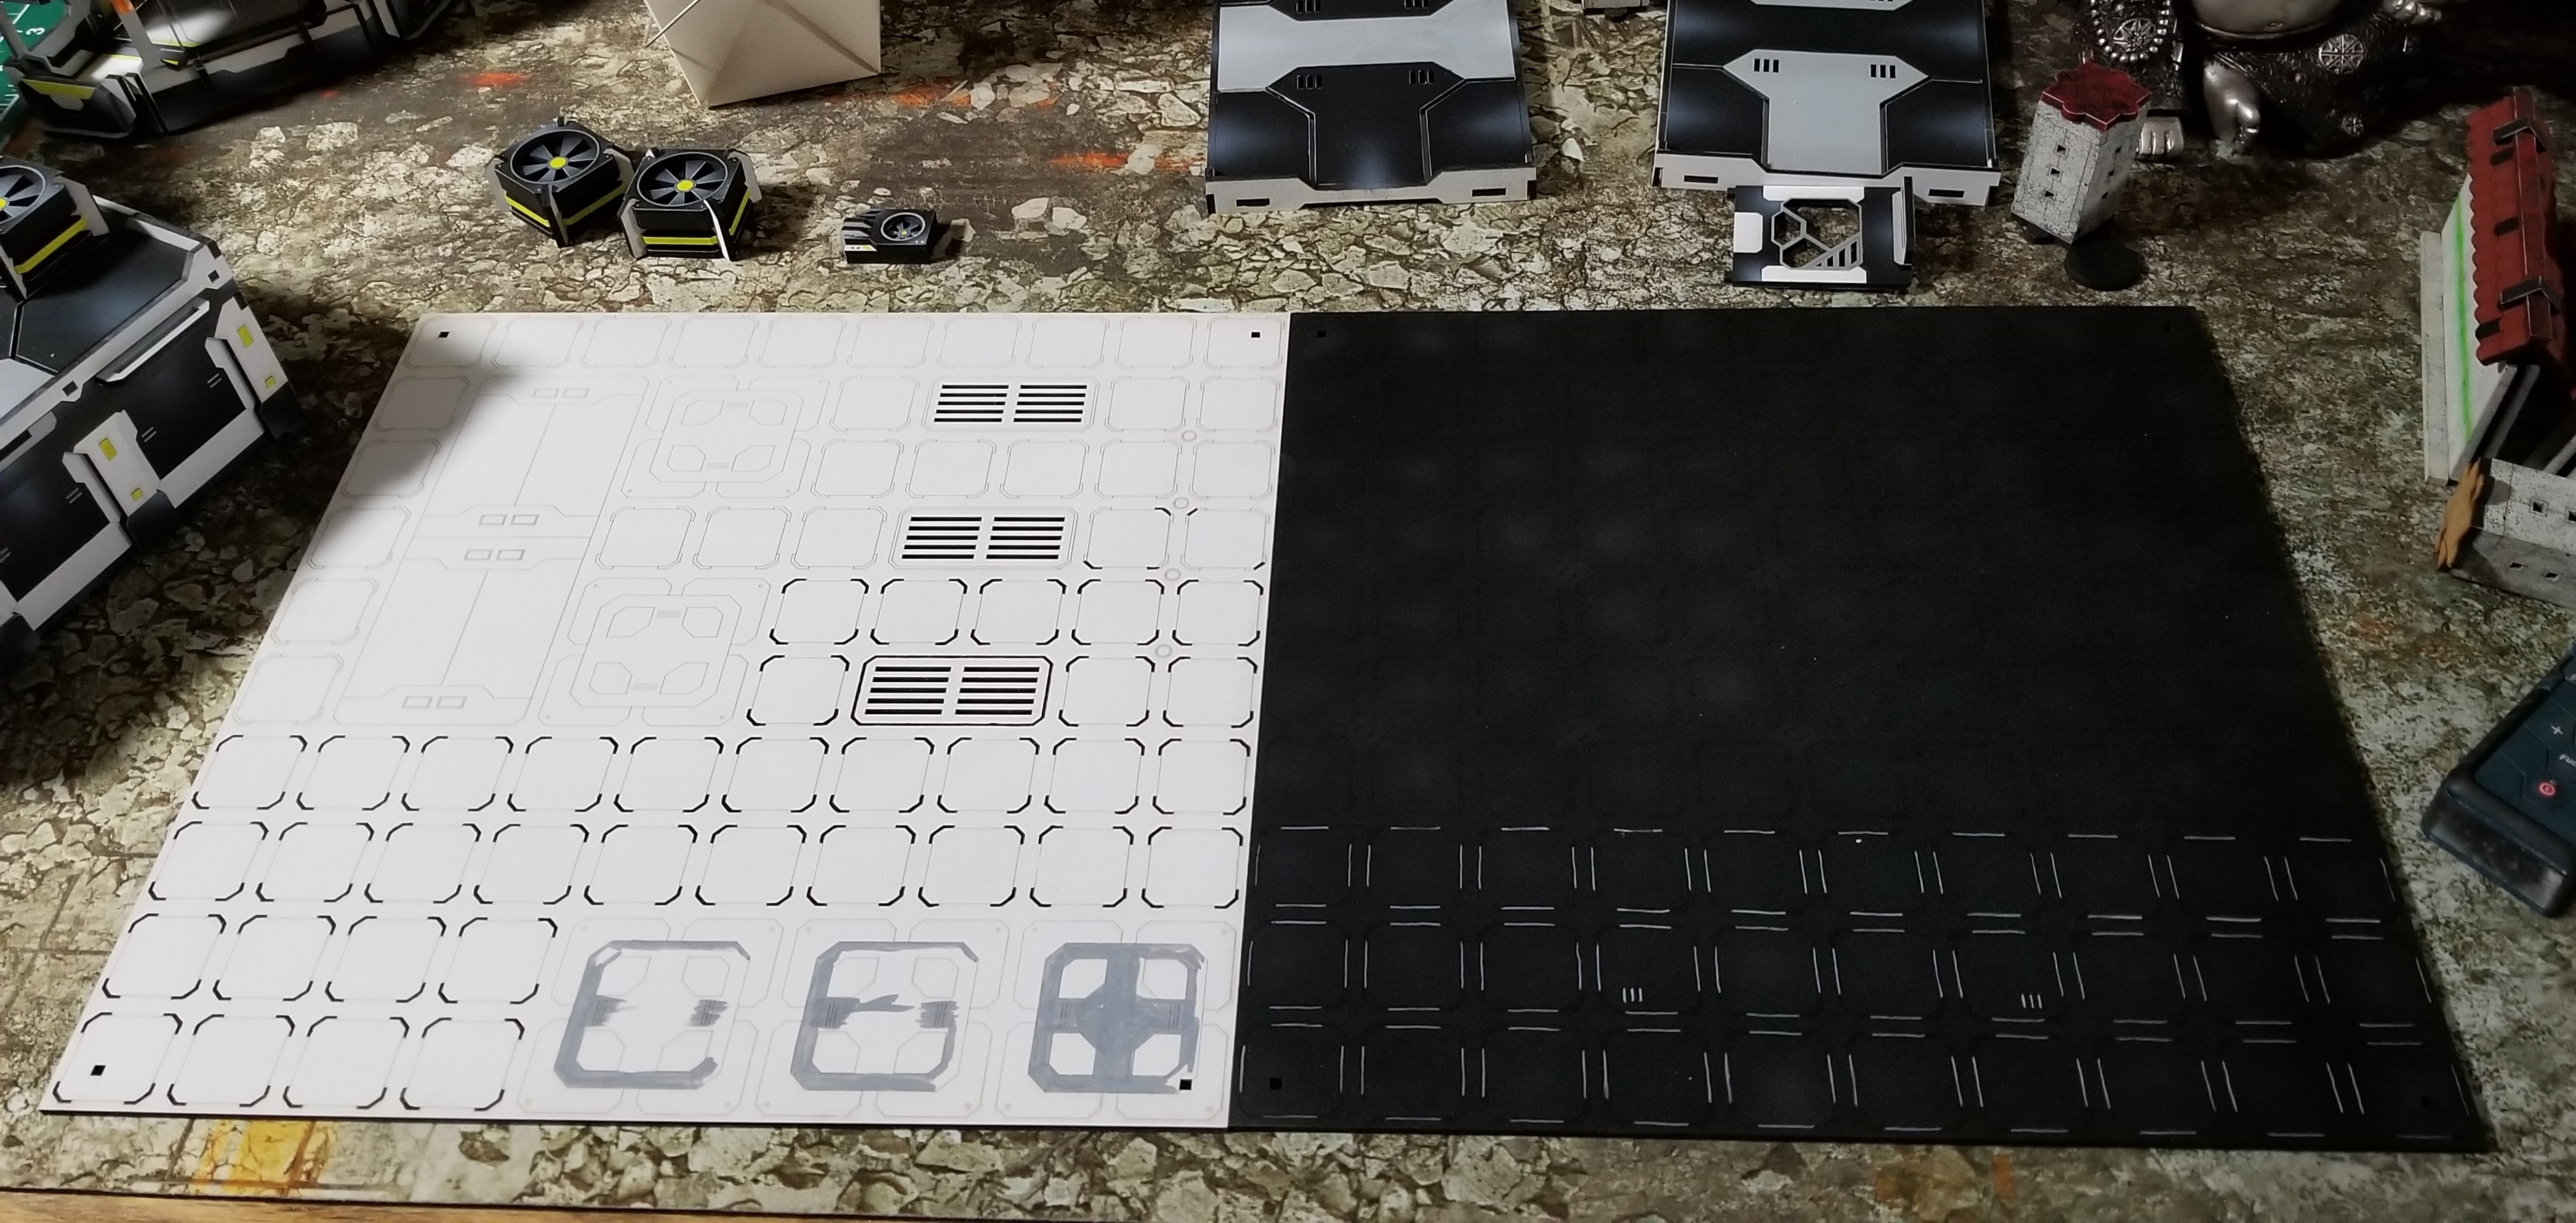
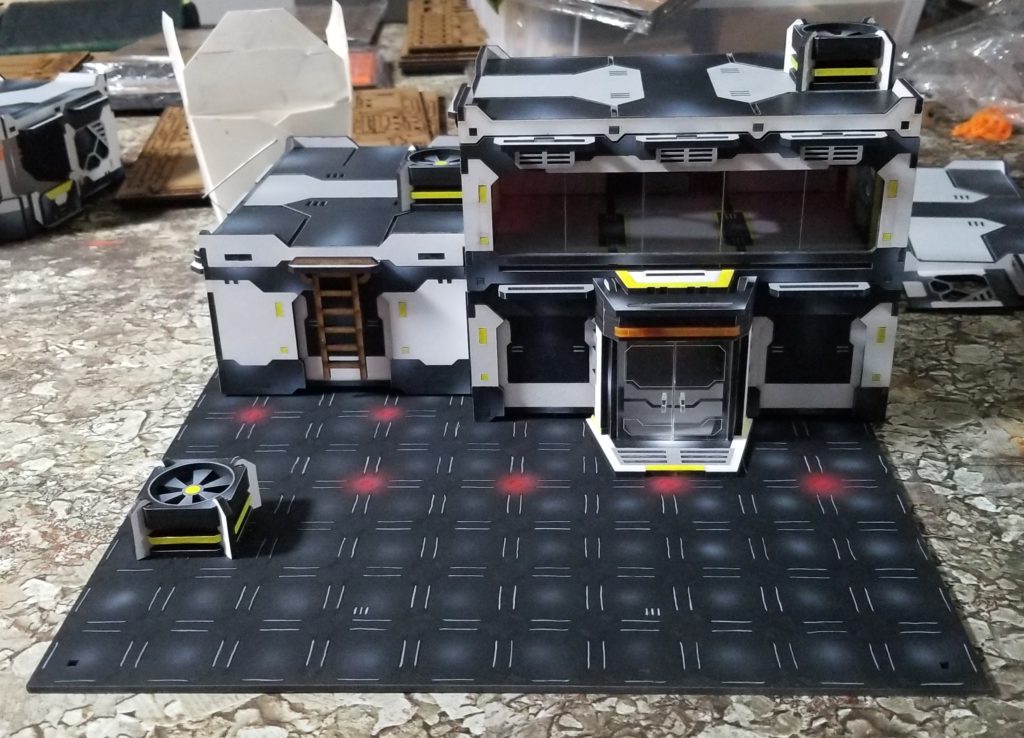
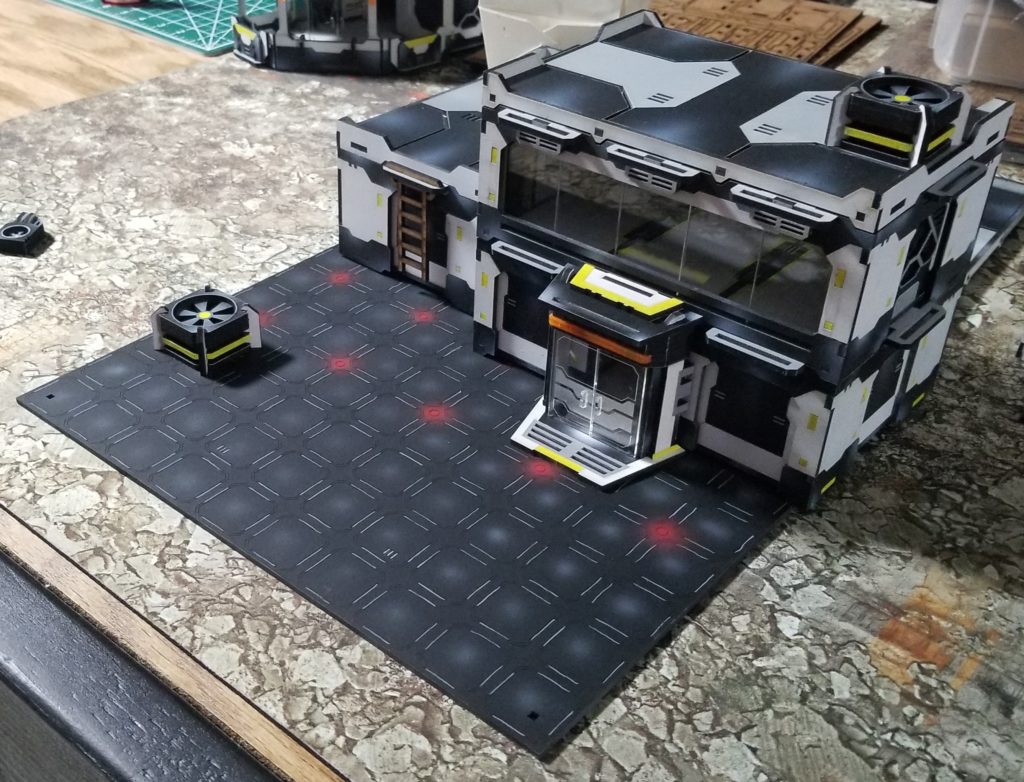
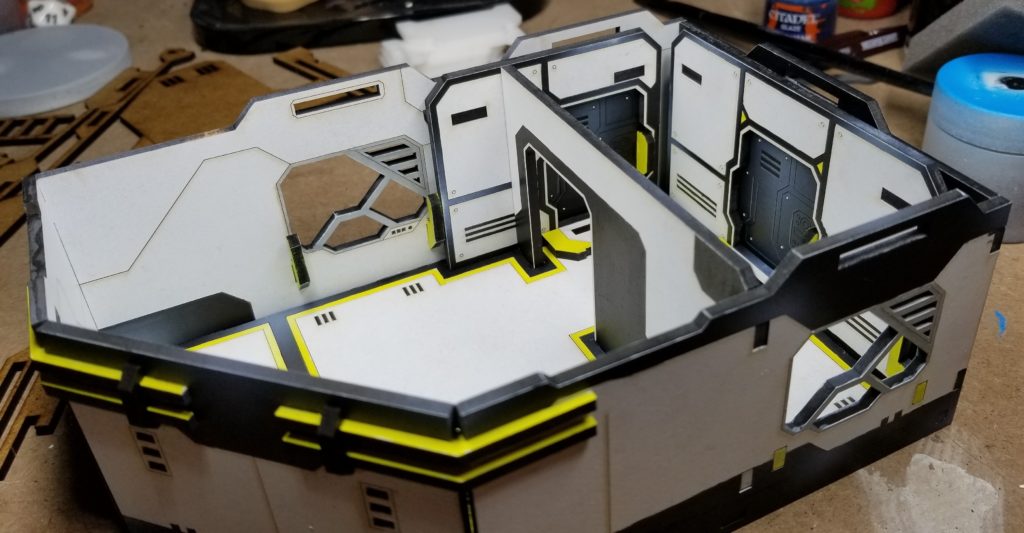
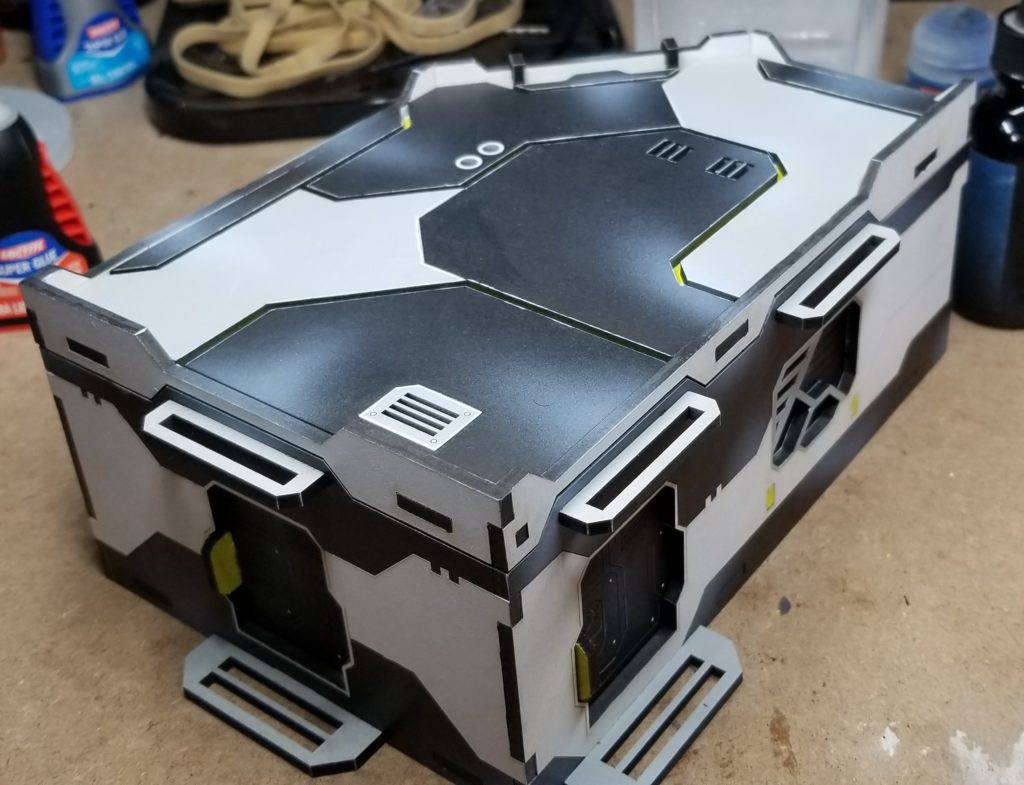
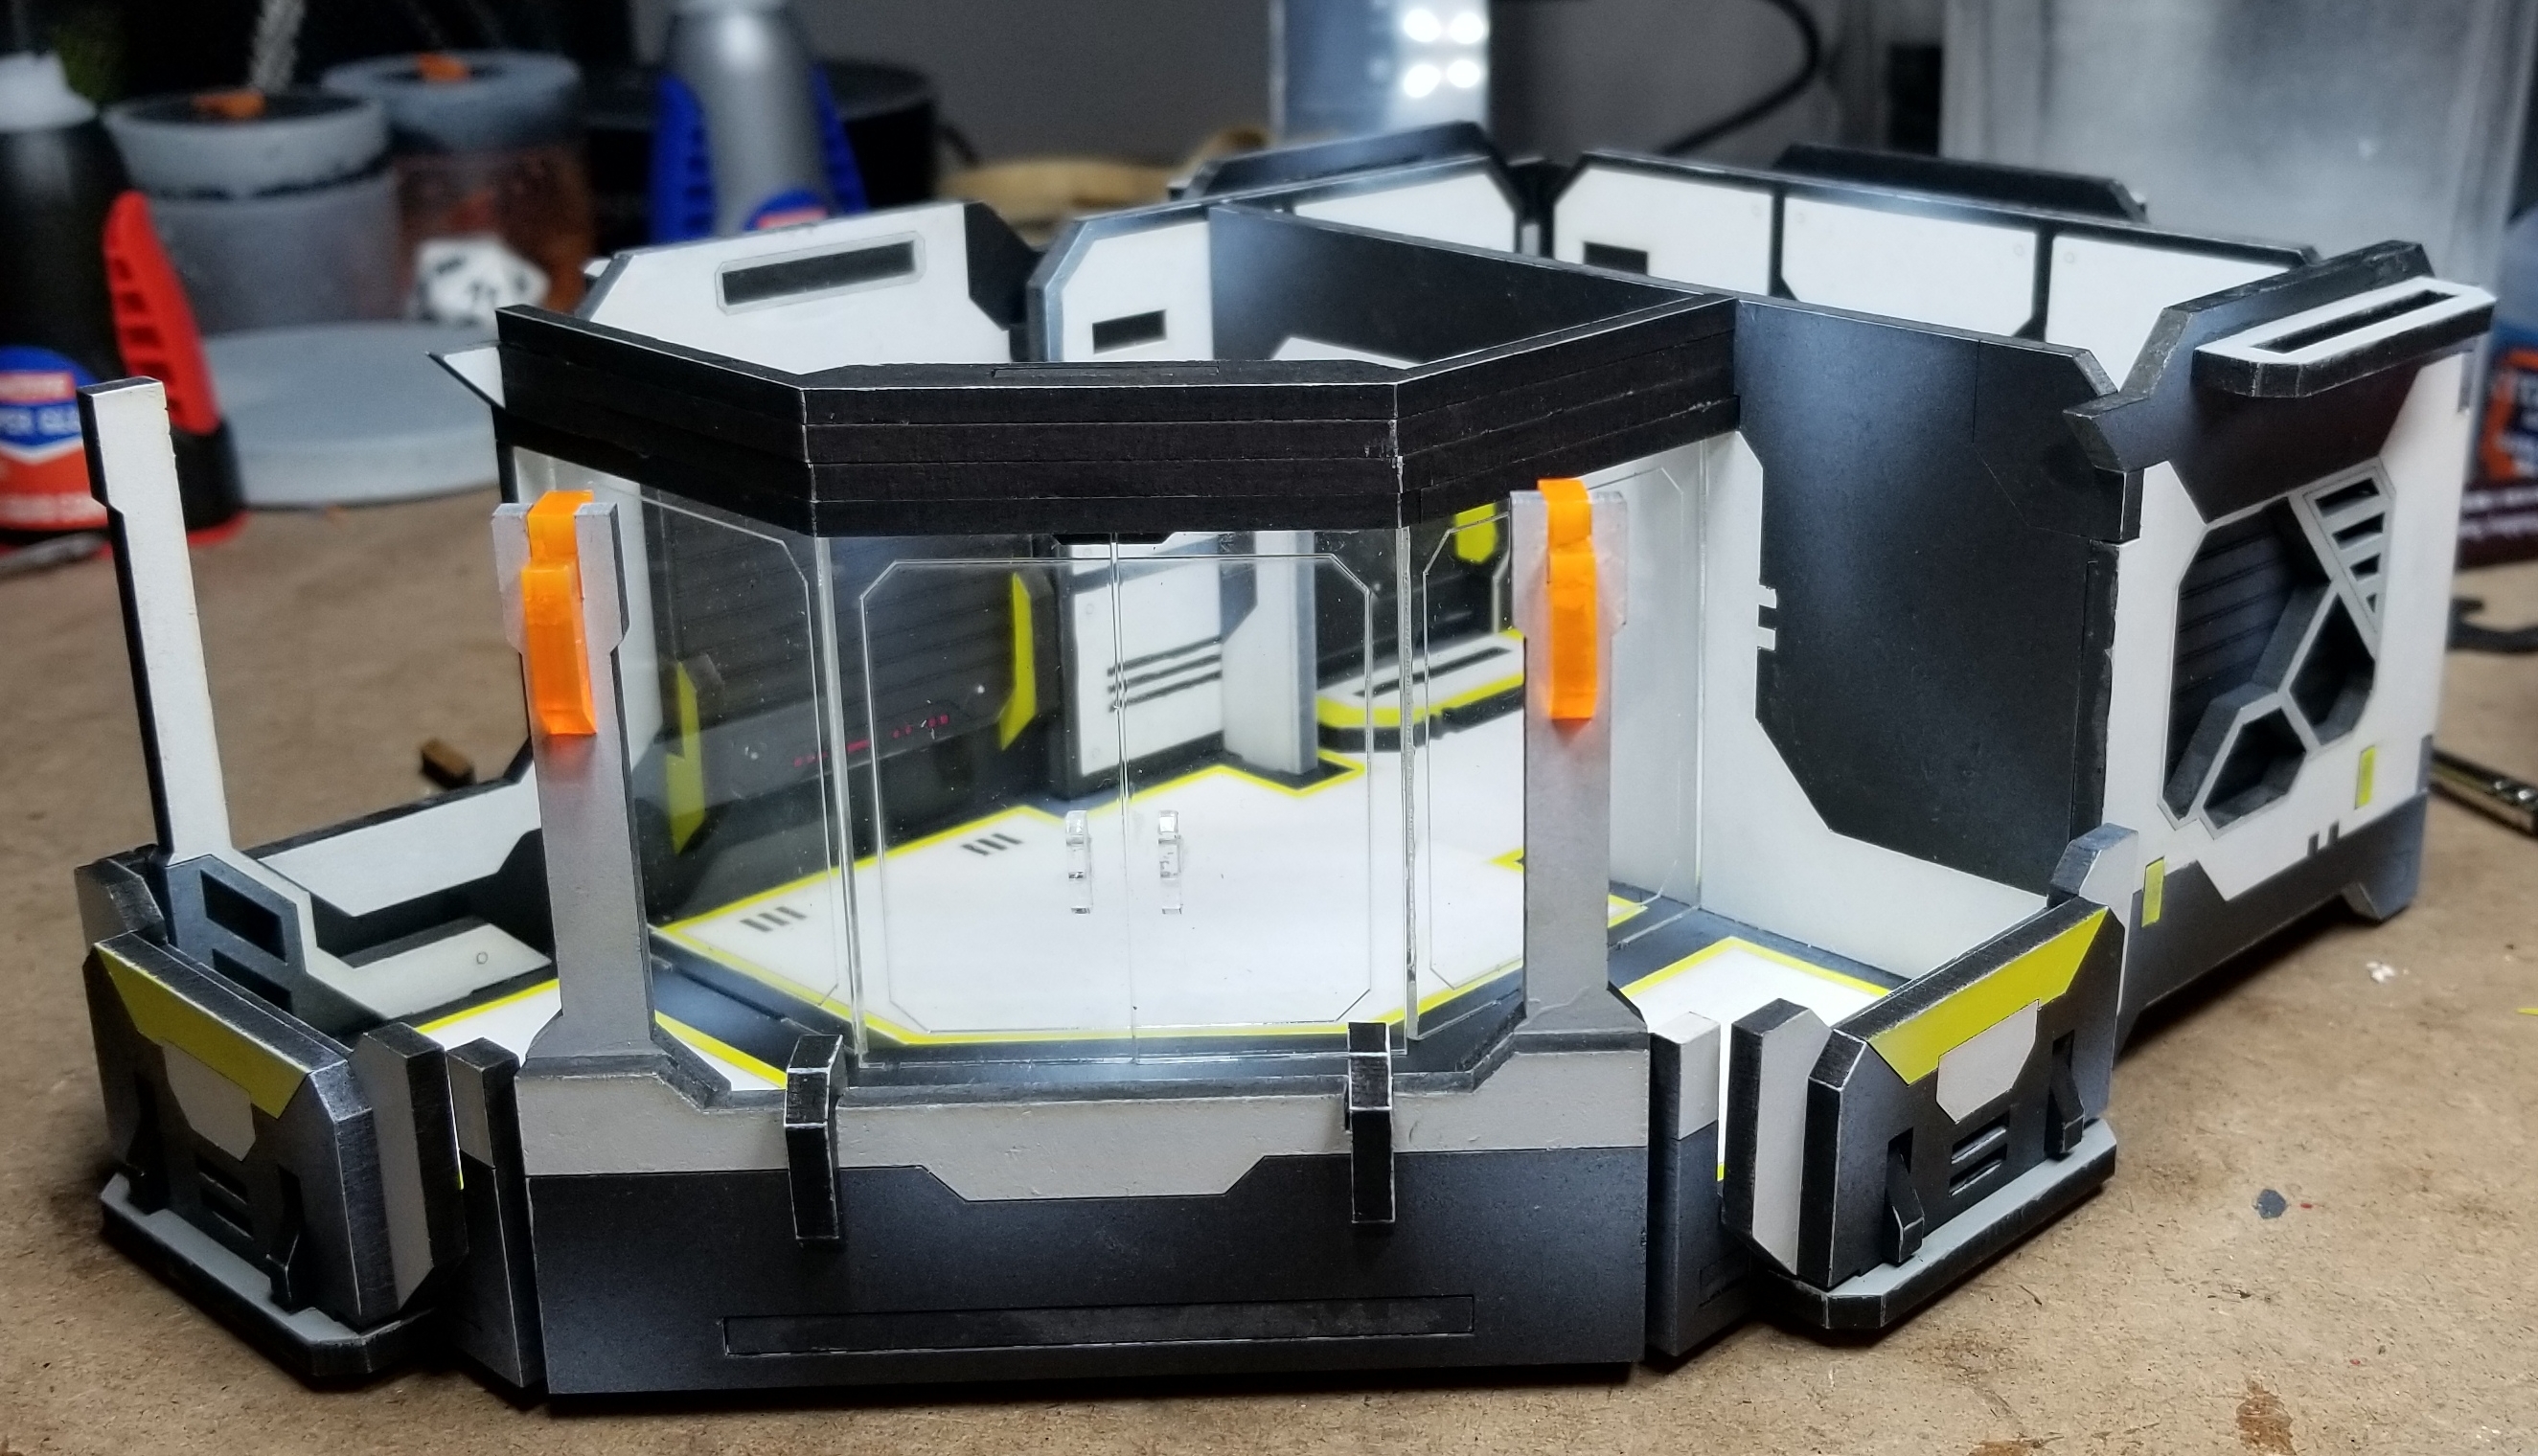
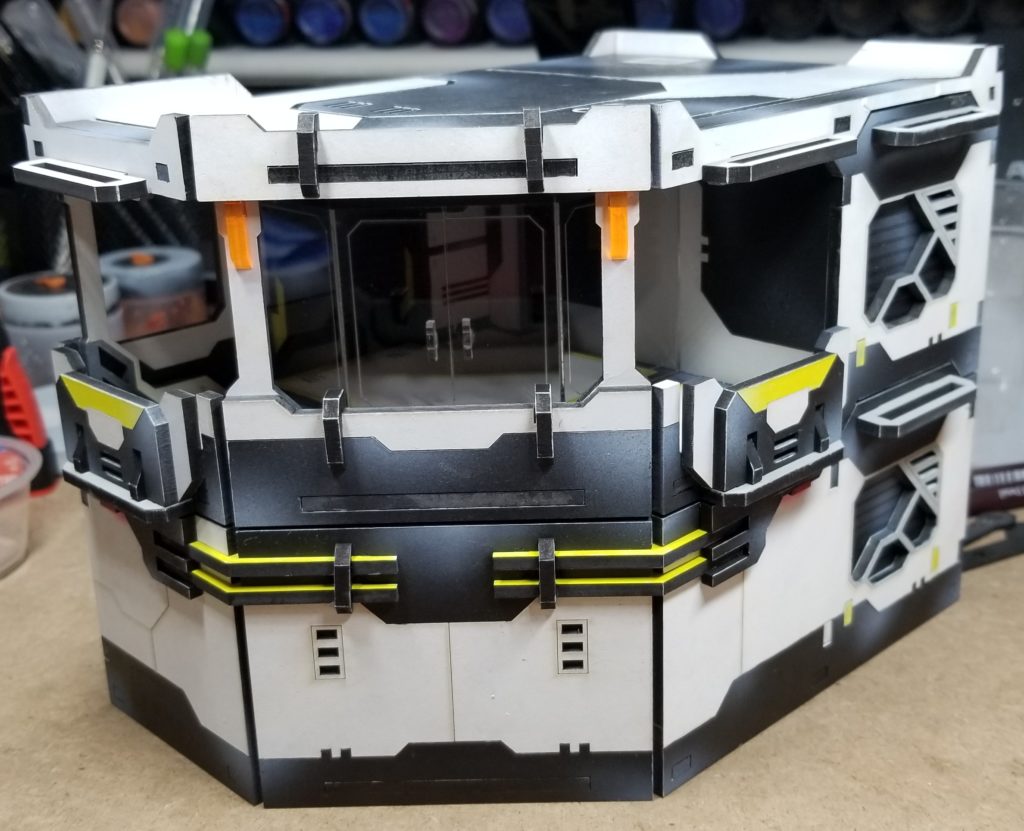
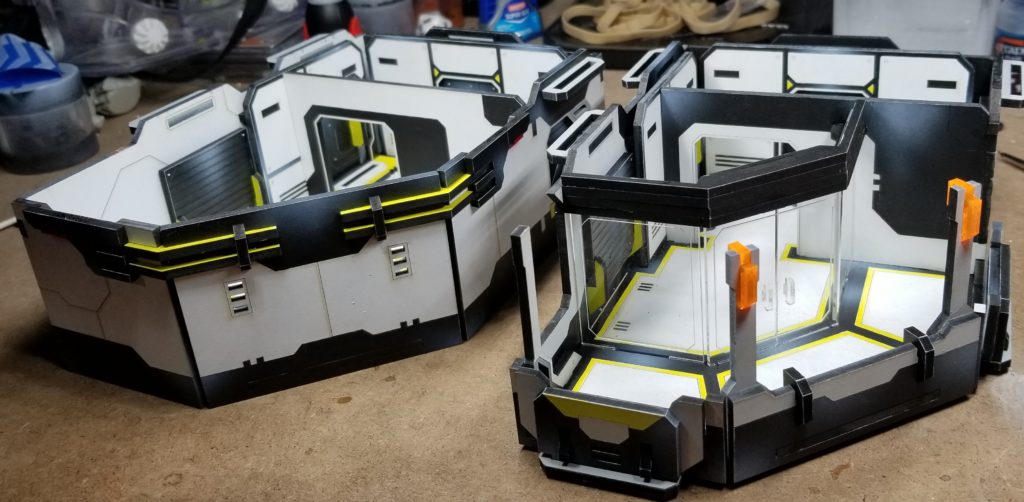
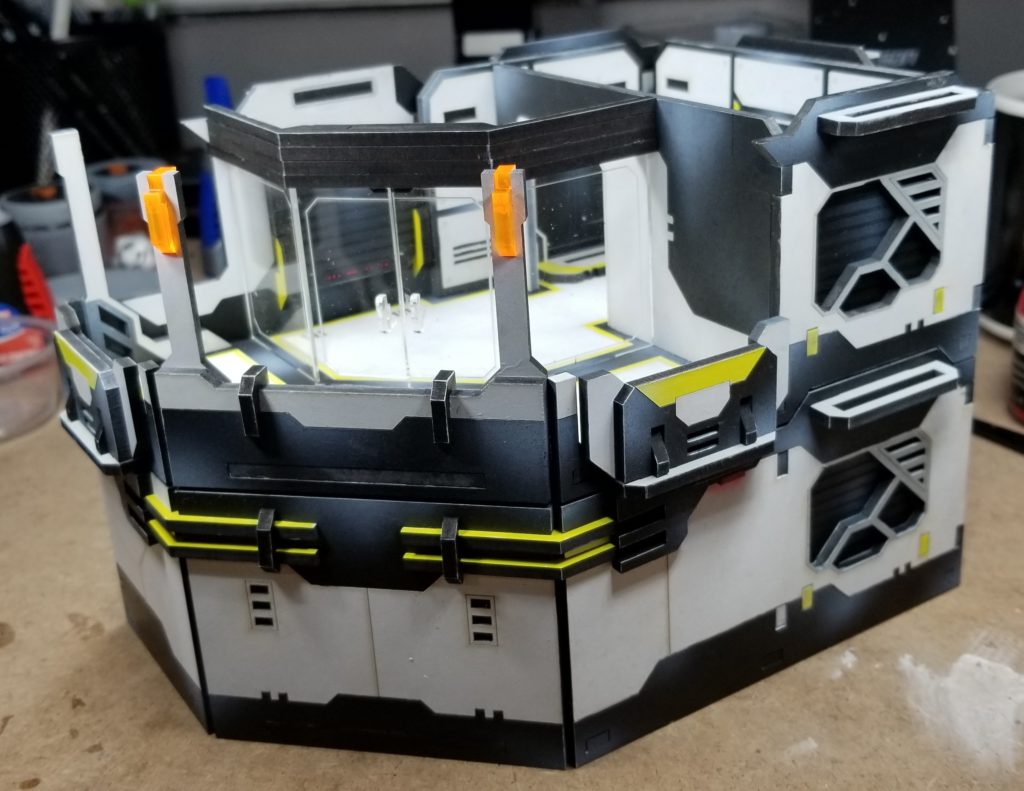
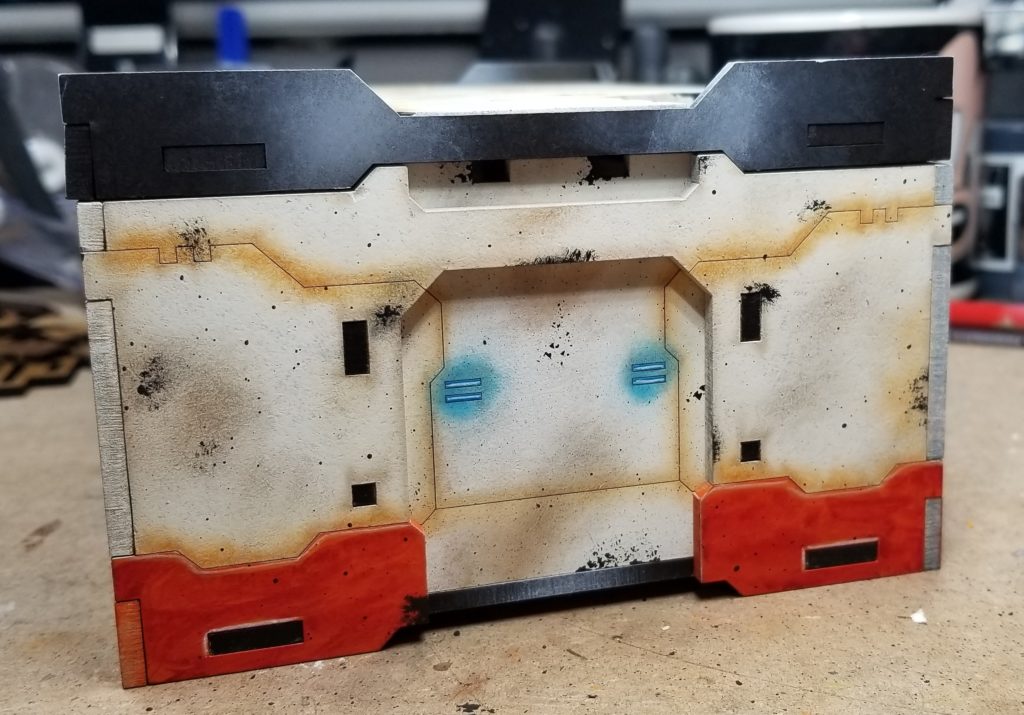
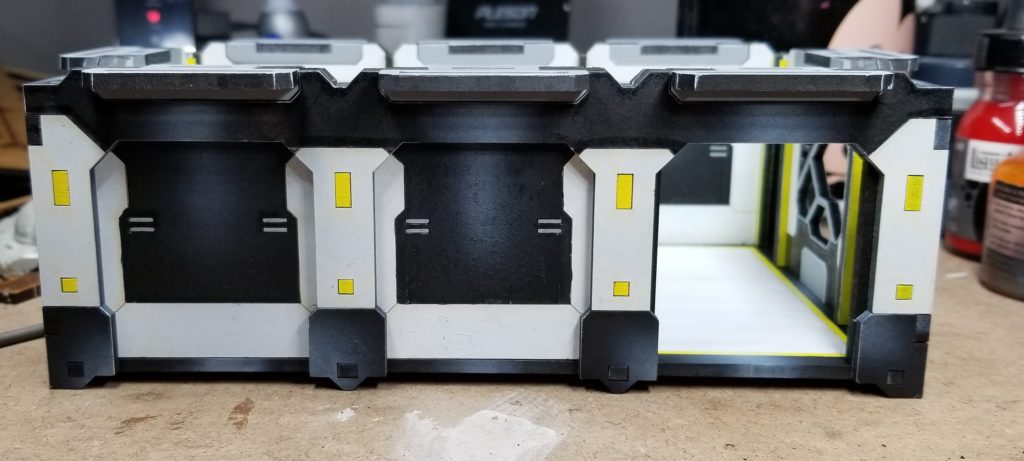
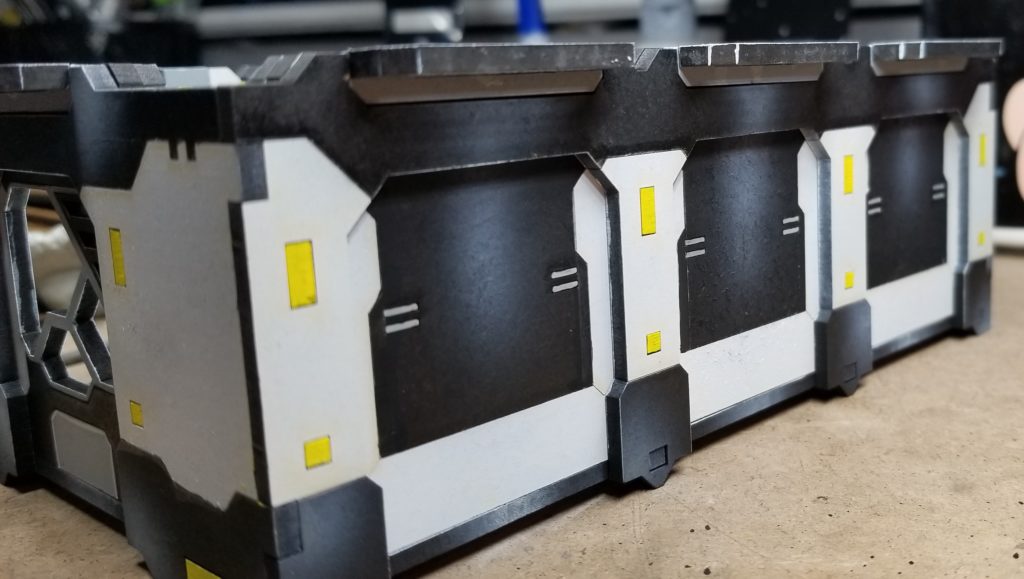
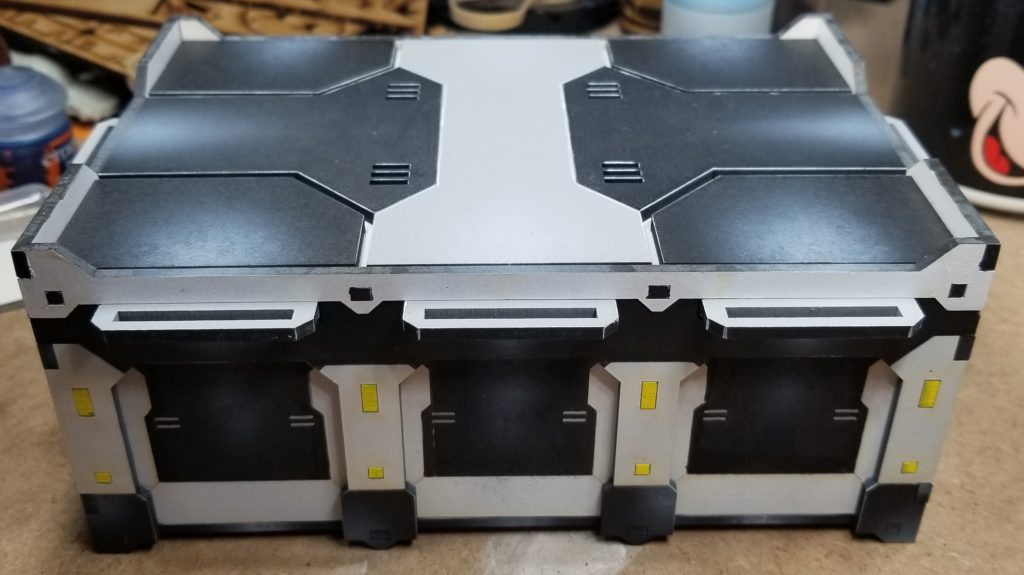
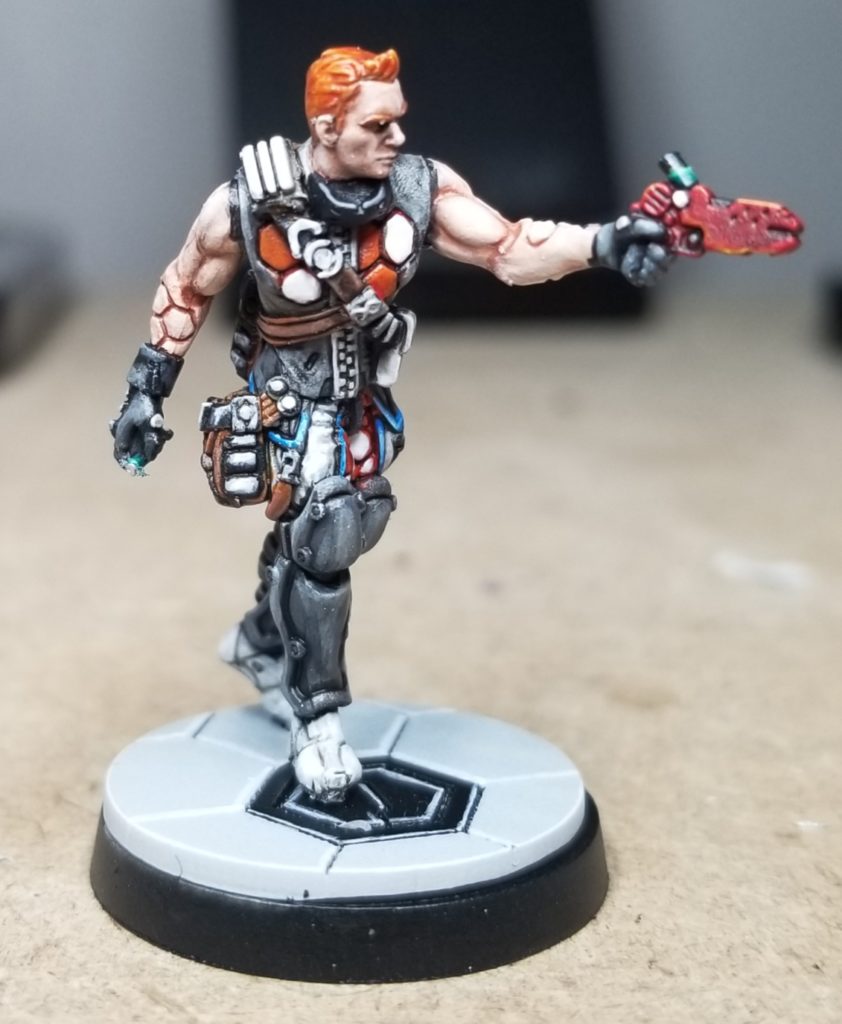
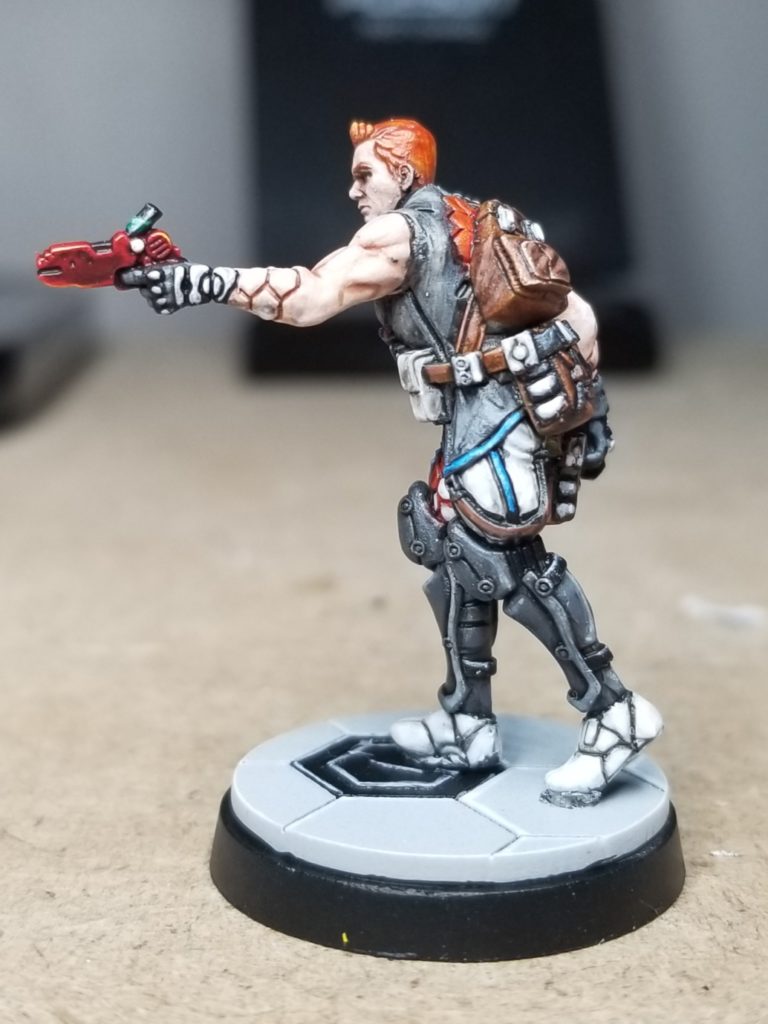
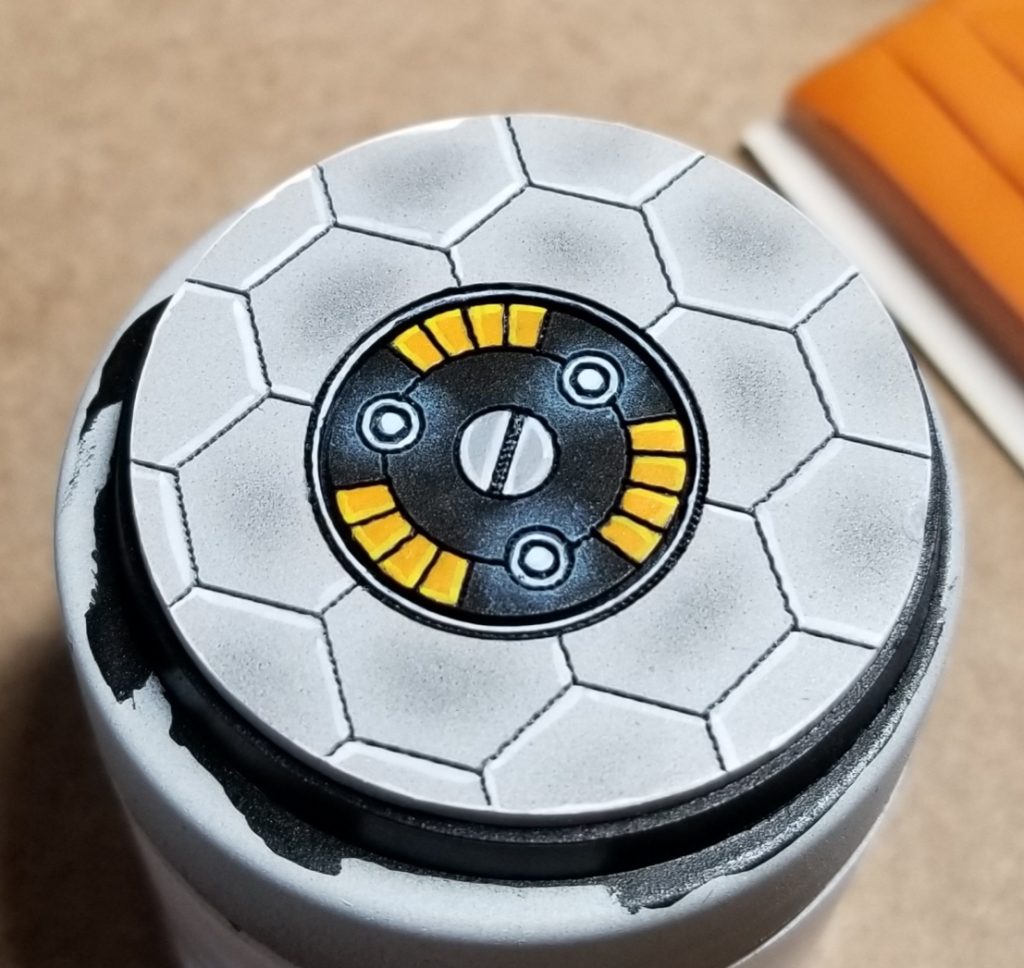
And here’s where I ended up:

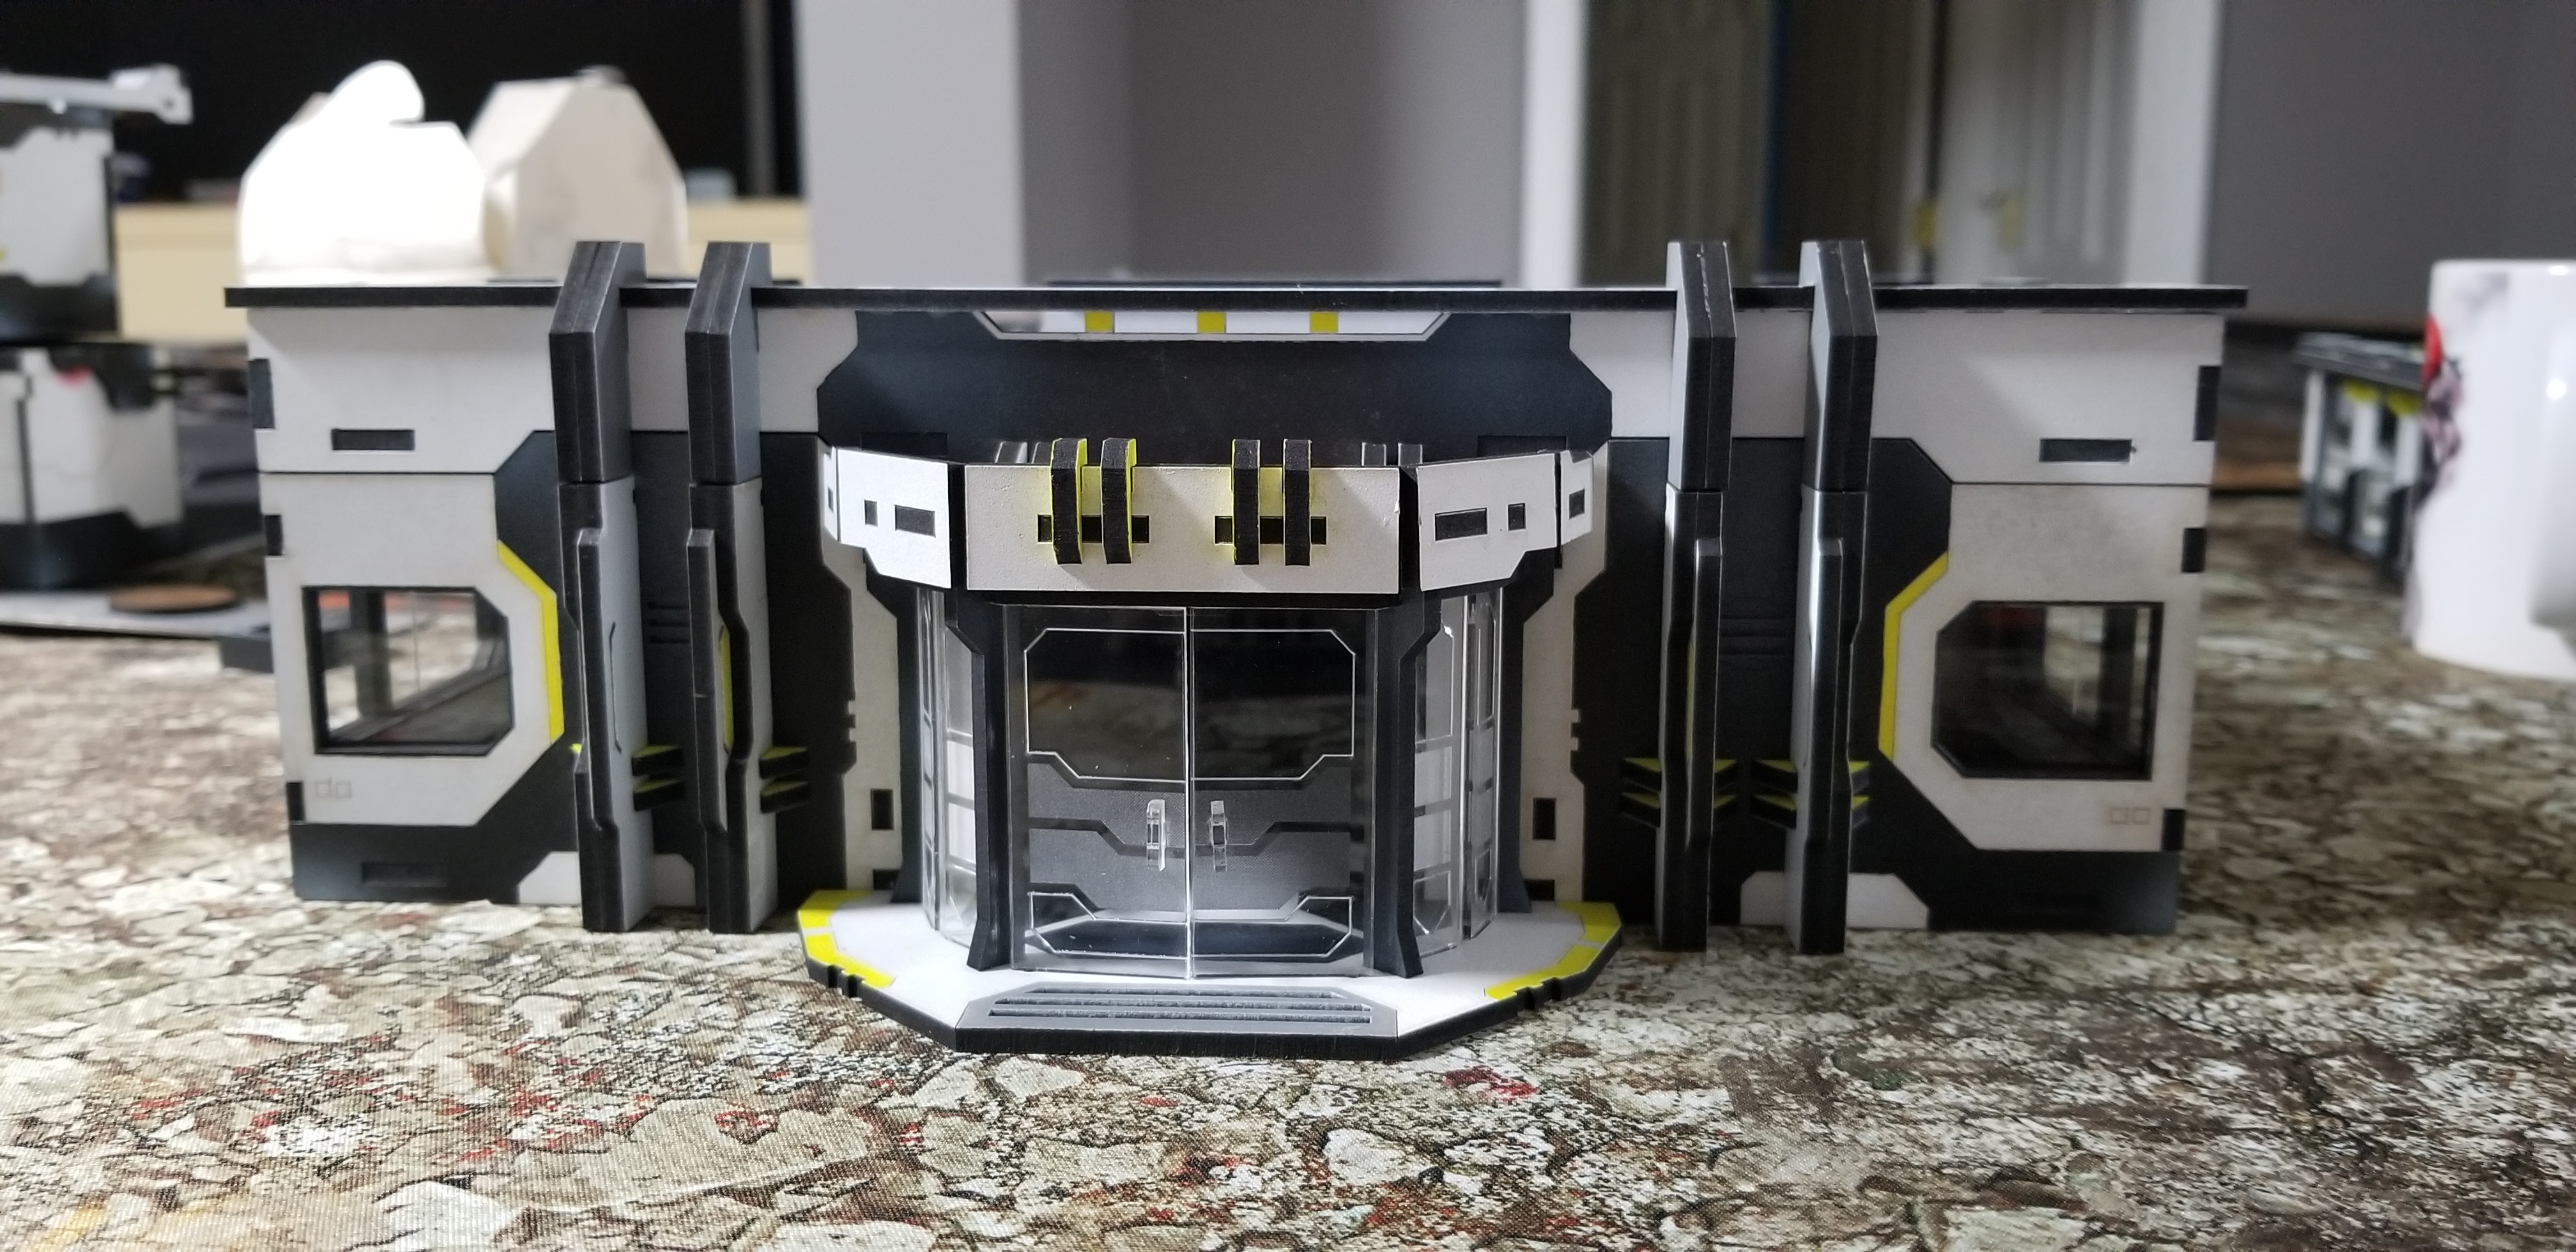
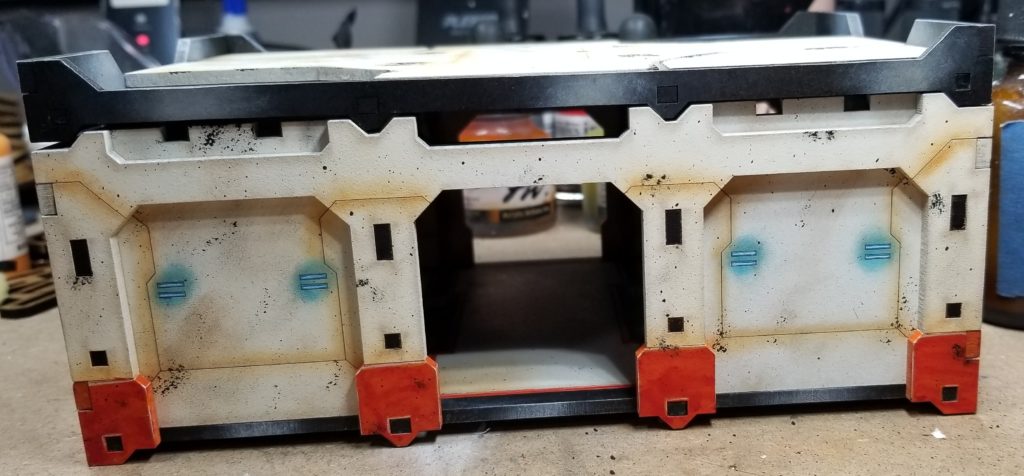
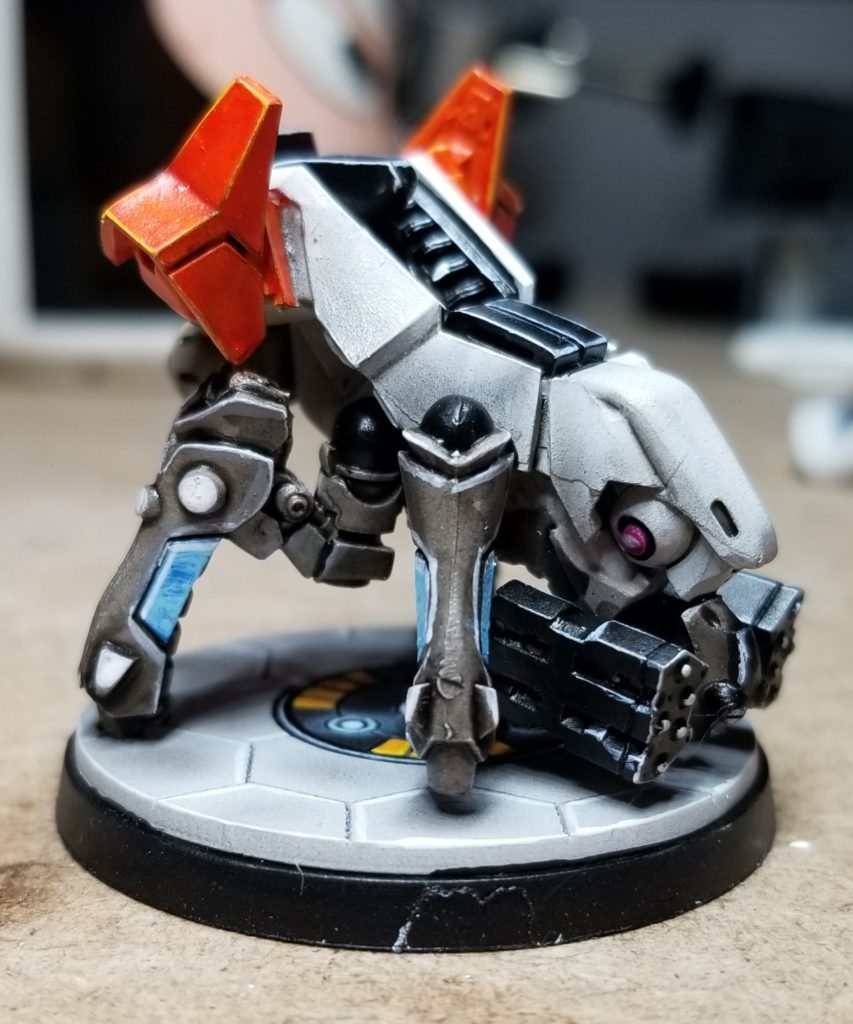
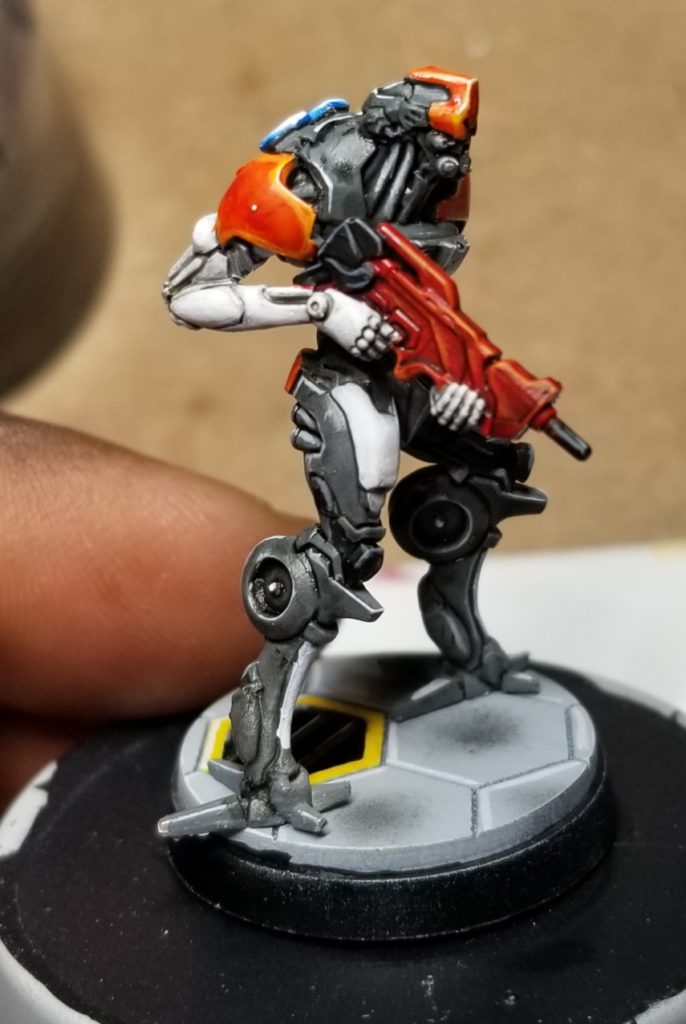
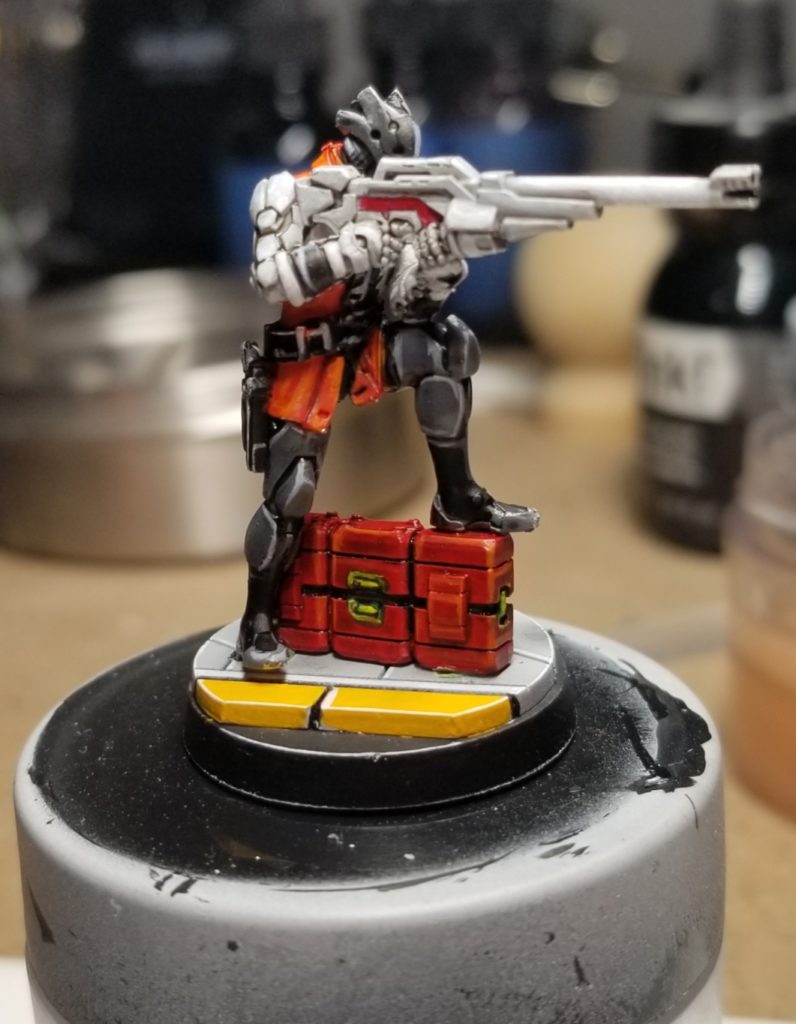
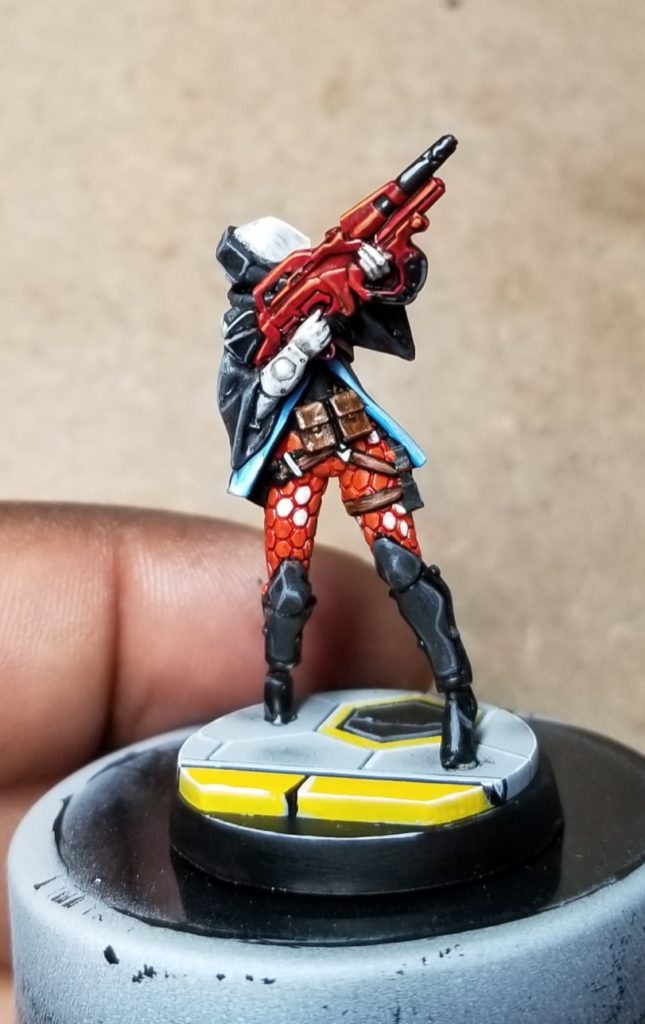
This scheme is stolen from my favorite game(s) of all time, Mass Effect. Cerberus to be precise. I like this scheme so damn much I’ve decided to turn the corporate plaza look I was envisioning to a paramilitary bio-research facility. APCs parked on the road (Puppets War Brick). Unmanned Atlas (Puppets War Enforcer). Perhaps some specimen tanks. The occasional automated turret. It’s going to be awesome!

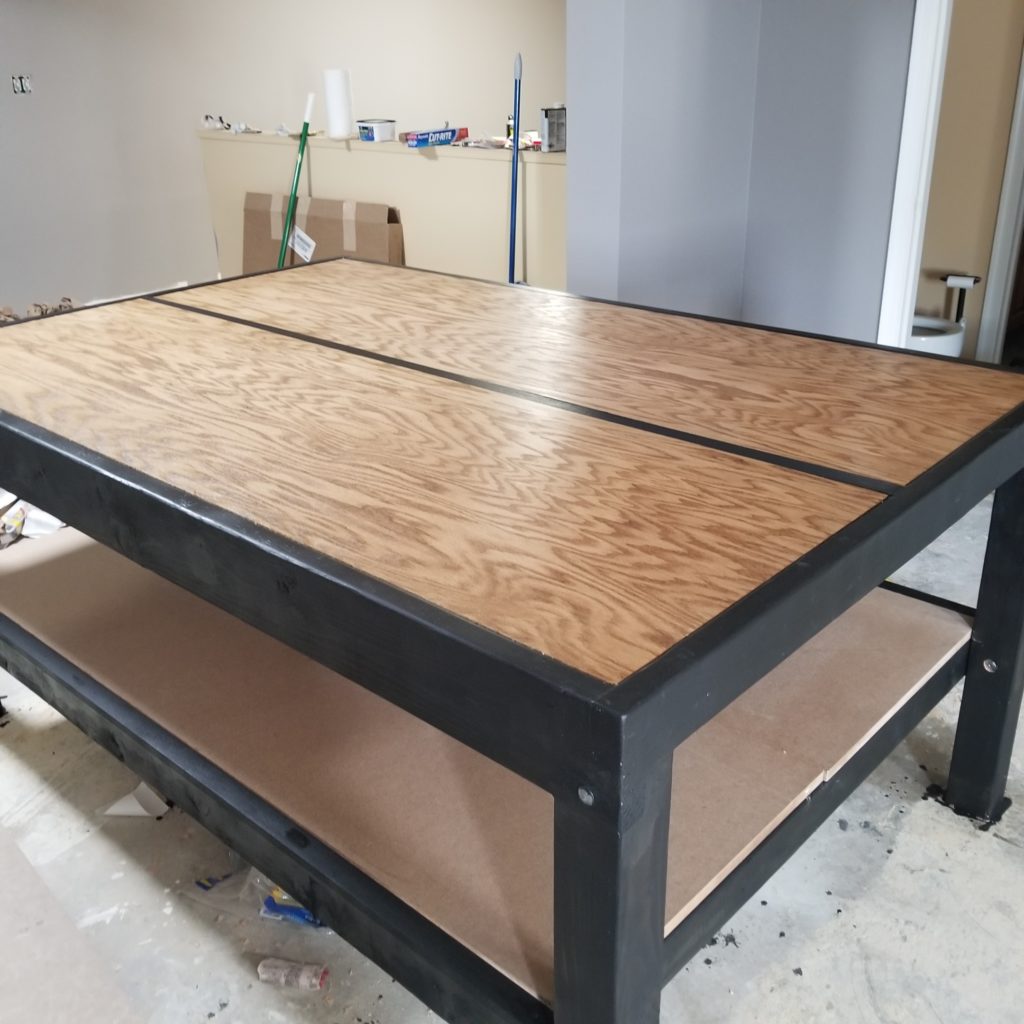
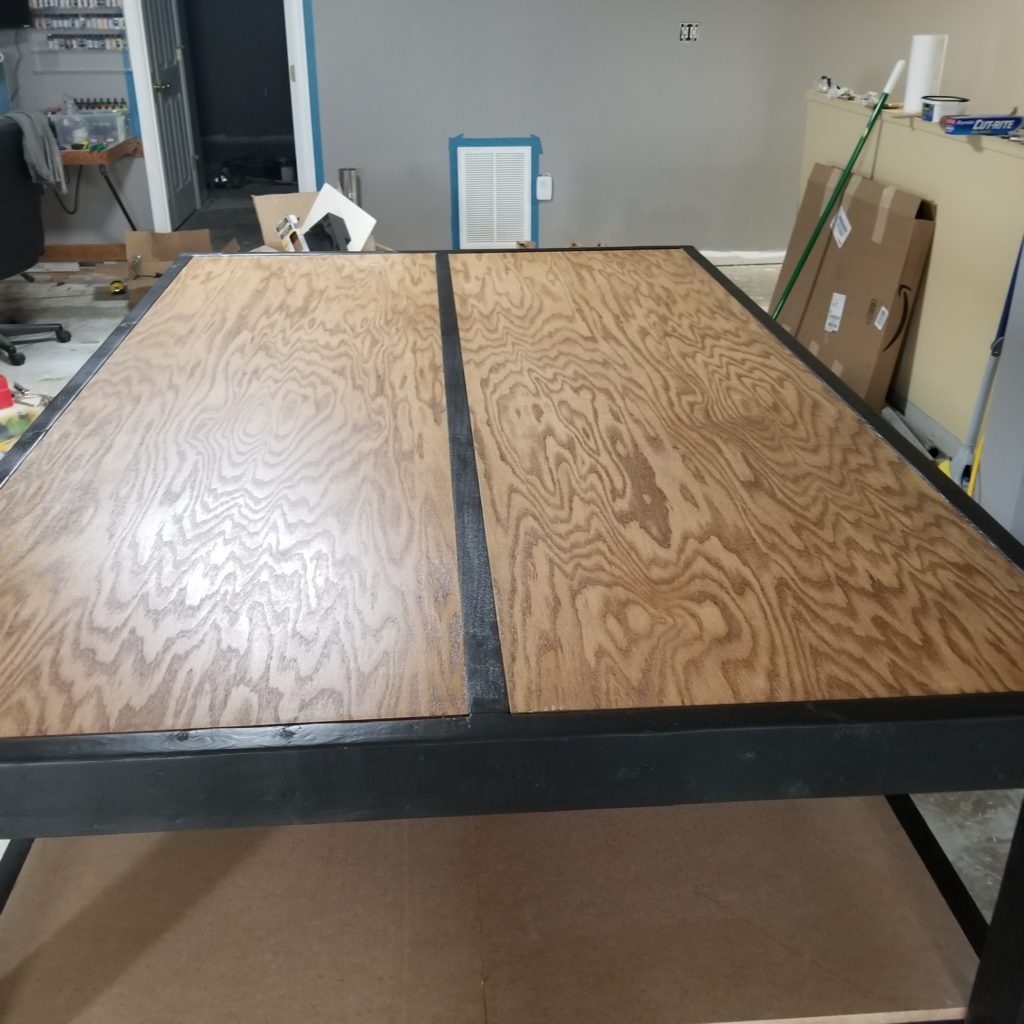
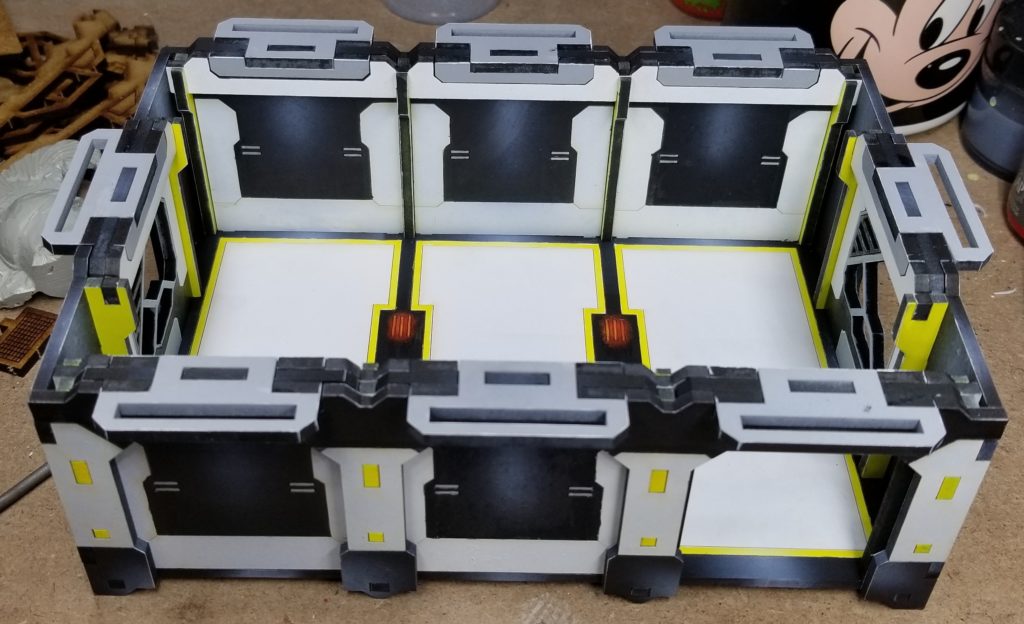
I’m in love with this scheme. It’s become my new obsession. The pics are going to be ‘raw’ for a while. The images will get better as I move them to my gaming table.

More to come as I progress.
Shawn G. (SoI)

More OSS Goodness – Andromeda, Dactyl, Naga, Deva

Been stacking up minis for an update.

Andromeda

Love this mini. It had SO many little details to work on. Cetus (kitty) was really easy to do. I will say she was a right pain to get on the base though.

Dactyl

I’m continuing my trend on using some SP minis to fill in some missing troops or to replace models I’m not the biggest fan of. Painted the doctor Dactyl to represent a Proxy-1 doctor. I’ll be using the other one for the engineer. Still learning how to work flesh. Getting better.

Naga

The hair on this chick! Anyway it was an easy paint job. I spent some time on the thing she’s standing on. Took a shot at NMM bronze. Don’t think I got it quite right but it looks good.

Deva

Tried something new with the Deva. In retrospect the colors for the pants and vest should be reversed. The face details are lost in his shirt.

Group Shot

Here’s a group shot of all the minis for this army. I’m closing in on finishing the Coldfront boxset. Glad to be working again.

Shawn G. (Soul)

Painting again! And Damn it feels good!

I’ve been using my new workspace and it’s been awesome. I’ve jumped back into my Aleph force I started last fall and with the release of the OSS Sectorial I’ve been stoked to the gills.

I made some revision to the scheme and army style/layout I originally came up with. First, I’ve abandoned the glowing base design I was using. While I found it clever, it required way too much work per model then I want to deal with now. On top of that, it only would have looked complete with the custom display I was planning. I like the concept but for now it’s shelved. I’ve also tightened up the paint scheme as well. I’ve dropped the white guns with the red stripe. The arms and gun blended together and I hated it. I’ve added more orange and have pinned down solid grey to the overall scheme and I think this way better. Doubt I’ll be retouching the older minis too much though. They’ll just be what they are.

New Bases

Bases have never been a strong point for me. I could never really get them to look the way I wanted. I’m not a big fan of resin bases so that limited the pool. After a bit of research, I found some bases I liked from Death Ray Designs.

Base inserts are a new concept for me. They have the detail of cast bases but use the base the mini comes with. Touch of glue and you’re done. I think I’ll be doing a small tutorial on how I prep/paint these. What I REALLY love about these things are the cost. 51 bases for 25 shmeckles. Can’t beat that.

Re-based Minis

I’ve been focusing on re-basing the minis that are available in OSS. Thankfully I hadn’t painted to many Steel Phalanx troopers so most of my previous work can be repurposed.

New OSS Troops

Here are some of the new minis I’ve finished from the new line. I also did some older troops I hadn’t gotten around to.

I’m having a blast painting again. It’s been too long.

Shawn G. (SoI)

New Workstation Complete – Sort of…

So, I’ve been a busy little bastard since my last update. My workstation is complete and I’ve been using it for a few weeks now. Here’s the skinny on what was added:

  • Airbrush booth w/ lighting
  • Custom booth venting system
  • Vallejo paint holder
  • Tabletop and wall mount paint racks
  • Magnetic Board

Airbrush Booth w/ Lighting

Airbrush Booth - With Lighting

I picked up a Paasche HSSB-22-16 from Amazon. I designed my desk to be roomy so I went with larger booth. I had some cabinet lighting we bought from Ikea years ago to light our cabinets in the old house. I kept them figuring they would come in handy eventually. I was right!

Custom Booth Venting

Spray Booth Filter Spray Booth Filter Spray Booth Filter
Spray Both Filter - 4

I really didn’t care about my workspace in the last house. I had airbrush dust EVERYWHERE. Not very smart Shawn… Anyway, this time I have a space I would like to keep clean so I need to vent my fumes better. The window above my space is poorly designed for my use so I did some research and found system that allows me to trap my fumes indoors.

I first drilled a hole into the back corner of MDF surface. Then connected some dryer vent tubing that curved behind it and under the desk. I rigged a bucket I got from Home Depot to catch my fumes using these hand drawn plans by a genius – Homemade Spray Booth & Filter.

My tweak is instead of wrapping the filters around the vent tubing, I used the bucket to cut perfect circles out of my filters and then cut a hole through the middle to run the tubing through. The fumes vent into the bottom of the bucket and then blows up through 9 layers of carbon filtration to escape from the top of the bucket. I tested it using incense and could smell nothing coming out of the bucket. Worked BEAUTIFULLY. That said, I still use my mask when working and leave the fan running for about 5 minutes after spraying. Can’t be too safe.

Vallejo Paint Holder

This was made using PVC pipe from Home Depot. Each 10’ pipe yielded 29 4” tubes. Glued them together with a glue gun and spray painted it black. Holds 203. And yes, I had to color coordinate the pots. The beast of compulsion demands sacrifice…

Paint Racks

Paint Rack - 2 Paint Rack - 3

Got some nail polish racks from Amazon. These hold all my inks and Badge airbrush paints. Good to have all my paints, well most, within reach.

Magnetic Board

Magnetic Board

On a side note I added a magnetic board to store my bits and such. I need to give them a good cleaning before putting them up.

I’m jazzed as hell over this new layout. Been working very well for me. I’ll continue to tweak it over the weeks. The only think lacking now is shelving/storage.

Custom Hobby Desk Project Part II

Well I decided to skip the trim for the second phase and move onto building the table itself. I’ve opted to go with a wall mounted design using steel pipe.


This project will come across a little dis-jointed. I had to completely build ½ of the desk to make sure my design was functional. The short side was built first and then replicated on the long side. Bear with me.


I wanted the desk to have some semi-aesthetic elements that would help it to blend into our basements redesign. The oak strips and trim have been finished in Dutch Oil to bring out the grain. The wood would also look smexy as hell with the black steel pipe.


The first thing I did was mount the oak strip to the wall. I used a wall stud to prop the board off the ground. The 3.5” height of the wall stud is perfect as it will allow me to install the baseboard trim later. After some wall stud hunting & pilot hole drilling, I mounted the oak board onto the wall.

Mounting Short Side Mounting Short Side Mounting Short Side
Mounting Short Side


The next part was a real pain. I used threaded steel pipe and fixtures to build the support elements. The design uses a 45° support leg made from ½” pipe cut to 30” with a flange/nipple/elbow combo on both ends. One flange will be mounted onto the wall via the oak strip, and the other drilled into the table frame. The table will have three support legs on the long side and two on the short. The pain comes from trying to get all the legs level. As these must be screwed onto each other it’s a total crap-shoot trying to screw each part together the exact same way. I had to eyeball it and I hate doing that…


This is a rather imperfect method as it’s nearly impossible to get all the support pipes to be perfectly in line with each other. In retrospect, I should have used Kee Klamps and straight pipe for this purpose. It would have been really precise and easier to be sure. But what ya gonna do?


After affixing the support legs to the frame, I checked it against the wall. Problem. The combination of the oak board and the mounting flange combo made the top unlevel. To get it level I had to mount some 1.5” square boards to the back of my frames. This worked in my favor as not only did this make the desk level, it also gave me space for power cords. These new additions to my frame design also provided a perfect area to mount the frame to the wall.

Short side down Short side down


After checking for level again, I drilled my pilot holes into the oak strip for the base mounting and into the drywall and stud for the wall mounting. The frame mounted to the wall nice and level. I then dropped the pre-cut MDF top to see how it would look pre-trim. Pretty damn nice. And it’s really sturdy.


Onto the next side!