Tag Archives: Step-by-Step Painting

Sponge Weathering Technique

Salutations!

I have been receiving a great deal of requests for a tutorial on how I did the weathering on my Wild Lands table. Here’s a quick rundown:

I painted this terrain set using inks primarily. They are perfect for painting MDF terrain for two reasons; first, they go through an airbrush with no need for dilution. Second, the MDF is porous and absorbs the paint/ink cutting drying time.
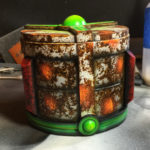
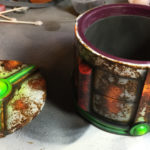
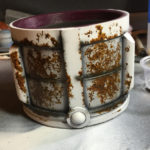
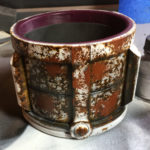
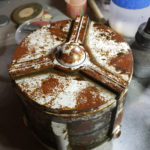
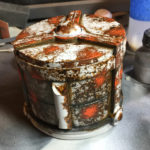
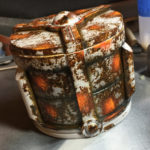
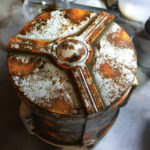
Weathered Dice Box Weathered Dice Box

Color’s used:
Daller Rowney – Burnt Umber 223
Liquitex Ink – Carbon Black
Citadel (GW) – Mournfang Brown
Vallejo Game Color – Hot Orange 72009
Vallejo Model Color – Light Orange 70911
Vallejo Surface Primer – Gray

Materials Used:
Egg foam

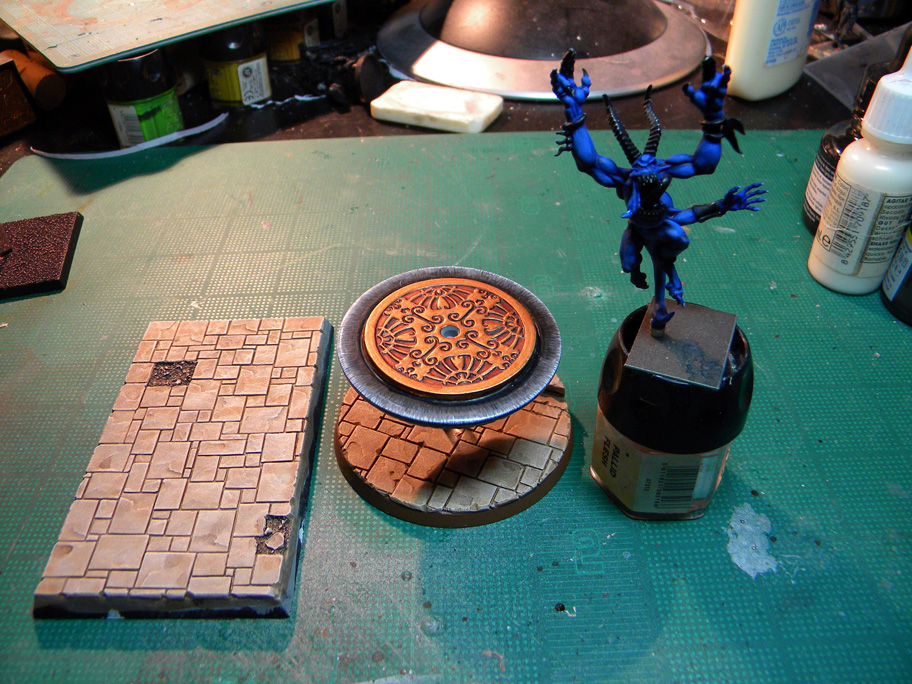
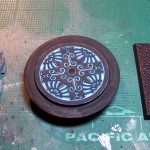
I currently don’t have any new terrain pieces prepped for painting so I’m using a cast of the dice box I made for my Necrons a few years ago. It was sitting around and looked like it would make a pretty cool cistern for my table.

Step I


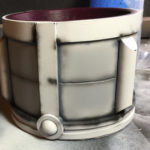
Step I – The box was primed gray. Since the cup is made out of resin it lacks the nice quick drying quality of MDF, I used a hairdryer to speed up the process. In fact I did the same thing with the MDF terrain. Really helps to keep stuff rolling.


Step II


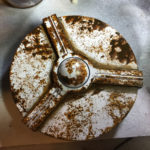
Step II – All the cracks & crevices were airbrushed in black. It looks heavy at the start but once you start weathering you’ll be glad for it.


Step III

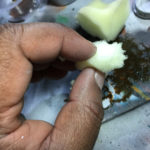
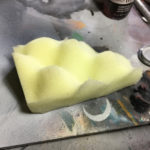
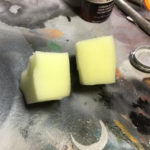
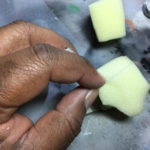
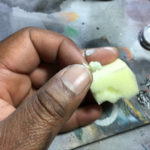
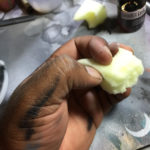
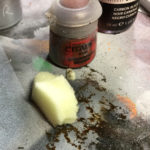
Step III – I took a piece of egg foam I had sitting around and cut it into pieces about 1 by 1.5 inches wide. Then, using my fingers I pulled plugs out of the flat side to make the surface uneven. It’s important to pull the edges as you don’t want a ‘square’ sides on the sponge. I like using the egg foam for this process as the ridged side have little finger holds.


Step IV

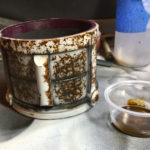
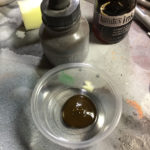
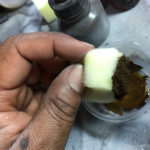
Step IV – Break out the burnt umber. I used condiment cups for this but a palate is fine. Dip the textured end in the ink and place a few practice dabs on your palate to get full coverage on the sponge. These practice dabs also help to control the amount of ink on the sponge as it can be heavier then you expect and you don’t want to make any mistakes on your piece.
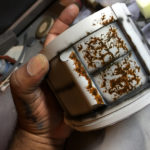
 

Step V

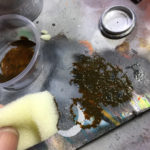
Step V – Lightly dab the surface you want weathered. I turn the sponge around to add to the randomness of the ‘splatter’ look. As this surface is not porous, I had to use the hairdryer between panels. I decided to go with a heavy rust/corrosion look on the cup. I went lighter on the buildings.

After the large panels were done I noticed I had a great deal of ‘white space’ along the edges. I ripped up a smaller sponge and used that to get ink in the corners/edges as that’s where rust would accumulate first. The smaller sponge was also used to color the rest of the box and to create some areas where the ink is applied heavily. These heavy splotches are needed for the next step.


Step VI

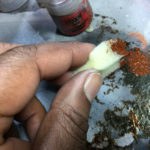
Step VI – Rip up an new small piece of sponge. You can also wash the smaller piece you made for the umber phase. Using the Mournfang Brown, add new splotch patches over the umber. You want to aim to cover the areas (not completely) where the umber was heavy as these spaces will represent your rust areas.


Step VII

Step VII – These last steps go fast. Repeat the process you used for Step VI but this time using the Hot Orange followed by the Light Orange. Cover the brown with patches of orange but again not completely. You want the previous color to show underneath. The key to this phase is to go easy. Less is more.

And that’s it! I painted the rest of the cup with some glow effects and called it a day. The weathering process took about 10-15 minutes to complete and 20-25 minutes for the whole paint job. You’ll kick yourself at how easy this is to do in the end. Feel free to shoot me any questions.

Shawn G. (SoI)
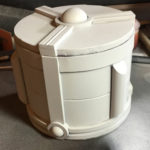
My Thokt Necrons

I have heard the masses crying out for a tutorial on how I painted my Necrons. Ask and ye shall receive! I just hope this makes sense…

Thokt Necron Paint Scheme
Get this stuff!

Thokt Necron Paint Scheme
Seriously, get this stuff!

First let’s talk primer. I started miniature painting about 14 years ago, and most of that time was using GW’s primer. At first GW’s line of primer and paints were varied and reasonably priced, but somewhere along the line they got this wild notion that they could charge whatever they wanted. So over the years I’ve watched their primer creep from $5 to $15.75 a can. What the hell is in it? Magic? My favorite part is how they claim their primer has been engineered to work with their line of paints. WTF?

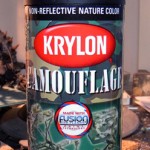
I was brought to the light from a friend in a local Hobby Shop of the existence of an alternative and I’ve never looked back. Enter Krylon spray paints.

This stuff is amazing. Not only does it bind to both plastic and metal, but also it goes on flat. This is the most matte paint I have ever used, and it works perfectly for all my projects. It’s also $4 a can.

Here we have a spray paint that is both reasonably priced, durable as hell, and can be found almost EVERYWHERE. Did I mention it comes in 6 colors? And this is just scratching the surface of the products that Krylon produces. My Dark Eldar scheme uses their Fusion line.

Get this stuff.

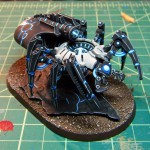
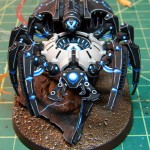
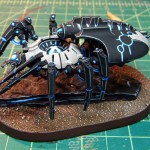
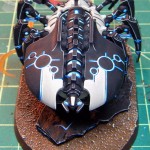
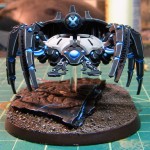
Now that I’m done ranting let’s get down to business! I decided to use a Canoptek Spider for this tutorial so you can see the techniques I used on a larger canvas.

Thokt Necron Paint Scheme
Paints used

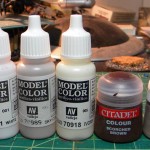
Miniature Color Palatte:

  • VMC Black (70950) – Citadel Abaddon Black
  • VMC White (70951) – Citadel White Scar
  • VMC Sky Grey (70989) – Citadel Dawnstone
  • VMC Ivory (70918) – Citadel Ushabti Bone & White Scar
  • VGC Magic Blue (72021) – Citadel Kantor Blue

Base Color Palatte:

  • Citadel Scorched Brown (Rhinox Hide)
  • Citadel Calthan Brown (Mournfang Brown)
  • Citadel Dheneb Stone (Rakarth Flesh)


Thokt Necron Paint Scheme
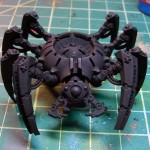
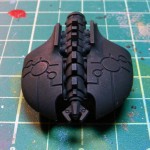
Step Zero

Thokt Necron Paint Scheme
Step Zero

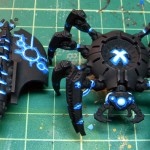
Step Zero – A nice even coat of primer. Make sure it’s not too humid outside so you don’t get that powered sand effect on your minis. I haven’t had that problem with the Krylon spray paints very often, but it can happen. Be carefull.

Thokt Necron Paint Scheme
Step I
Thokt Necron Paint Scheme
Step II

Thokt Necron Paint Scheme
Step III

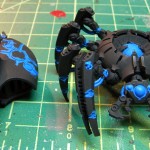
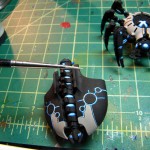
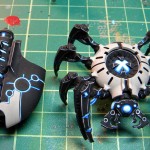
Step I – I targeted all the glowing bits; cables, eyes, orbs, and leg joints with VGC Magic Blue. You can also use Citadel Enchanted Blue (Caledor Sky) as alternative. Don’t’ worry about staying within the lines. We’ll clean up later.

Step II – 1/1 mix of VMC White and VGC Magic Blue. Don’t completely cover up the previous shade. Leave a little behind for depth.

Step III – 10/1 mix of VMC White and VGC Magic Blue. I’m guesstimating here on the ratio as I normally just eyeball it. Just put some white down on your palate and add a slight tip-full of the blue. The aim is for a very pale white-blue. Mostly white.

Thokt Necron Paint Scheme
Step IV

Thokt Necron Paint Scheme
Step V

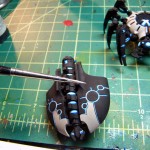
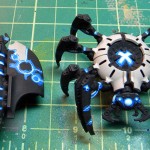
Step IV – Dheneb Stone for contrast. I use this color sparingly to break up the scheme. It usually takes 2-3 coats for full coverage over black. Make sure your paints are well diluted so you don’t lose detail.

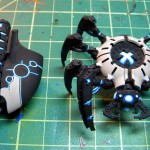
Step V – Clean up phase. VMC Black was used to clean up my lines. I chose this black specifically because it is has a very matte finish, which syncs well with the flatness of the Krylon primer. You don’t have to use VMC paint here, but you will loose the effect if your paint is of a gloss or even satin finish.

Now for the step I assume everyone is looking for:

Thokt Necron Paint Scheme
Step VI

Thokt Necron Paint Scheme
Step VII

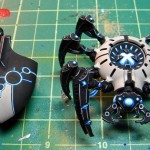
Step IV & VII – Edge highlights. VMC Sky Grey was painted onto all the hard edges of the model using the side, not the tip, of my brush. You’ll need a light touch to keep the line uniform but that’s it. Again, make sure your paints are well diluted so it goes on smoothly. You may need to apply two coats incase the line is not sharp. This technique is so easy you’ll kick yourself when you try it.

Thokt Necron Paint Scheme
Step VIII
Thokt Necron Paint Scheme
Step IX

Thokt Necron Paint Scheme
Step X

Step VIII – Highlight all the hard edges of the mini. The mandibles were a little finicky, but just focus on the edges. Clean up with black as needed. The inner ring under the back plate was highlighted using the brush tip. That’s a tricky spot so use a light hand and again, clean up with black as needed.

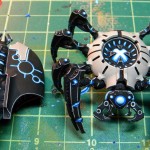
Step IX – Adding detail. I went back and added some more glowing blue effects on the spots I felt could use some detail. Just reapply steps I-III as needed.

Step X – Edge highlight using VMC Ivory on Dheneb plates. Line highlight were added to the edges of the detail on the abdomen as needed.

Canoptek Spider
Canoptek Spider
Canoptek Spider
Canoptek Spider

Canoptek Spider

And there you have it! My Tkokt paint scheme.

I try to create a video for this scheme. I will try to emulate Les Bursley’s brilliant tutorial style if I can. I’ve never made a video tutorial before so give me a little time to make sure I get it right.

I hope you found this helpful. Please leave me feedback so I can polish this tutorial for when I move to video.

Shawn G. (SoI)
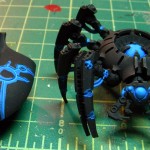
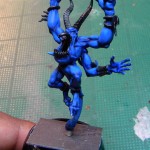
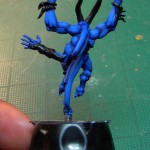
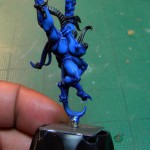
Hobby Project – Herald on Disk/Chariot

With the Necrosphinx finished (sort of) it’s time to revisit a project I started back in February.

For the new readers – I came up with a new design for the Disk of Tzeentch as the current model is uninspired. After a few attempts, one successful, I came up with a design that I had to replicate. And I did!

I came up with an idea for a modular disk rider that can be converted to a chariot on a whim. If this works out, and it should, it will be pretty cool.

Herald on Disk/Chariot

Herald on Disk/Chariot

And since we are on the topic of Disk Riders here’s a new scheme/rider for a chaos mortal’s army that I’ve been playing with. (Aekold Helbrass was the coolest character evar…)

Tzeenchian Disk Rider

Tzeenchian Disk Rider

Shawn G. (SoI)
Tomb King Necrosphinx – Complete

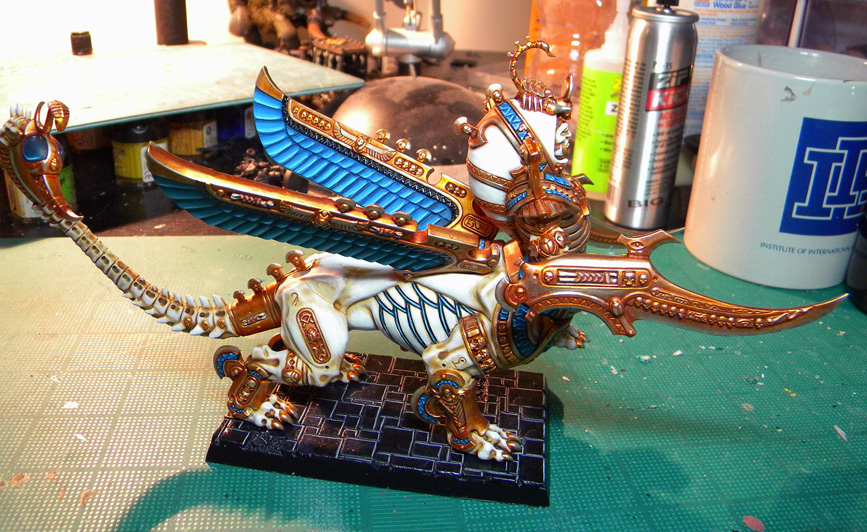
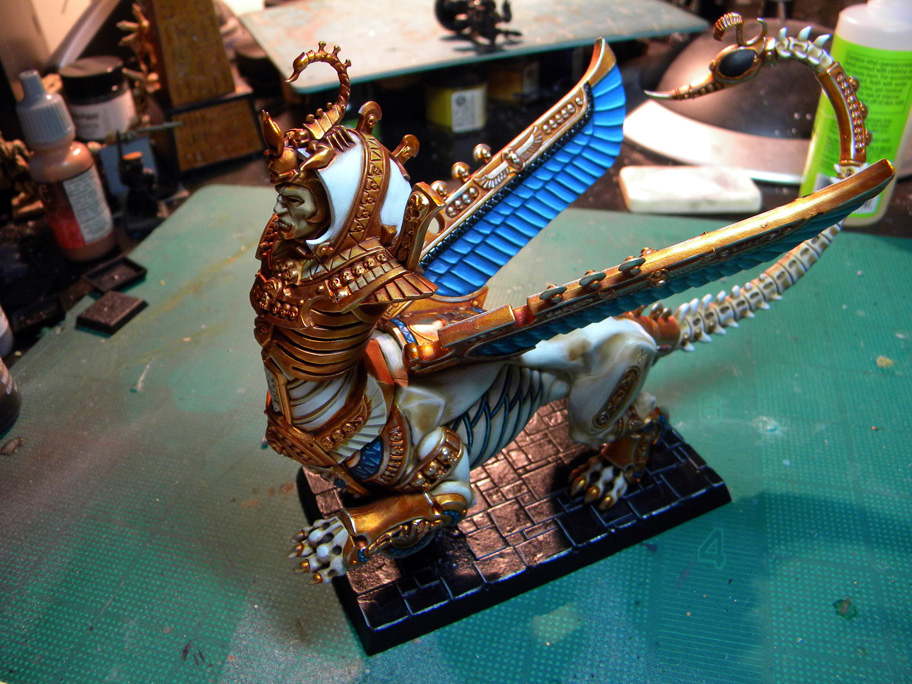
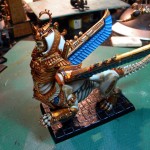
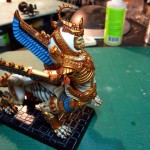
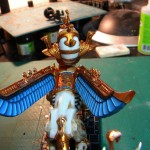
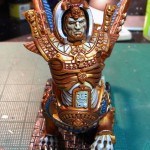
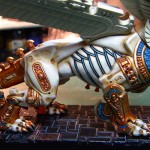
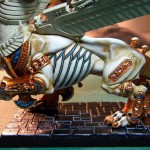
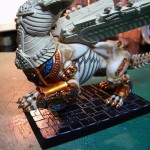
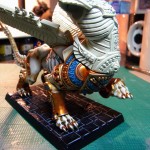
Well he’s done.

I have to turn this beauty in today so I could not give the arms and tail the attention they deserved. And to tell the truth I’m more disappointed about that then I thought I would be. But alas this model does not belong to me. (Why am I rhyming?)

This was a real pleasure and I’m sad to see it go incomplete. Perhaps if I get him back I’ll put some more work on those parts.

I hope you all enjoyed this journey as much as I did.

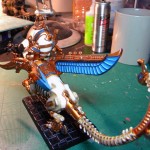
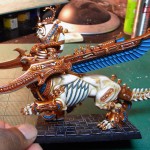
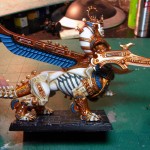
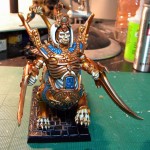
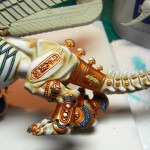
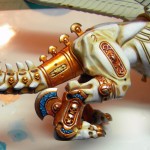
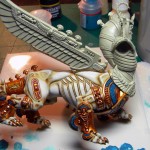
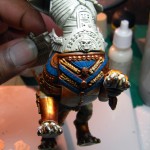
Necrosphinx WiP
Necrosphinx WiP
Necrosphinx WiP
Necrosphinx WiP
Necrosphinx WiP
Necrosphinx WiP

Necrosphinx WiP

Shawn G. (SoI)
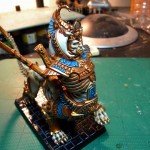
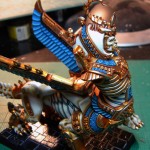
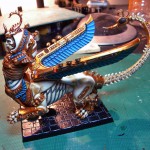
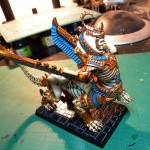
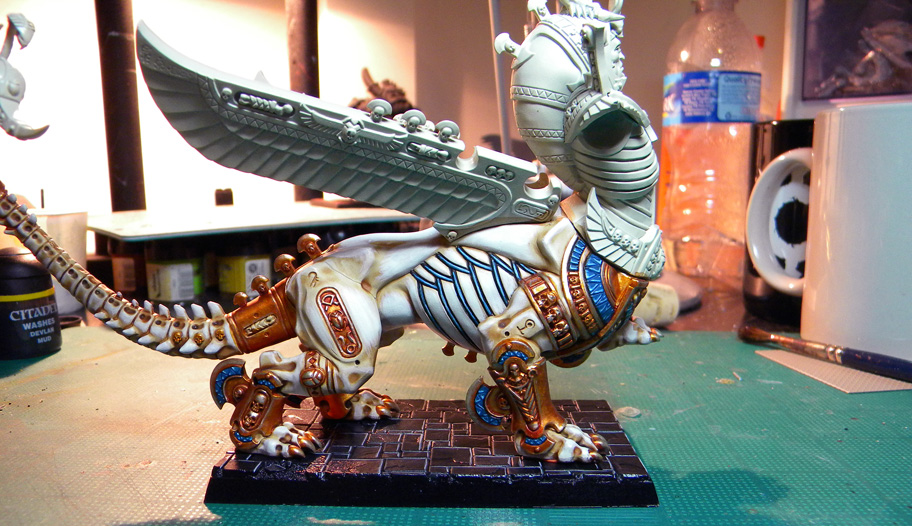
Tomb King Necrosphinx – Phase II Complete!

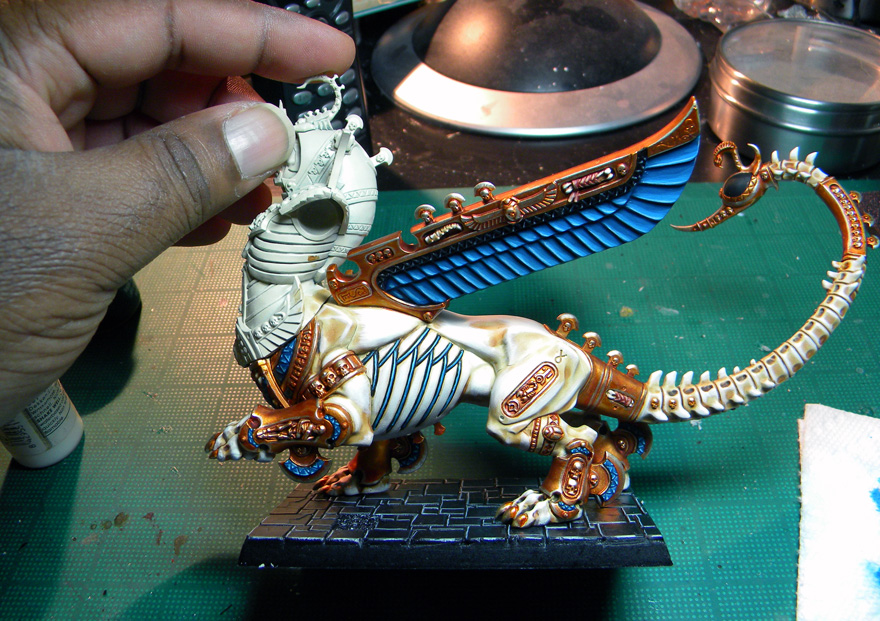
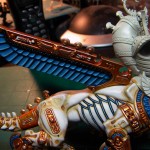
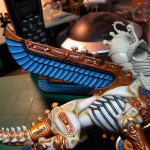
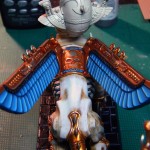
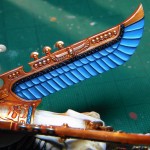
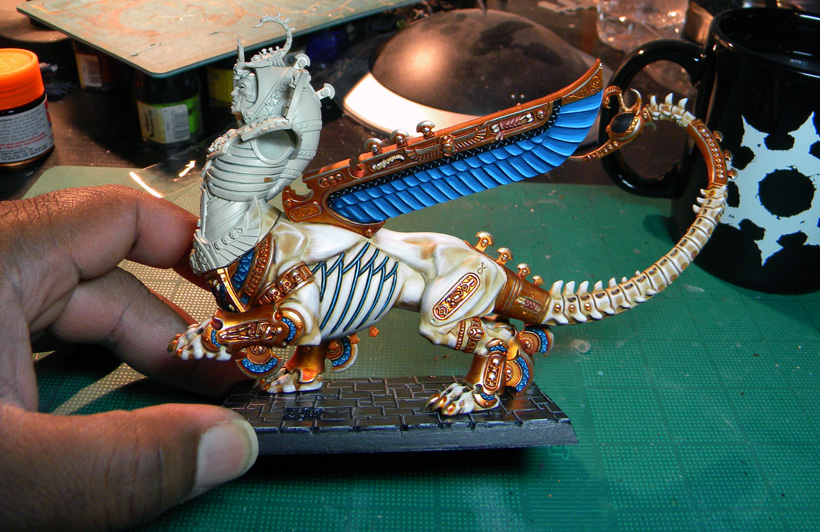
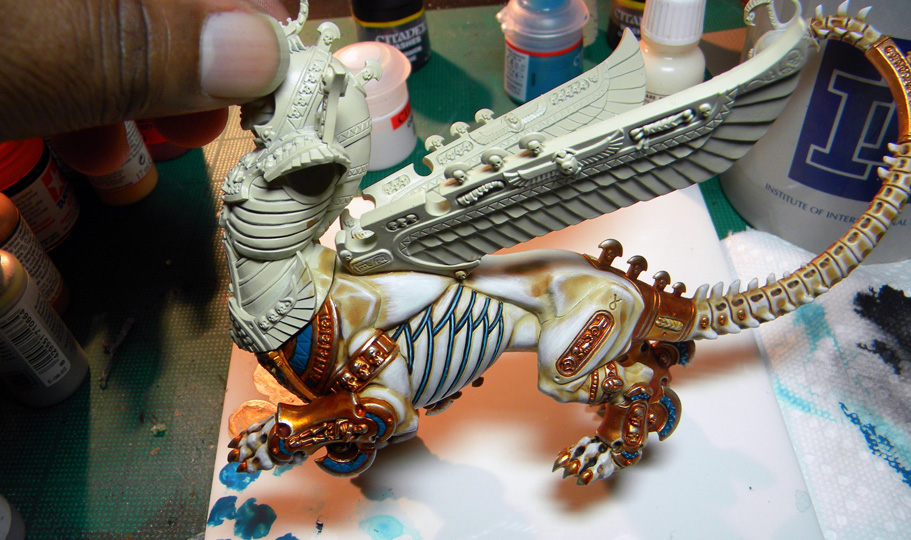
Holy crap did this phase take forever! I really underestimated how long it would take me to get through all that metal. It’s done now and I’m happy with the turquoise.

Here it is blue tacked to the base again. I think I may glue it down here soon. I don’t want to handle the body while I’m working on the wings, tail, and torso.

Necrosphinx WiP
Necrosphinx WiP
Necrosphinx WiP
Necrosphinx WiP
Necrosphinx WiP
Necrosphinx WiP


Shawn G. (SoI)
Tomb King Necrosphinx – Phase II continues!

I’ve been busy as hell for the last 4 days. I had a paper due Tuesday and had little time for painting. Things are coming back down to earth so I can continue with this awesome piece.

My wife recommended that I take more pictures as I go so here are some more from Phase II.

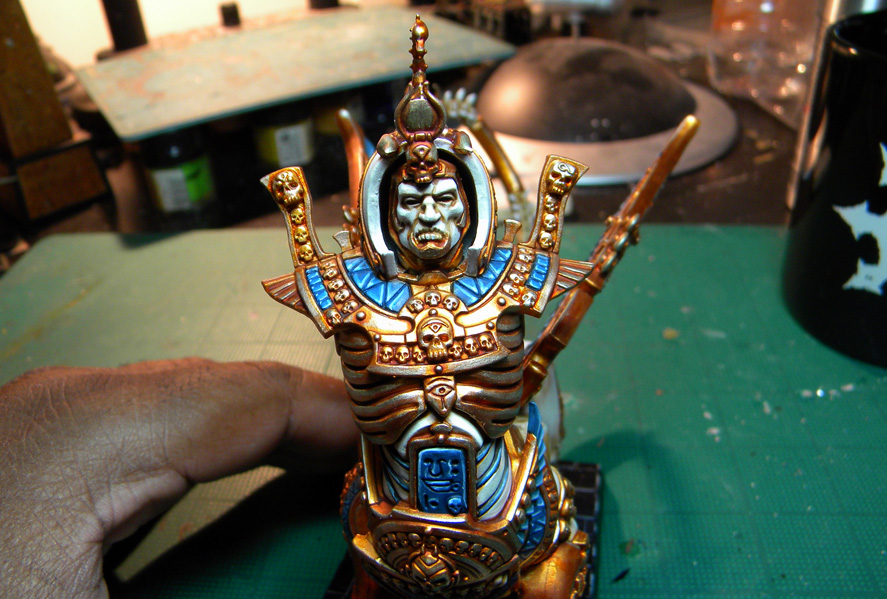
I have not done complex gems in a long time. I like the way the turquoise sections are coming out but I’m not quite satisfied.

Let me know what you think so far

Necrosphinx WiP
Necrosphinx WiP
Necrosphinx WiP
Necrosphinx WiP
Necrosphinx WiP

Necrosphinx WiP

Shawn G. (SoI)