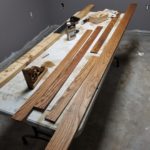
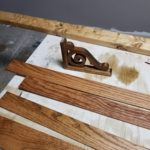
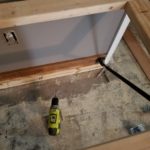
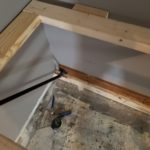
Well I decided to skip the trim for the second phase and move onto building the table itself. I’ve opted to go with a wall mounted design using steel pipe.
This project will come across a little dis-jointed. I had to completely build ½ of the desk to make sure my design was functional. The short side was built first and then replicated on the long side. Bear with me.
I wanted the desk to have some semi-aesthetic elements that would help it to blend into our basements redesign. The oak strips and trim have been finished in Dutch Oil to bring out the grain. The wood would also look smexy as hell with the black steel pipe.
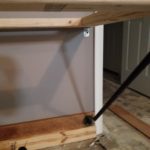
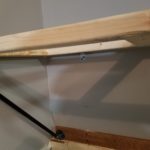
The first thing I did was mount the oak strip to the wall. I used a wall stud to prop the board off the ground. The 3.5” height of the wall stud is perfect as it will allow me to install the baseboard trim later. After some wall stud hunting & pilot hole drilling, I mounted the oak board onto the wall.
The next part was a real pain. I used threaded steel pipe and fixtures to build the support elements. The design uses a 45° support leg made from ½” pipe cut to 30” with a flange/nipple/elbow combo on both ends. One flange will be mounted onto the wall via the oak strip, and the other drilled into the table frame. The table will have three support legs on the long side and two on the short. The pain comes from trying to get all the legs level. As these must be screwed onto each other it’s a total crap-shoot trying to screw each part together the exact same way. I had to eyeball it and I hate doing that…
This is a rather imperfect method as it’s nearly impossible to get all the support pipes to be perfectly in line with each other. In retrospect, I should have used Kee Klamps and straight pipe for this purpose. It would have been really precise and easier to be sure. But what ya gonna do?
After affixing the support legs to the frame, I checked it against the wall. Problem. The combination of the oak board and the mounting flange combo made the top unlevel. To get it level I had to mount some 1.5” square boards to the back of my frames. This worked in my favor as not only did this make the desk level, it also gave me space for power cords. These new additions to my frame design also provided a perfect area to mount the frame to the wall.
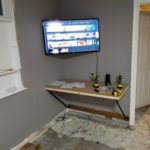
After checking for level again, I drilled my pilot holes into the oak strip for the base mounting and into the drywall and stud for the wall mounting. The frame mounted to the wall nice and level. I then dropped the pre-cut MDF top to see how it would look pre-trim. Pretty damn nice. And it’s really sturdy.
Onto the next side!
