Part II of my Disk of Tzeentch project! I worked on this disk for about 2 days sanding, gap filling, and filing and sanding again. It took a while for me to get it to a acceptable standard for casting. I’ve never been more pleased with a projects outcome.


It did have some points of serious concern for molding. First of all, I was not completely sure it was watertight. I really didn’t want rubber flowing into the disk and screwing every thing up so I gap filled with Apoxy-Sculpt and filed it smooth where I could.
Second, it has a considerable undercut. This could pose a real problem with air bubbles and getting the resin out of the mold. The undercut does taper/slope towards the center so air bubbles were not a problem. The longer set time for the resin REALLY shined here and I was glad I made the switch. The rubber I chose is very strong so the undercut should was not an issue.
Molding was easy. I discovered there was a trapped air bubble in the rubber after demolding but I could see this would not be a problem.


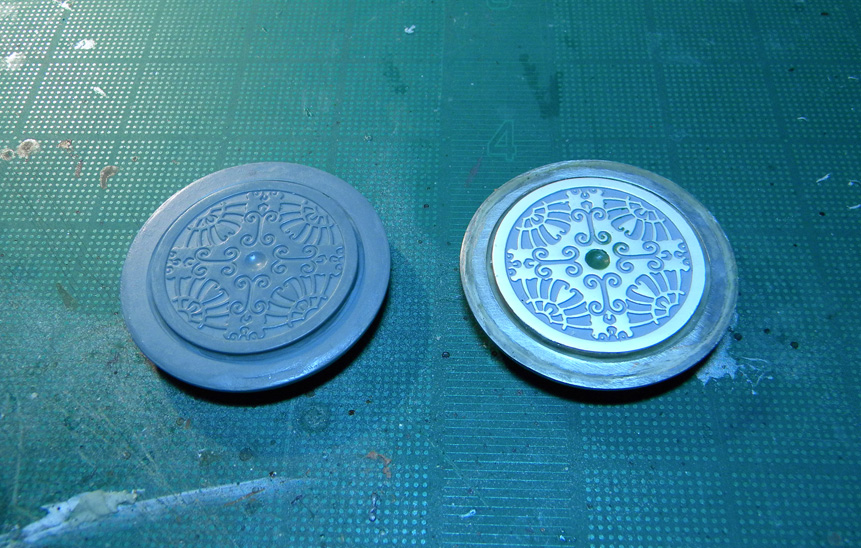
I dared a cast last night, and it came out perfectly. I’ll need mold release as this resin sticks to my tiles with a death grip. I was lucky to get this off the tile while it was still barley soft. The first cast of my bases did not survive. They could not be removed from the tile. Had to throw it away. /sadpanda
I can’t wait to paint this up!!!!