Welcome to Part III of my custom resin base project. Mold Making!


I mixed up the rubber in a large plastic paint pot. Now this stuff usually needs a scale to measure out the 10:1 ratio but as I was using the whole trial kit that was not necessary. Each mold was poured slowly in a very thin stream into a corner (if it had one) so the rubber could work it’s own way around each base. This method prevents air bubbles.
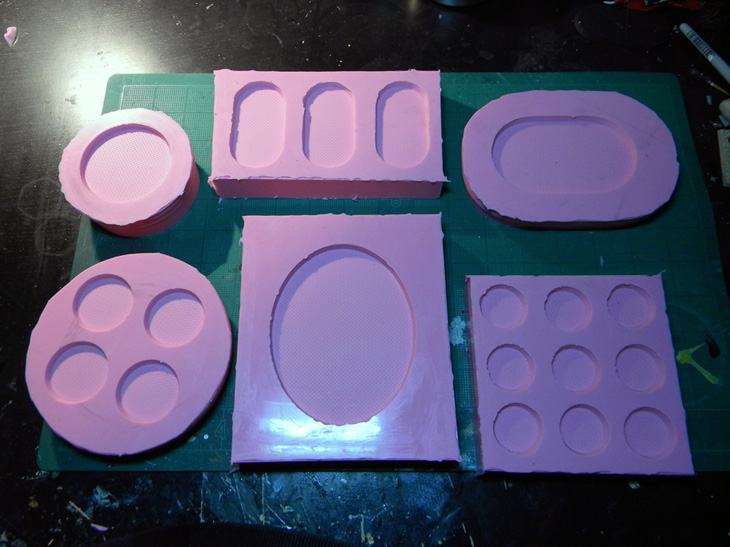
It took 2.25 trail kits for these 7 molds (had to whip out the scale for the last bit). I made sure that each one had at least 3/4 ‘s of an inch of rubber padding. Each mold performed excellently and there were no leaks (I did spill a little on the side of a few). I allowed each base to cure for 22 hours. I usually give it a full day but I was really impatient this time.
Demolding was easy. I recovered the clay and saved it for future projects in a ziplock bag, then GENTLY pried the mold boxes of the round set off of the tile. The hot glue came away from the granite with ease. Be sure you take your time here. You don’t want to go yanking the molds up as you can tear the rubber and ruin the mold.
The acrylic boxes took a little more time. I had to cut the sides a little with an X-Acto and then peeled each side away. As expected rubber seeped under some of the bases and I had a bit of cleanup work to trim all that extra rubber away.
All and all, these came out well!
Casting to follow…
Shawn G.