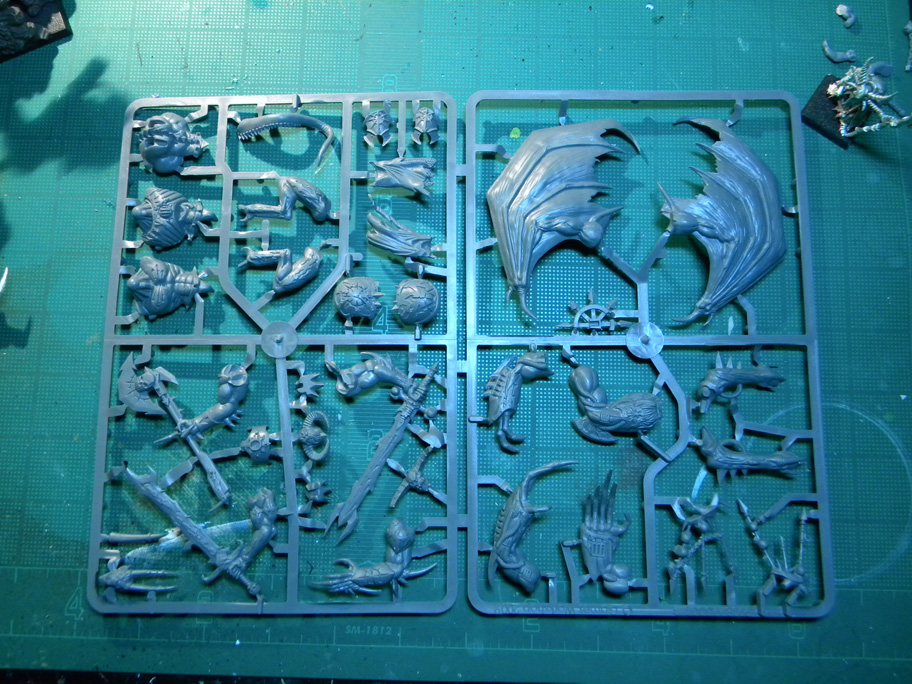
So my local GW shop got a black box in Friday containing the new plastic Bloodcrushers, Pleasure Seekers, and Demon Prince!
I volunteered, begged to be truthful, for Bing to allow me to paint one of them and he handed me the Demon Prince. This model will be a modeler’s dream come true. So much detail!
I’ll he’ll be dedicated to one of the Four, but I don’t know which one…
So excited! Is my geek showing?
Top ViewTop View (reverse)Close-upClose-upFlippin' the Bird...
Back when I owned this army I received quite a few inquiries on how I painted my Iron Warriors. To answer all of your questions I have decided to make this my first painting tutorial. Click on the image thumbnails for a better view.
Before I get started I would like take some time and inform you on proper priming. The most important rule on priming is to never prime miniatures on rainy or humid days. Repeat this line ad nauseum!!! Moisture gets on your mini when it’s humid outside, you may not be able to see it, but it’s there. That moisture gets caught between the mini and the primer, and when it dries your miniature will look like it’s been sprayed in fine black or white sand. Getting that stuff off is a real pain, so save yourself some heartache and only prime during the proper weather conditions. That being said, let’s move on.
Now I used to use Future floor wax for this tutorial, but with the release of GW’s (Game Workshop) Citadel Washes that noxious mess is no longer required. Mixing Future into your washes, rather than straight water, breaks up the water’s surface tension and causes the pigment in your paints and inks to settle and dry properly in the recesses of the model, rather than on the surface of your miniature. While useful, Future does come with some problems:
I. Future leaves your minis coated in a medium to heavy gloss depending on how much you use. The gloss is also pretty resilient and will act as a protective varnish for your minis, but I’m not a fan of polished models on the tabletop.
II. Future is toxic if ingested. Many hobbyists out there like to lick their brushes after washing them off to reestablish a nice brush tip. That habit is easy to forget and can make you sick when using Future. If you use that stuff PLEASE be careful to not ingest any or leave it in a place where family/pets could get into it.
Since we are using GW products with this tutorial we don’t have to worry about ingesting toxins and gaining all those cool superpowers the following morning. All that said, let’s get started!
Step-IStep-IIStep-IIIStep-IVStep-V
Step-VI
Step I: After the black prime has dried, it’s time to basecoat the minis in Boltgun Metal with your airbrush. I suggest you check out my tutorial on Airbrushing and practice on some old unused minis to get this technique down before starting on your precious traitor marines. A complete coat is important for this step so make sure no black is showing. Don’t forget your pistols/guns!
Use your gloves for steps 2&3. That is unless you like shiny silver fingers…
Step II: Wet-brush (just like dry-brushing but keep more paint on the brush) your minis with Mithril Silver using your Tank Brush, and let them dry. Just like in Step I, a complete coat is very important. The washing in Step III relies on total coverage.
Step III: After the silver has dried it’s time to apply the wash (GW Badab Black). The new Citadel Washes from GW are pretty damn useful. They pool in the recesses and when they dry you’ll find all your joint shading done all at once. Another fine quality of these washes is that they can be used right out of the pot with no watering down. You’ll want to use a brush that can hold a lot of wash so you can do your mini’s assembly line style to save time. You can find some nice cheap soft bristle bushes from Michaels Arts and Crafts.
The only negative I’ve found with these washes is the time it takes them to dry. You’ll have to wait around 30 minutes or so for the model to dry naturally. I have a halogen lamp on my desk that trims the drying time down a bit but it still takes my minis at lest 10-15 minutes. Make sure they are completely dry before moving on to the next step.
Step IV: Pick out the detail of the mini with Shining Gold. Hit the trim on the greaves, shoulder pads, chest, belt, backpack, pistol/gun detail, and helmet. Now grab your Sepia wash. Use a detail brush to paint the wash onto the gold trim being careful not to get any on your newly dried iron armor. It gives the gold a very ‘rich’ look I am quite fond of.
Step V: Paint interior of the shoulder pads, the spots between his armor plates (backs of the knees and such), tubing, helmet, and sides of your pistols/guns in Chaos Black, then paint any horns with Beastial Brown. Highlight the horns with Bleached Bone. Now it’s time to make these guys into real Iron Warriors: it’s Hazard Stripe Time!
After the stripes, apply your decals and you are done! Base your minis, and give them their weapons, it’s time to slay the lackeys of the Corpse Emperor! “Iron Within! Iron Without!
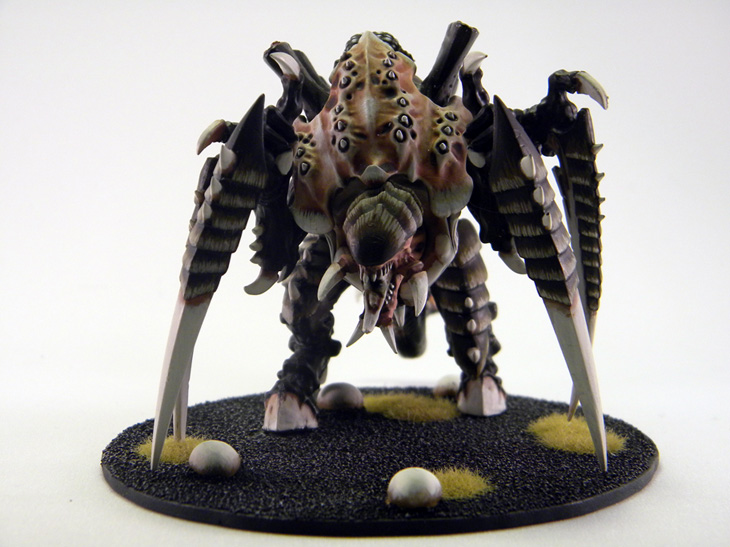
Finally got around to uploading these images. I decided to go with a modified variant of the design from Hydra from Warpshadow.com. I could not get the egg sack method he used so I went with my own.
To be honest this is one of the best models I have painted. I don’t like to paint large minis on the most part but this one came together so well I had to.
Front ViewLeft SideRight FrontHead DetailEgg SacksEgg Sacks
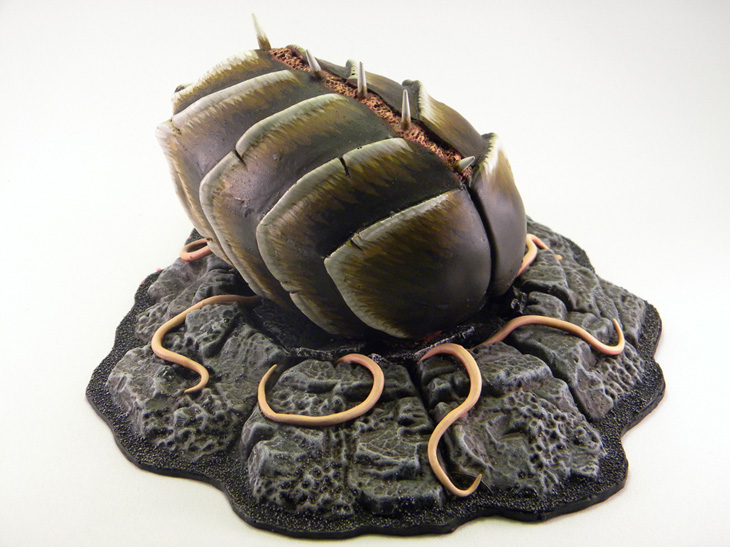
As of late, GW has had a trend of making rules for models they didn’t intend on releasing for a while. Few armies suffer from this problem more then the Tyranid army book that was released in January.
Since GW had no real plans on providing us with a pod in which we could fall from the heavens and land closer to our food sources, I decided to make my own. I mean who wants to walk that far to eat?
I sculpted it from a wooden goose egg I found at Michaels and some ProCreate epoxy I had kicking around for years. The results were… surprising. I had never sculpted anything in my life and this came out good enough for me to make a mold of it and cast it in resin. The base is made from a Pegasus Hobbies crater.